Starfish
Integration guide for connecting Storj to Starfish
Starfish Storage is a versatile service designed for file and object management across a wide range of scales, suitable for everything from small departmental file shares to the largest supercomputing file systems. It stands out for its ability to handle vast quantities of data with efficiency and ease, making it a valuable tool for organizations dealing with large and complex data environments.
Advantages of Starfish with Storj
Integrating Starfish with Storj offers a comprehensive solution for large-scale file management at a competitive cost. Starfish, specializing in metadata-driven file organization and management, integrates smoothly with Storj's S3 compatible API, ensuring efficient storage and retrieval of vast data volumes. This combination leverages Storj's robust security features, giving users confidence in the safety and integrity of their data.
Integration
The integration between Storj and Starfish is achieved through the S3 protocol, which allows Starfish to write and read backup data directly to and from the Storj network. Users can configure Starfish to use Storj as the storage target for their archive jobs.
To integrate Starfish with Storj, you will need:
- An active Storj account
- A bucket for Starfish in your Storj account
- Storj S3 compatible credentials
- Starfish account (see here)
For more details, see https://starfishstorage.com/solutions/
Set up Storj
Create an Account
To begin, you will need to create a Storj account.
Navigate to https://storj.io/signup?partner=starfish to sign up, or log in https://storj.io/login if you already have an account.
Create a Bucket
Once you have your Storj account you can create a bucket for your data to be stored in.
Navigate to Buckets on the left side menu.
Click New Bucket on the top right.
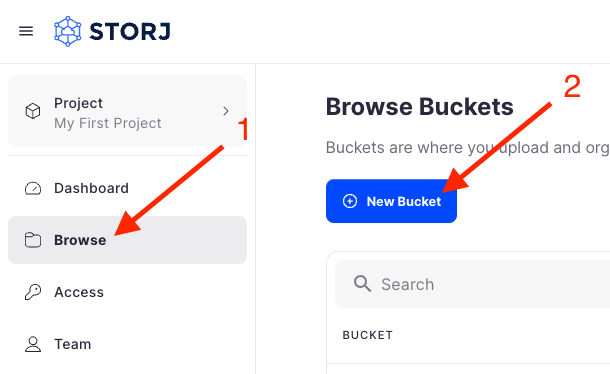
Assign the bucket an easily identifiable name, such as "my-bucket".

Click Create bucket
Generate S3 credentials
Storj has an Amazon S3 compatible API and you'll need generate S3 credentials to use it. S3 credentials consist of an access key, secret key, and endpoint.
Create S3 credentials in the Storj console:
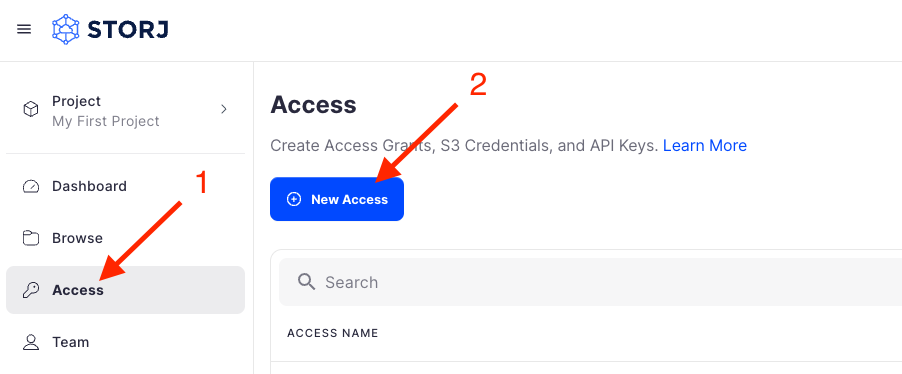
Navigate to Access on the left side menu.
Click Create S3 Credentials under the S3 Credentials block.
When the Create Access screen comes up, set specifications according to the following guidelines:
- Type: S3 Credentials
- Name: The name of the credentials (e.g. my-access)

Click Continue to provide permissions
- Permissions: All
- Buckets: Feel free to specify the bucket you created above (e.g. my-bucket), or leave as “All”
- End date: provide an expiration date for these credentials (optional)
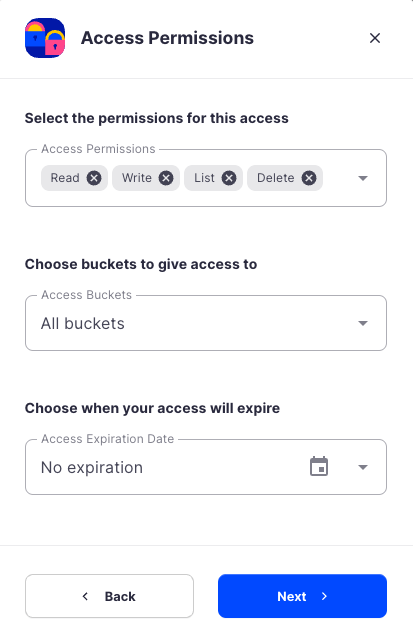
Click Continue to provide Access encryption Information
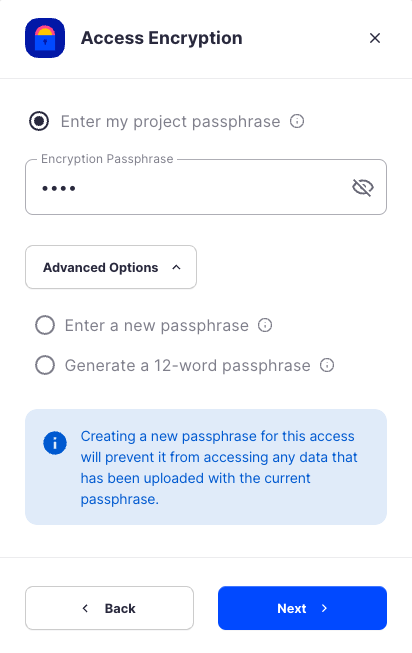
In order to see the data uploaded to your bucket in the Storj console, you must unlock the bucket with the same encryption passphrase as the credentials.
- Use the current passphrase: this is default option
- Advanced: you may provide a different encryption phrase either your own or generate a new one.
- Enter a new passphrase: use this option, if you would like to provide your own new encryption phrase
- Generate 12-word passphrase: use this option, if you would like to generate a new encryption phrase
Click Create Access to finish creation of your S3 credentials
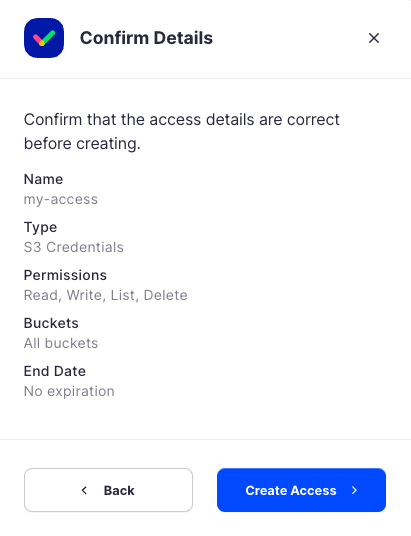
Click Confirm the Confirm details pop-up message
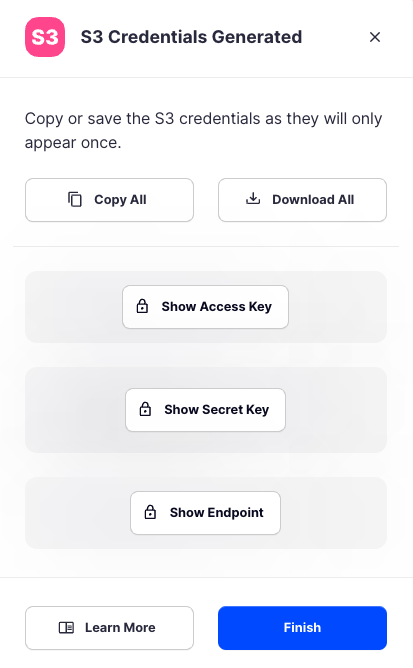
Your S3 credentials are created. Write them down and store them, or click the Download all button. You will need these credentials for the following steps.
Connecting Starfish with Storj
The workflow assumes a bucket called sf-test has previously been created within Storj. The following will add Storj as an target for archive jobs.
Select Targets button from the base UI to create a new target

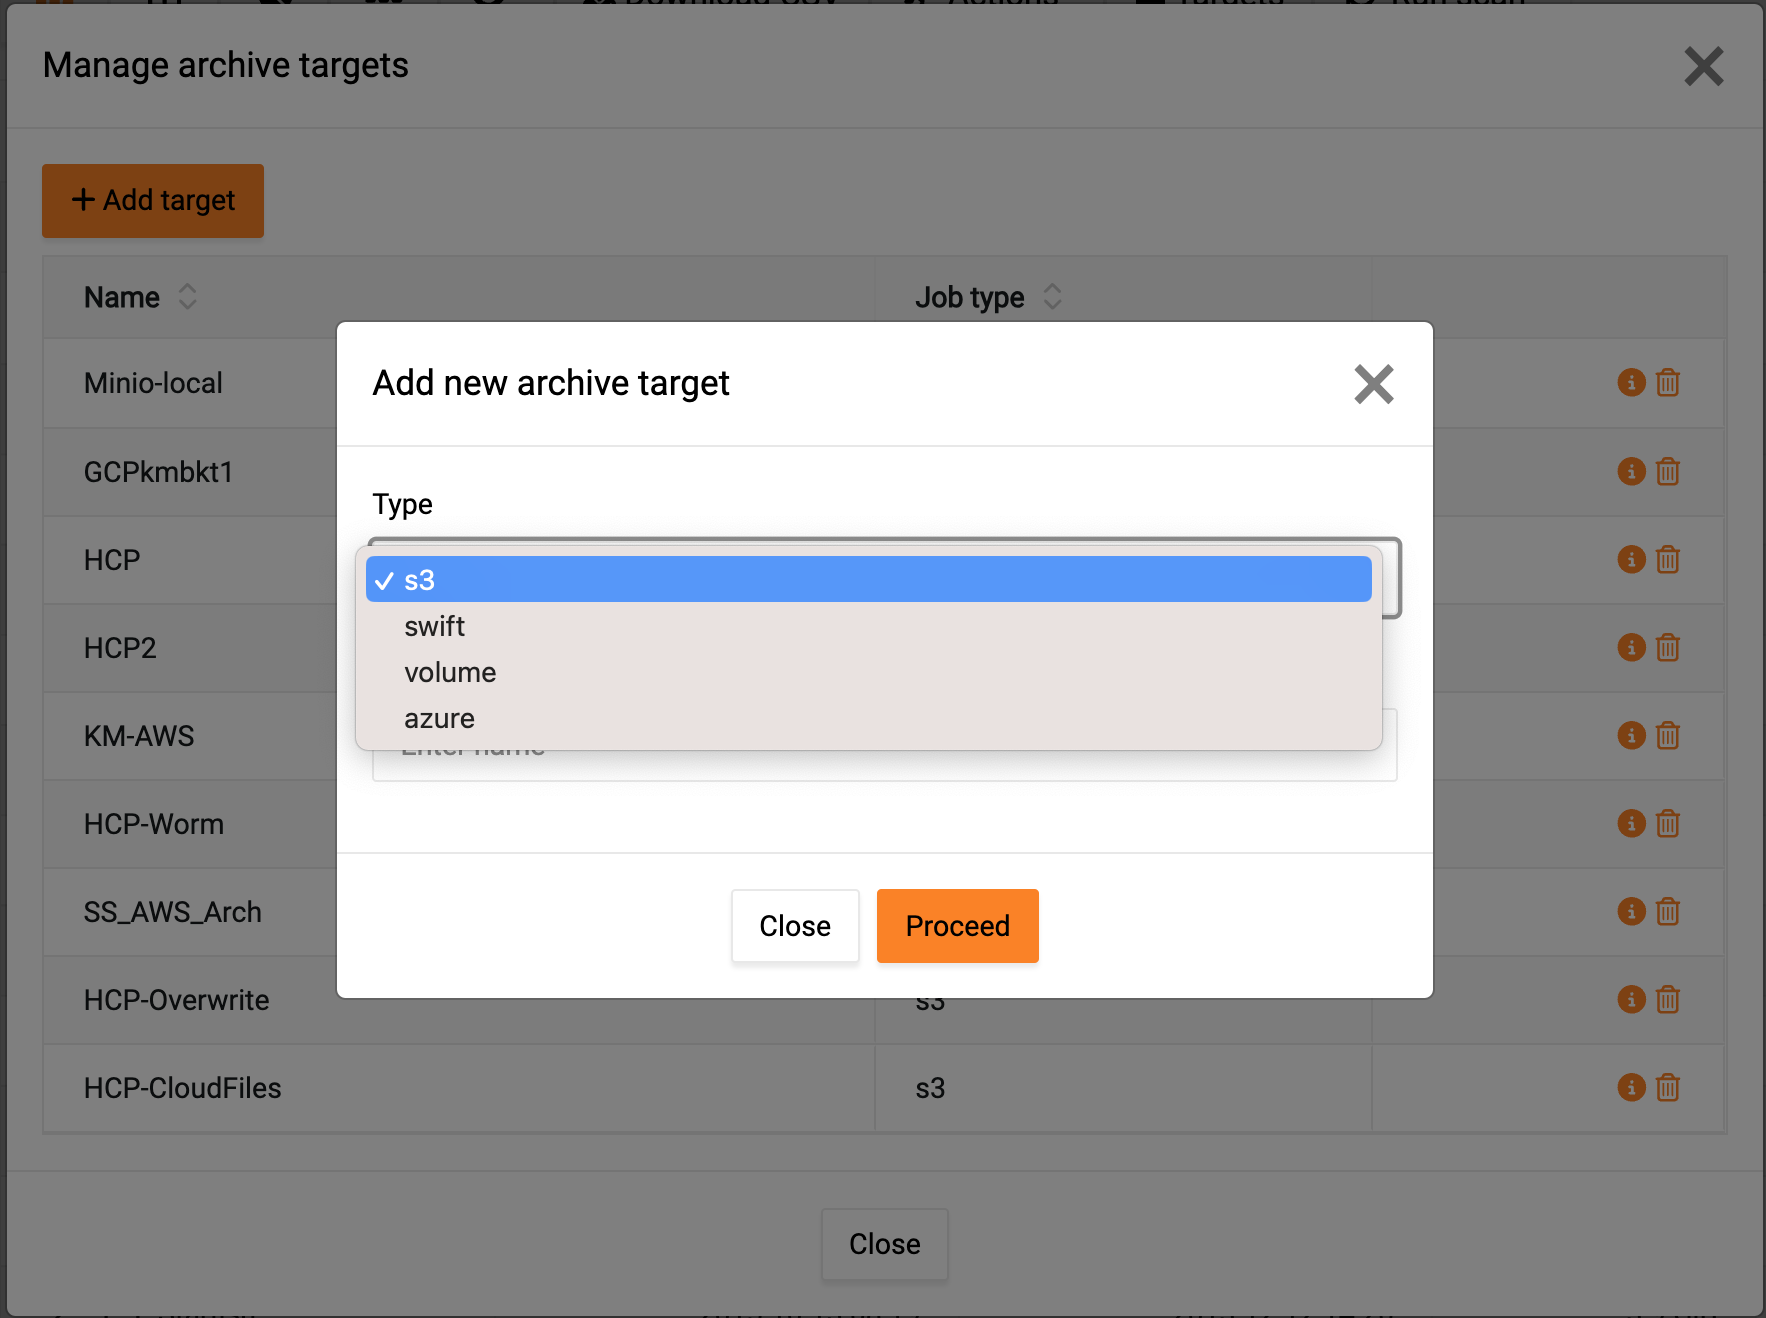
Select Add target and S3
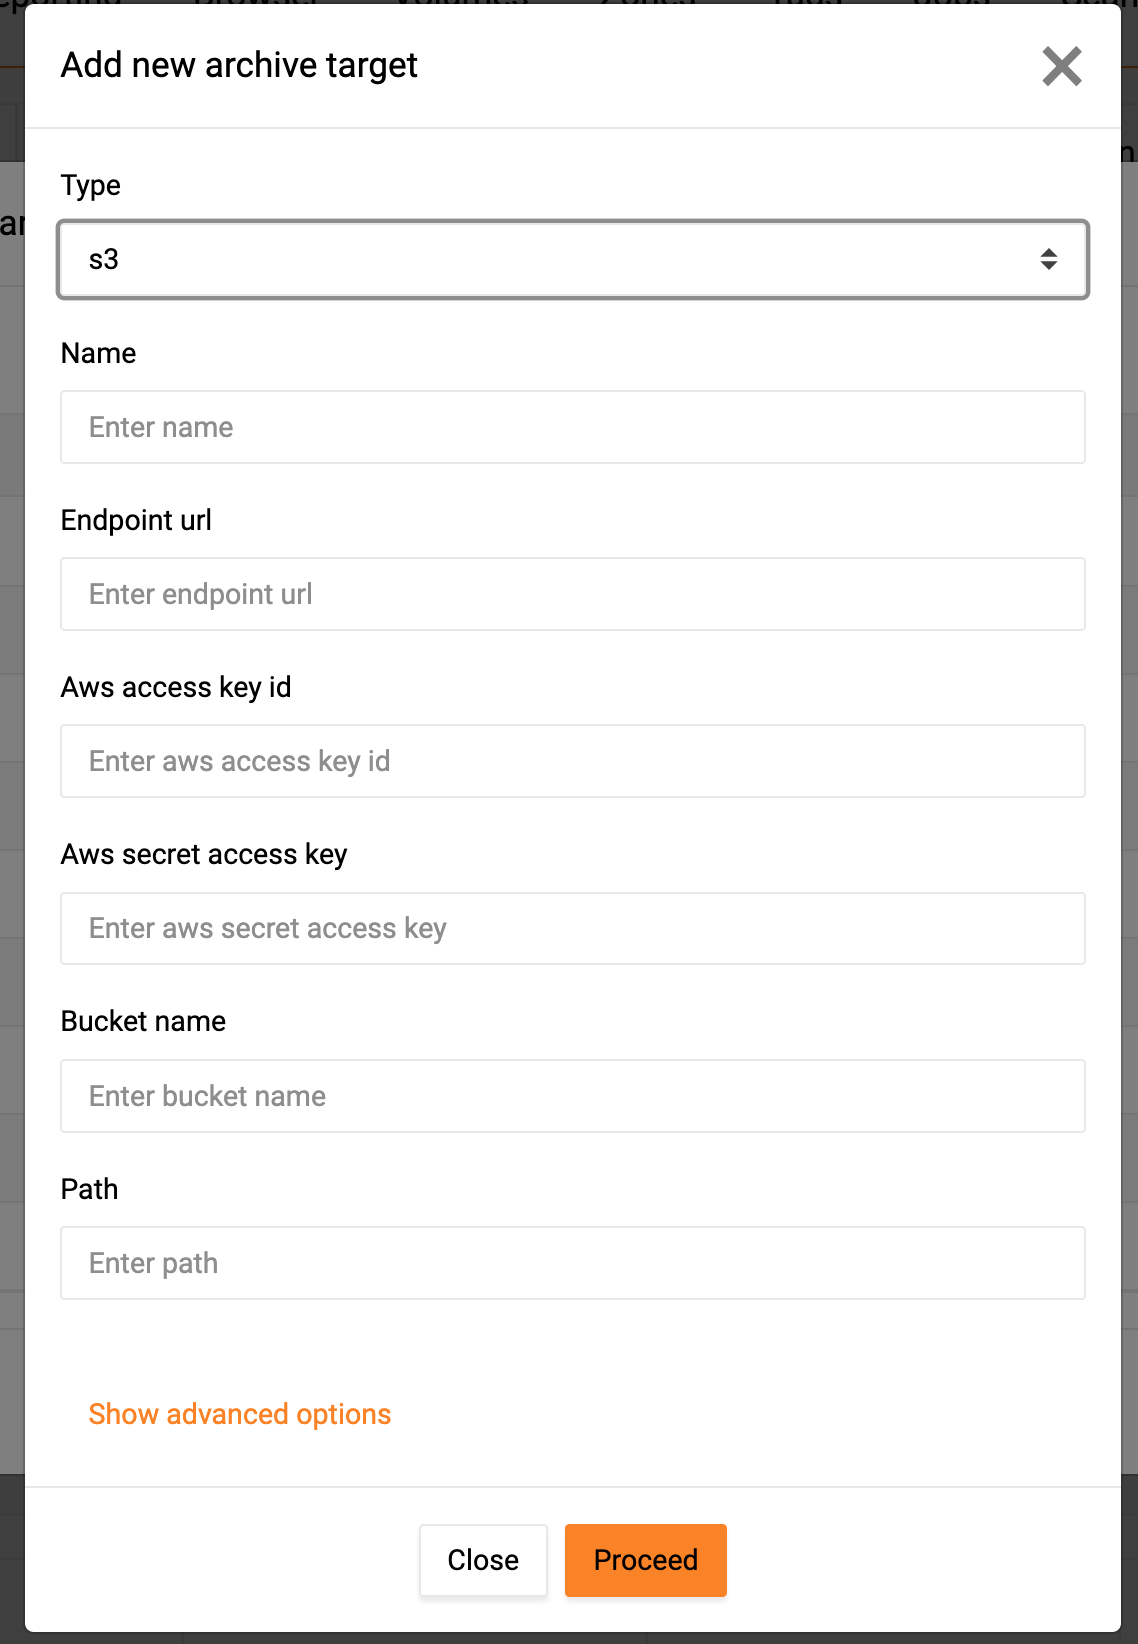
Fill out the target specific details:
- Type: s3
- Endpoint URL: https://gateway.storjshare.io
- Aws access key id: Enter the access key from the S3 credentials you generated in Storj.
- Aws secret access Key: Enter the secret key from the S3 credentials you generated in Storj.
- Bucket name: Enter the name of the bucket created previously
Select Close
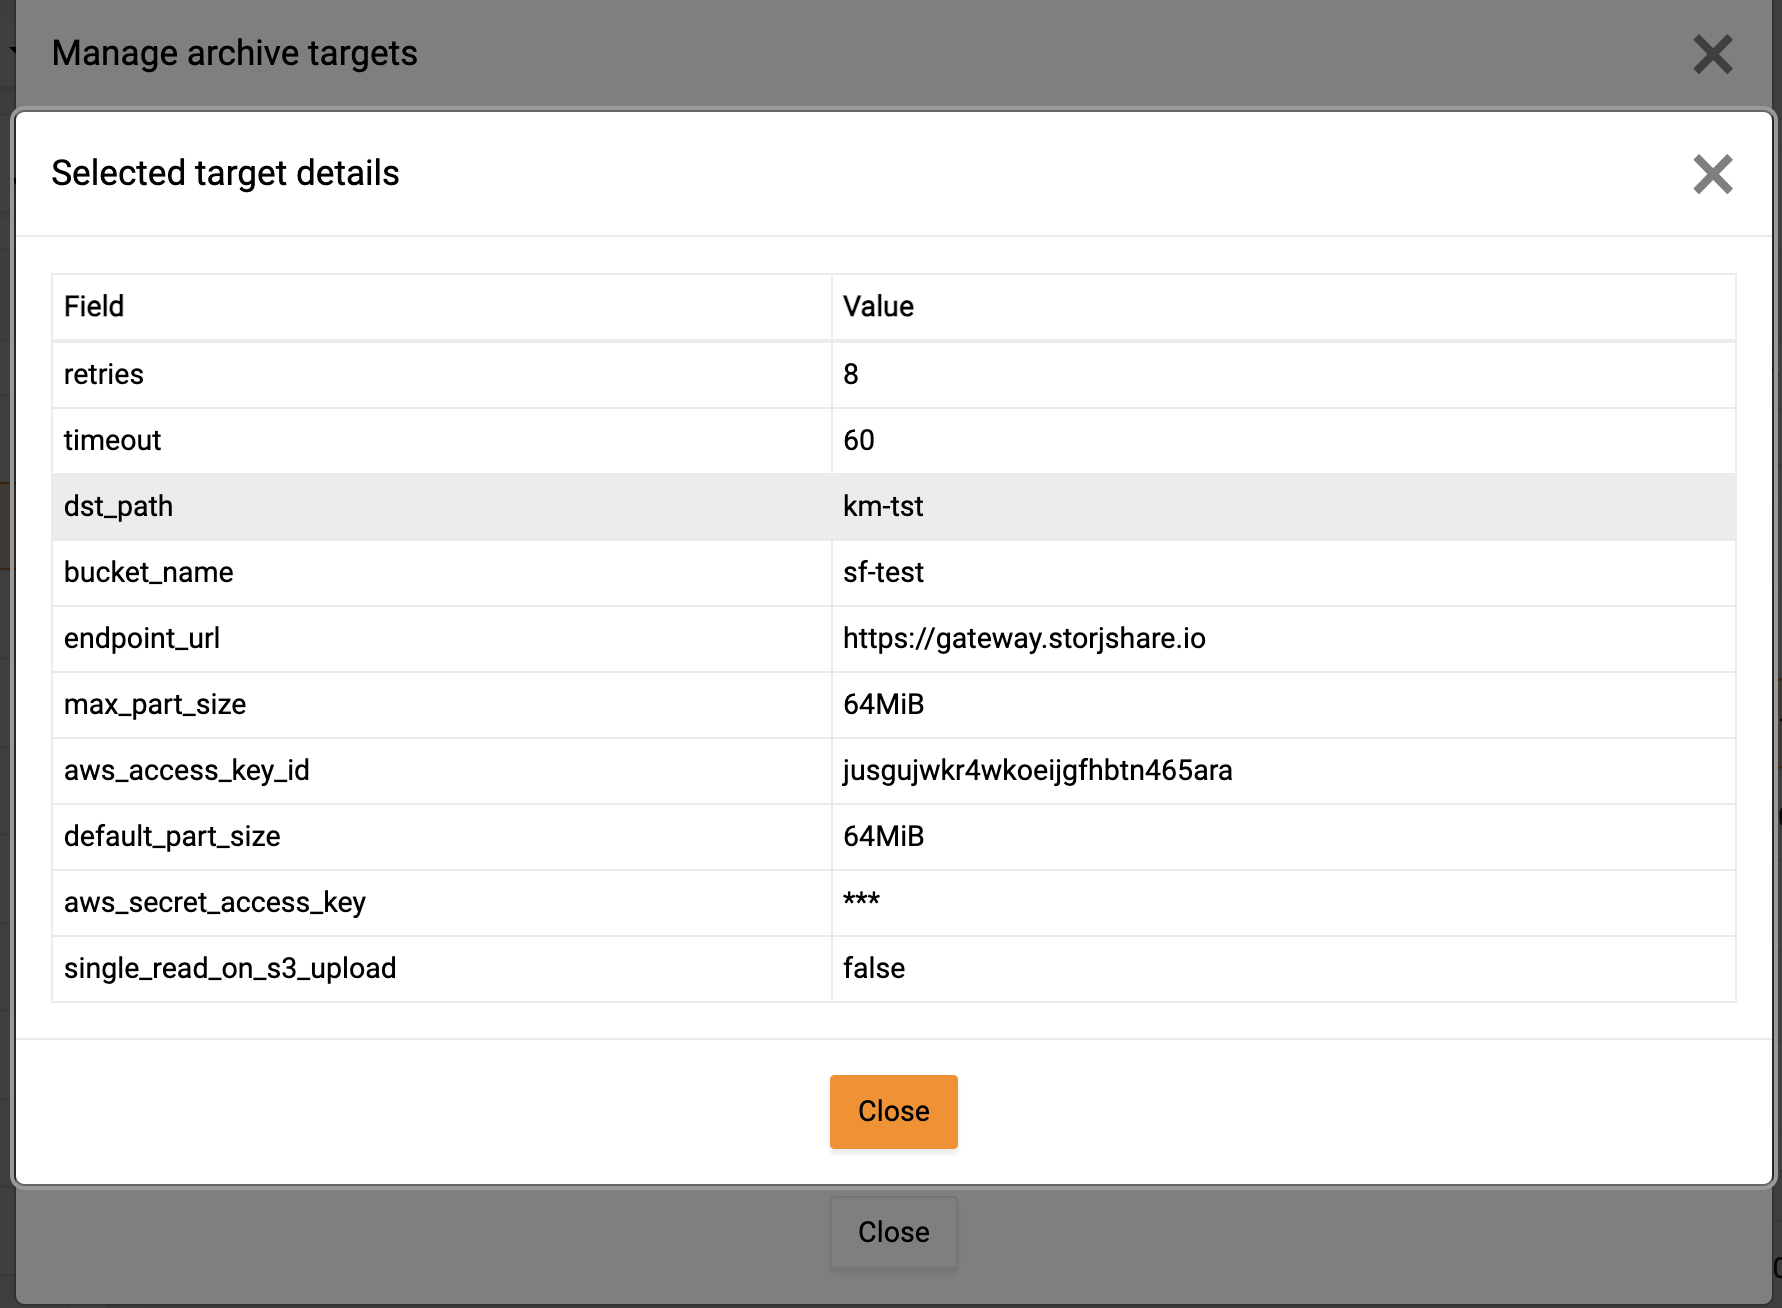
Using the CLI, adjust the
max_part_sizeanddefault_part_sizeto 64MiBThese options are not available via UI but can also be configured via the REST API.
Run the following command in a terminal: