Access
An Access Grant is a security envelope that contains a satellite address, a restricted API Key, and a restricted path-based encryption key - everything an application needs to locate an object on the network, access that object, and decrypt it.
Learn more about Access Management and Access Grants or check out the FAQ and When to use different encryption keys.
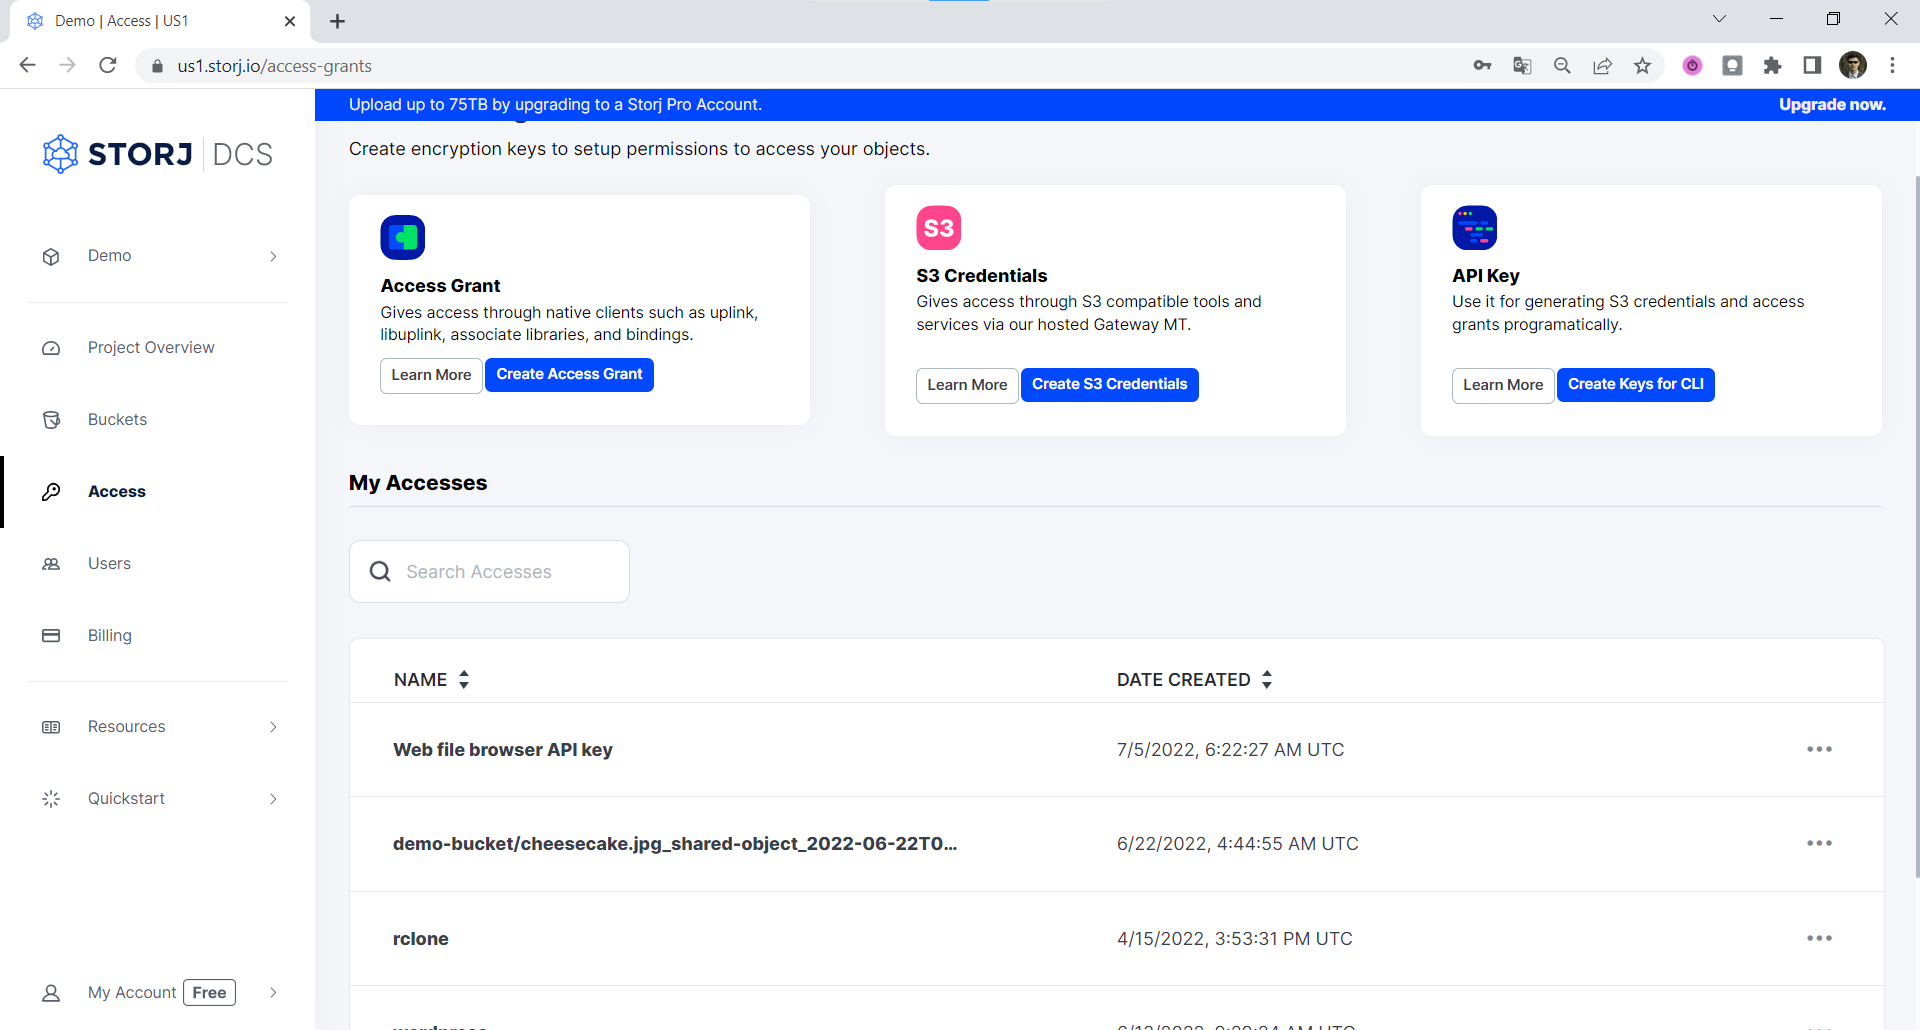
The Access Grant screen allows you to create or delete Access Grants, generate credentials for the Storj S3-compatible Gateway from an Access Grant, create an API key to generate an access grant in the CLI.
Create S3 Credentials
Storj has an Amazon S3 compatible API and you'll need generate S3 credentials to use it. S3 credentials consist of an access key, secret key, and endpoint.
Create S3 credentials in the Storj console:
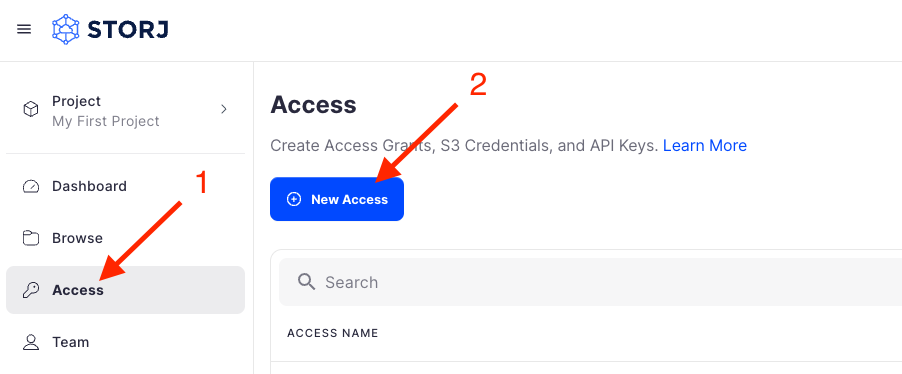
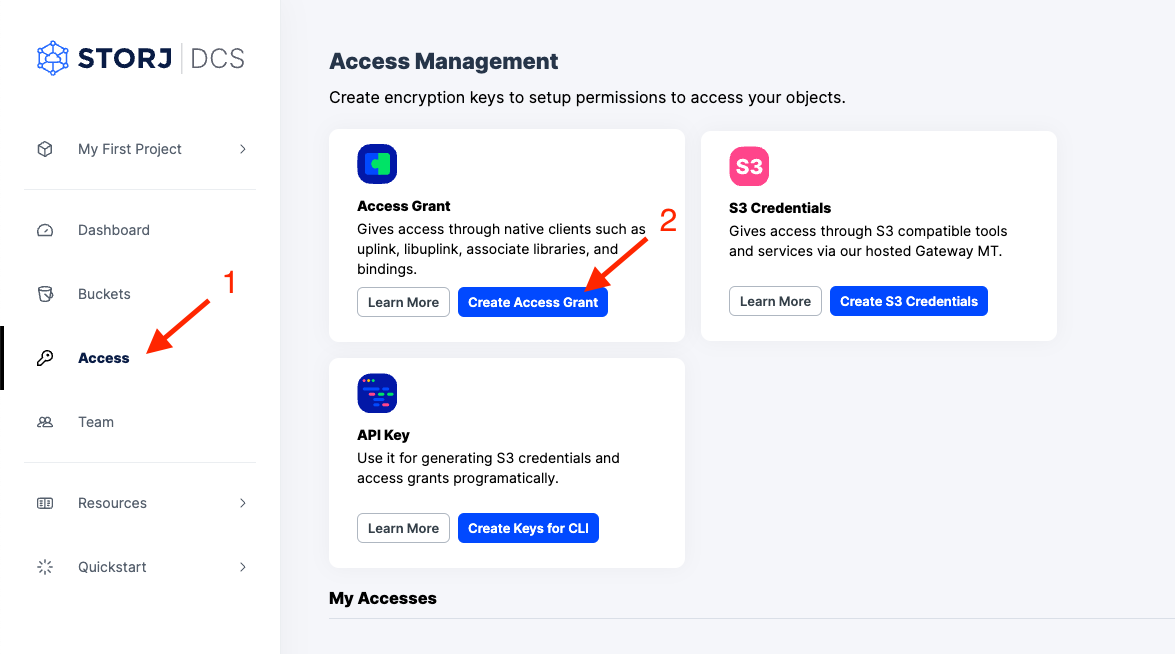
Navigate to Access on the left side menu.
Click Create S3 Credentials under the S3 Credentials block.
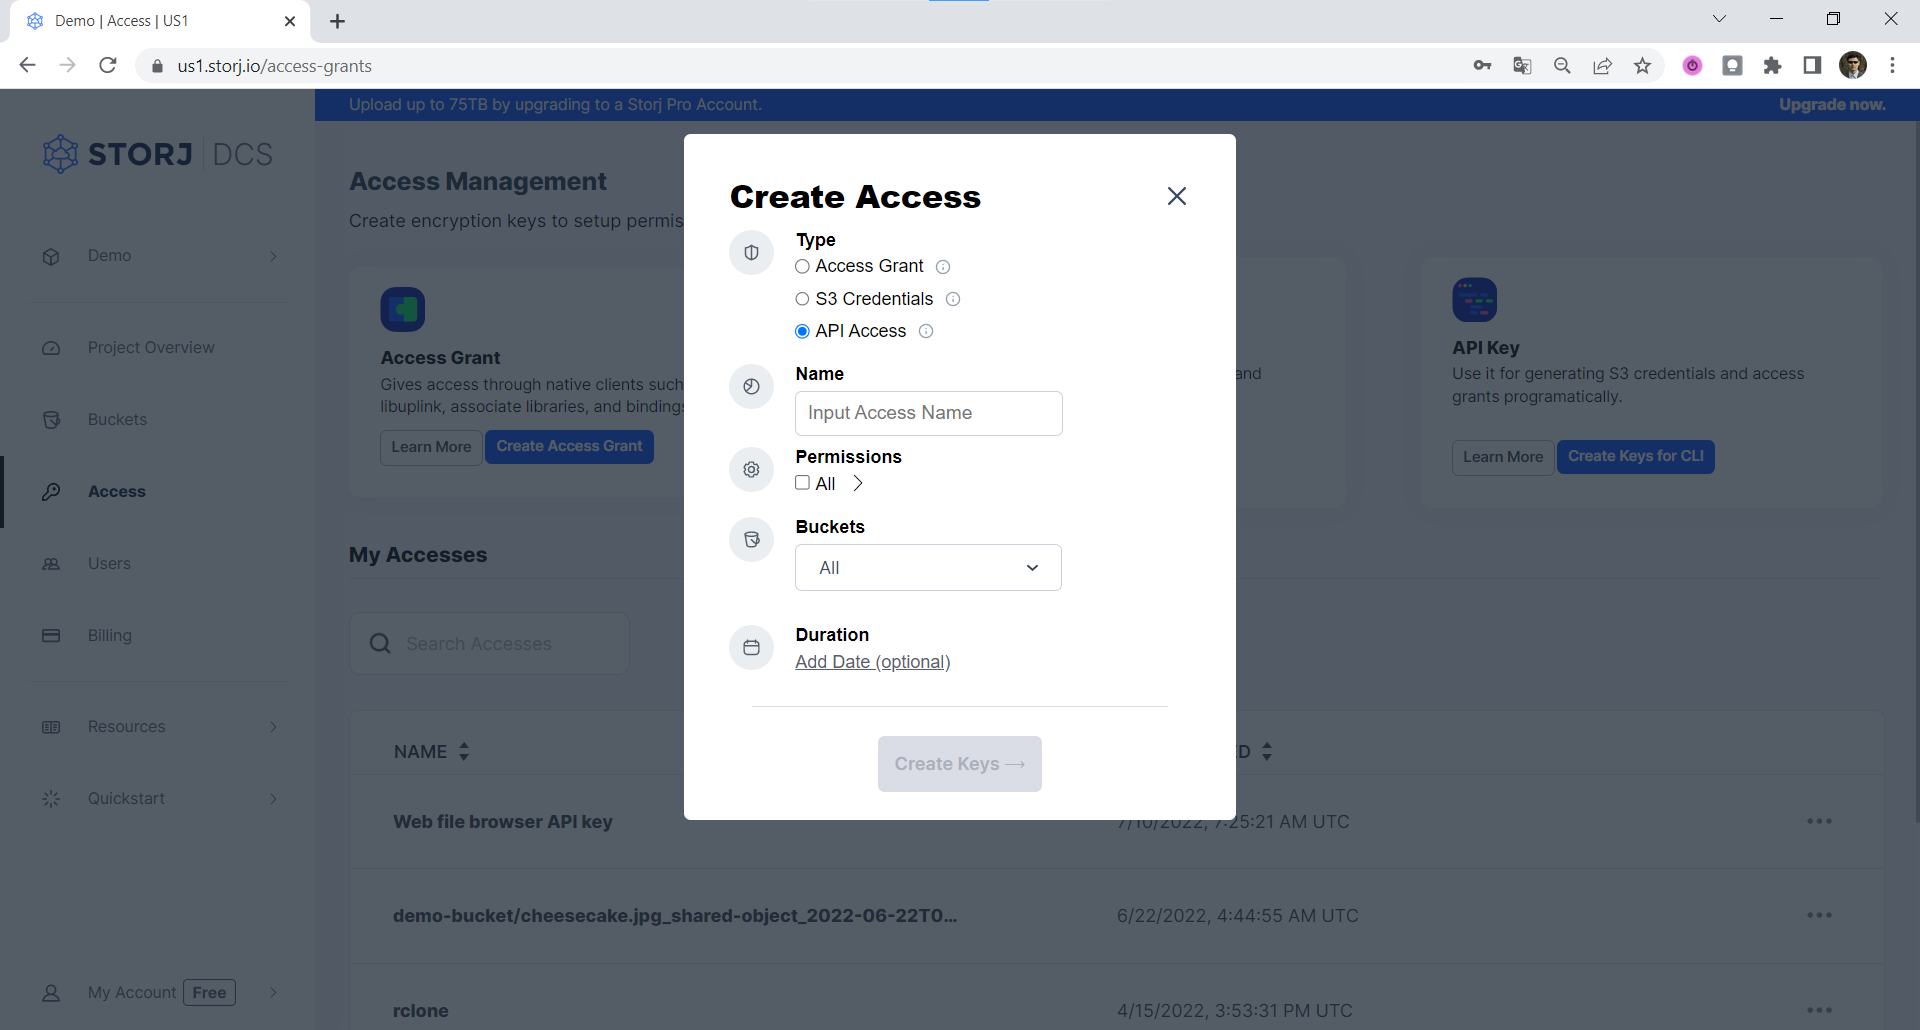
When the Create Access screen comes up, set specifications according to the following guidelines:
- Type: S3 Credentials
- Name: The name of the credentials (e.g. my-access)

Click Continue to provide permissions
- Permissions: All
- Buckets: Feel free to specify the bucket you created above (e.g. my-bucket), or leave as “All”
- End date: provide an expiration date for these credentials (optional)
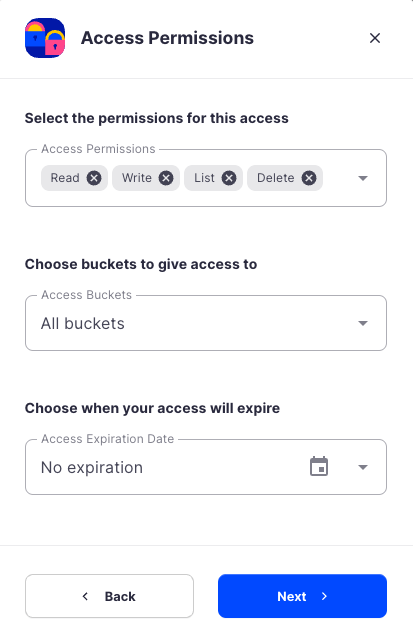
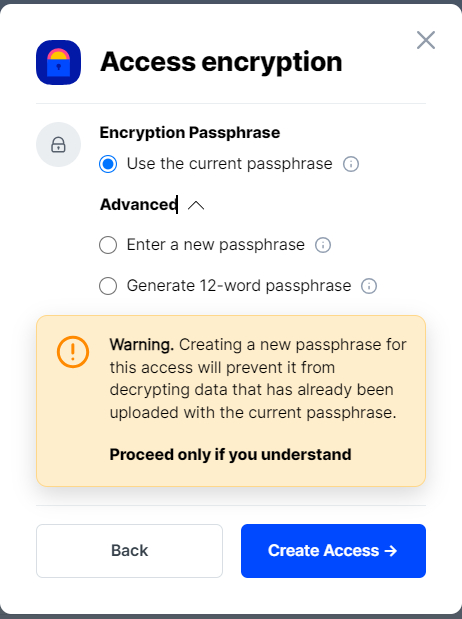
Click Continue to provide Access encryption Information
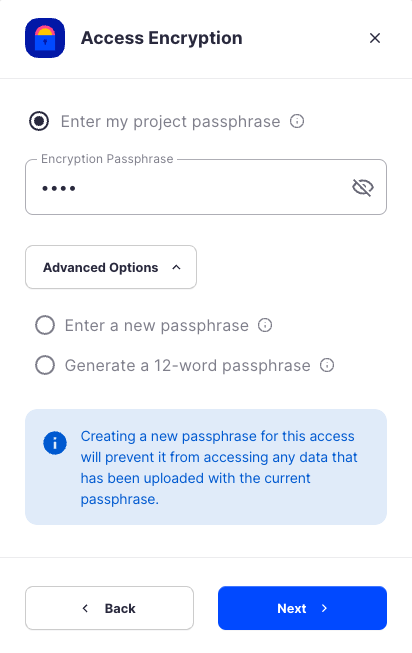
In order to see the data uploaded to your bucket in the Storj console, you must unlock the bucket with the same encryption passphrase as the credentials.
- Use the current passphrase: this is default option
- Advanced: you may provide a different encryption phrase either your own or generate a new one.
- Enter a new passphrase: use this option, if you would like to provide your own new encryption phrase
- Generate 12-word passphrase: use this option, if you would like to generate a new encryption phrase
Click Create Access to finish creation of your S3 credentials
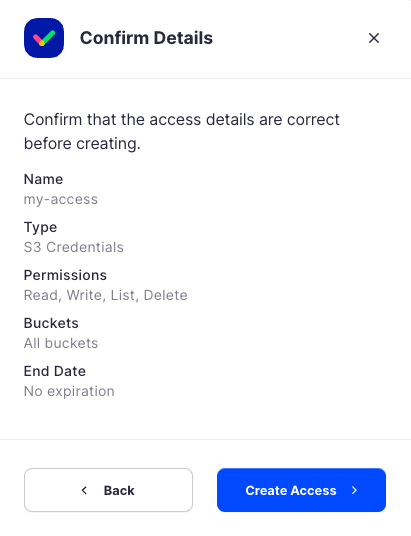
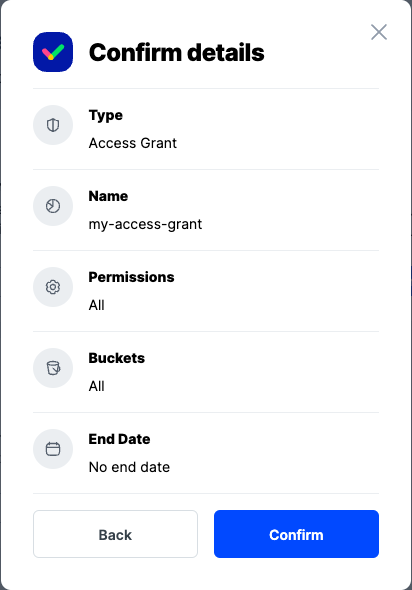
Click Confirm the Confirm details pop-up message
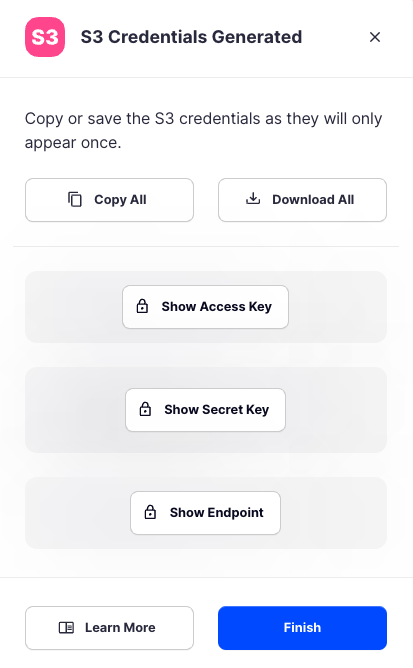
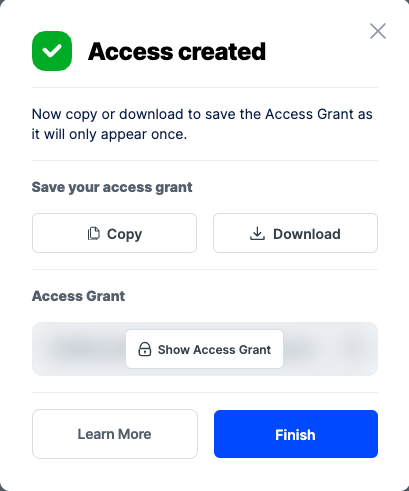
Your S3 credentials are created. Write them down and store them, or click the Download all button. You will need these credentials for the following steps.
Create Access Grant
A Storj access grant is a serialized, self-contained credential that allows users to access a specific bucket, or object, within a Storj project. It encapsulates everything needed for authentication and authorization on the Storj network.
Create Access Grant in the Storj Console:
Navigate to Access on the left side menu.
Click Create Access Grant under the Access Grant block
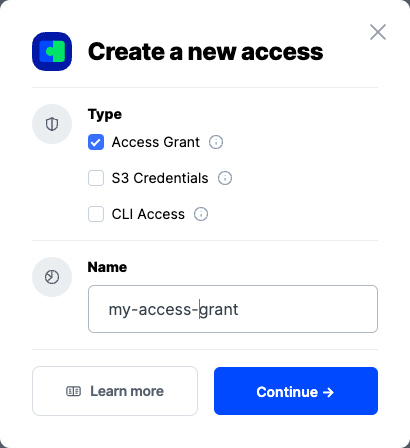
When the Create Access screen comes up, set specifications according to the following guidelines:
Type: Access Grant
Name: The name of the credentials (e.g. my-access-grant)
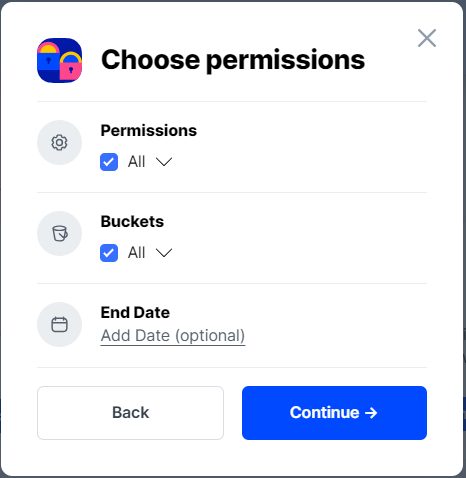
Click Continue to provide permissions
Permissions: All
Buckets: Feel free to specify the bucket (e.g. my-bucket), or leave as “All”
End date: provide an expiration date for these credentials (optional)
Click Continue to provide Access encryption Information
In order to see the data uploaded to your bucket in the web console, you must unlock the bucket with the same encryption passphrase as the credentials.
Use the current passphrase: this is default option
Advanced: you may provide a different encryption phrase either your own or generate a new one.
Enter a new passphrase: use this option, if you would like to provide your own new encryption phrase
Generate 12-word passphrase: use this option, if you would like to generate a new encryption phrase
This passphrase is important! Encryption keys derived from it are used to encrypt your data at rest, and your data will have to be re-uploaded if you want it to change!
Importantly, if you want two access grants to have access to the same data, they must use the same passphrase. You won't be able to access your data if the passphrase in your access grant is different than the passphrase you uploaded the data with.
Please note that Storj does not know or store your encryption passphrase, so if you lose it, you will not be able to recover your files.
Click Create Access to finish creation of your S3 credentials
Click Confirm the Confirm details pop-up message
Your Access Grant is created. Write them down and store them, or click the Download all button. You will need these credentials for the following steps.
Create Keys for CLI
You need to have a satellite account and Uplink CLI installed. See Create Your Account
To start, proceed through the initial steps of creating a new Access Grant.
Navigate to "Access" page and click the Create Keys for CLI link (rightmost option).
Provide name, permissions and optionally buckets, select Create Keys.
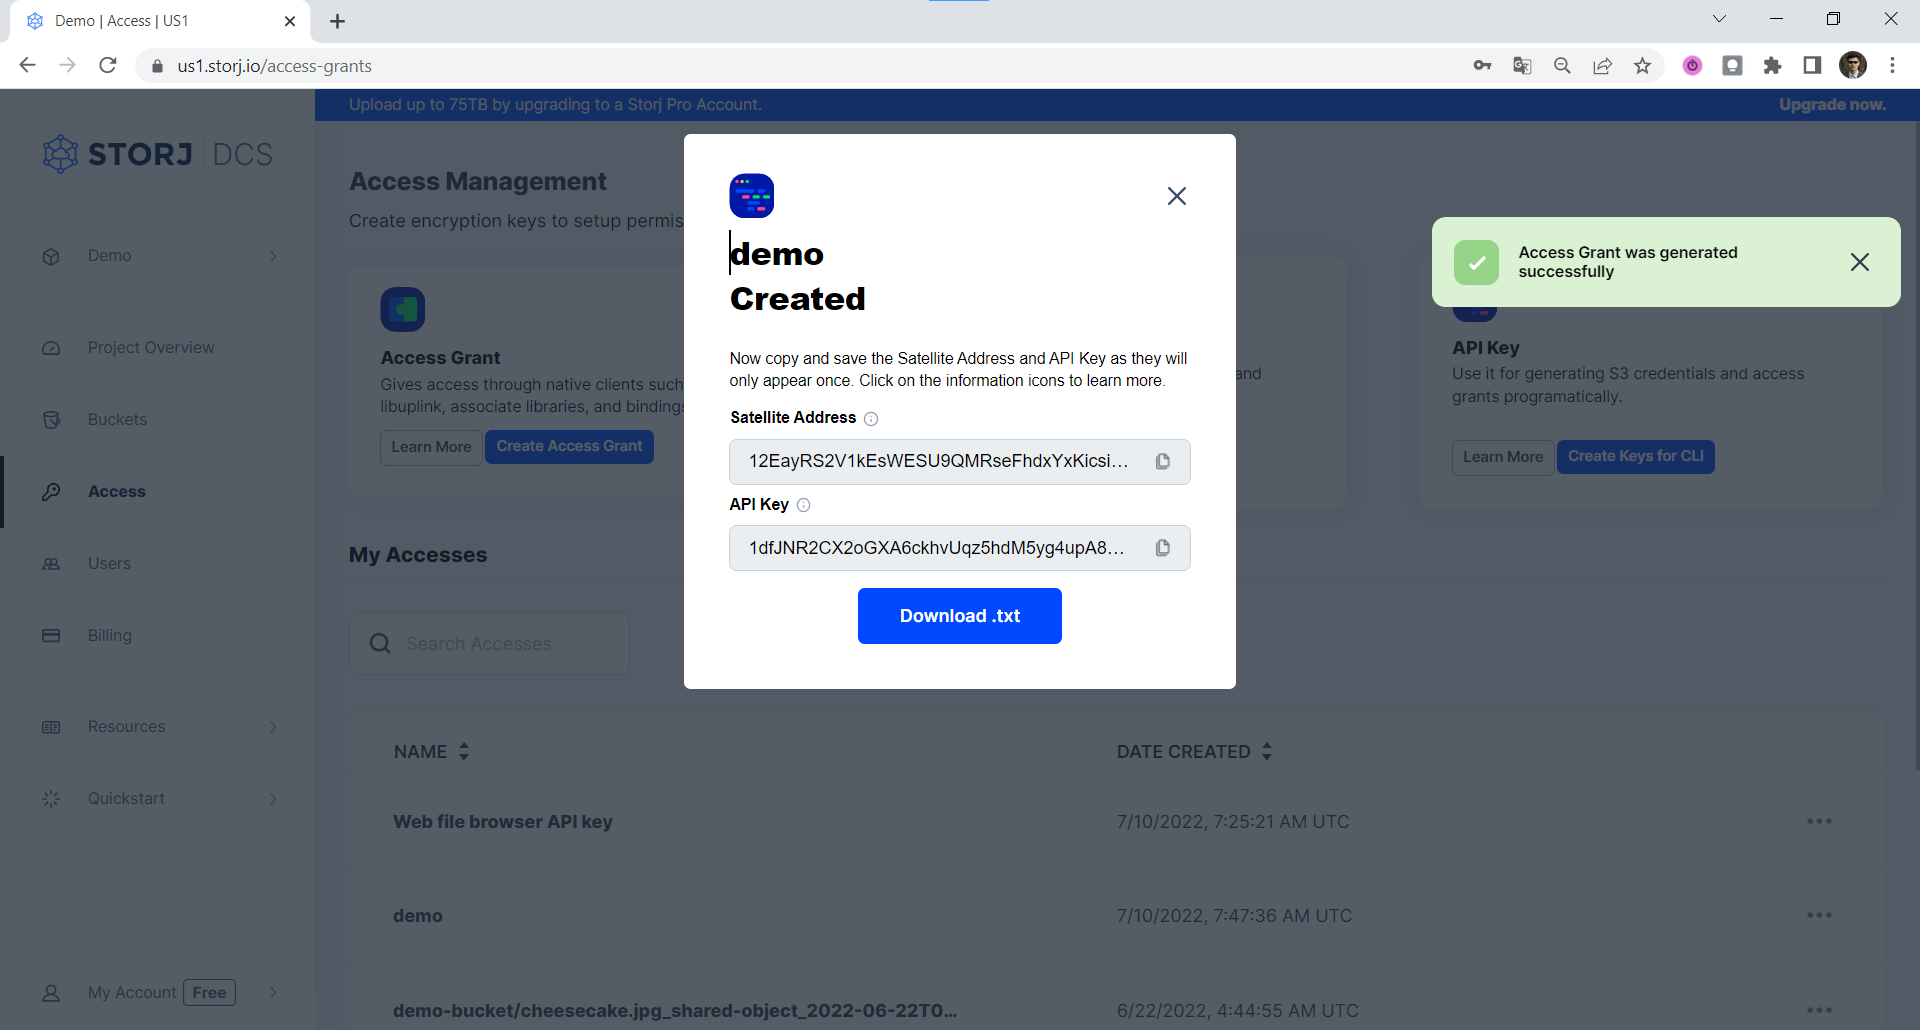
Copy and save the Satellite Address and **API Key **in a safe place or download them as they will only appear once.
Make sure you've already Download and Installation and run
uplink setup.For anyone who has previously configured an Uplink, please use a named access. If you want to replace the default access, you need to either Create an Access Grant and use the access importcommand with
--forceflag to import it, or use theaccess importcommand with--forceflag to create an Access Grant in CLI and import it to the specified access in the local store of Uplink.Follow the prompts. When asked for your API Key, enter it (you should have saved it in step 5 above).
Generate the Access Grant by running
uplink sharewith no restrictions.If you chose an access name, you'll need to specify it in the following command as
--access=nameKeep your full-rights Access Grant secret, it contains the encryption key and will enable uploading, downloading or deleting your data from the entire project!
Your Access Grant should have been output.
The alternative for using the uplink setup command and then uplink share is to use the uplink access create command instead, it will print the Access Grant right away.
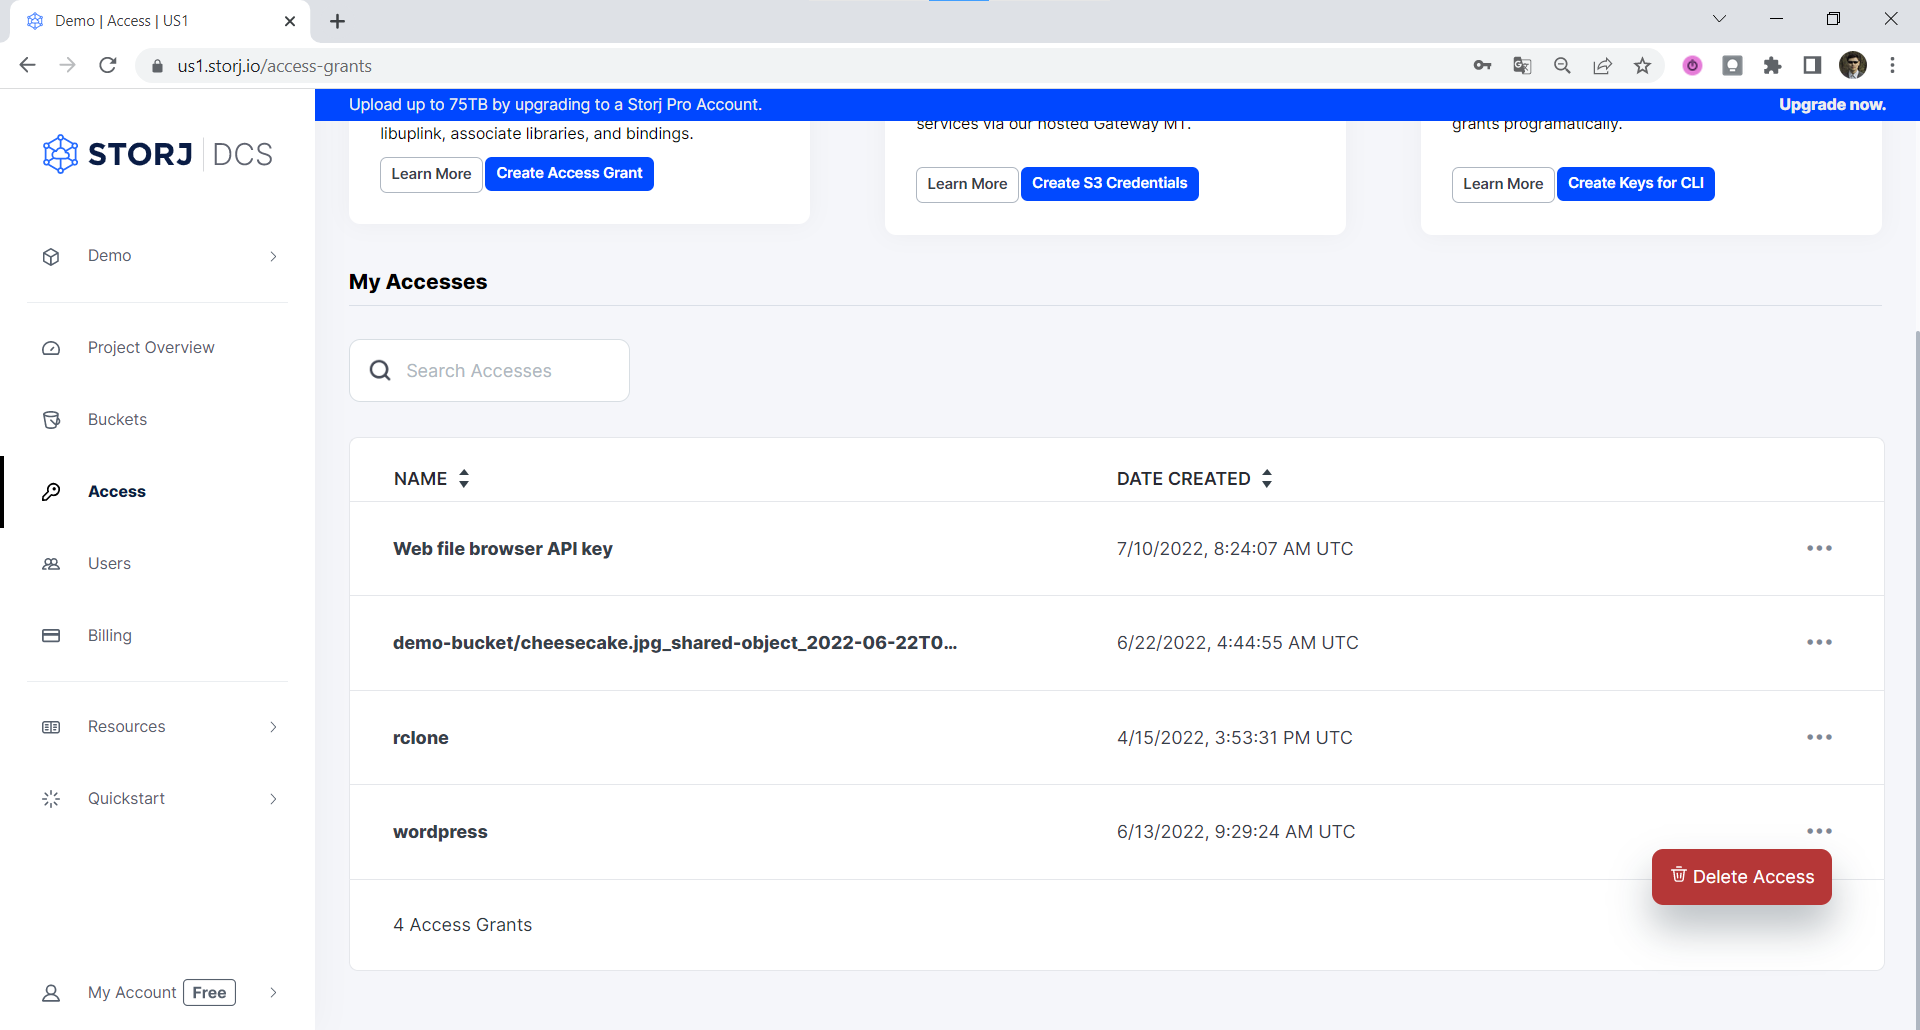
Delete Access Grant
To Delete an Access Grant, select three dots on the right side of the Access Grant and choose Delete Access:
Then confirm that you want to delete the Access Grant by typing its name and confirming with Delete Access button.
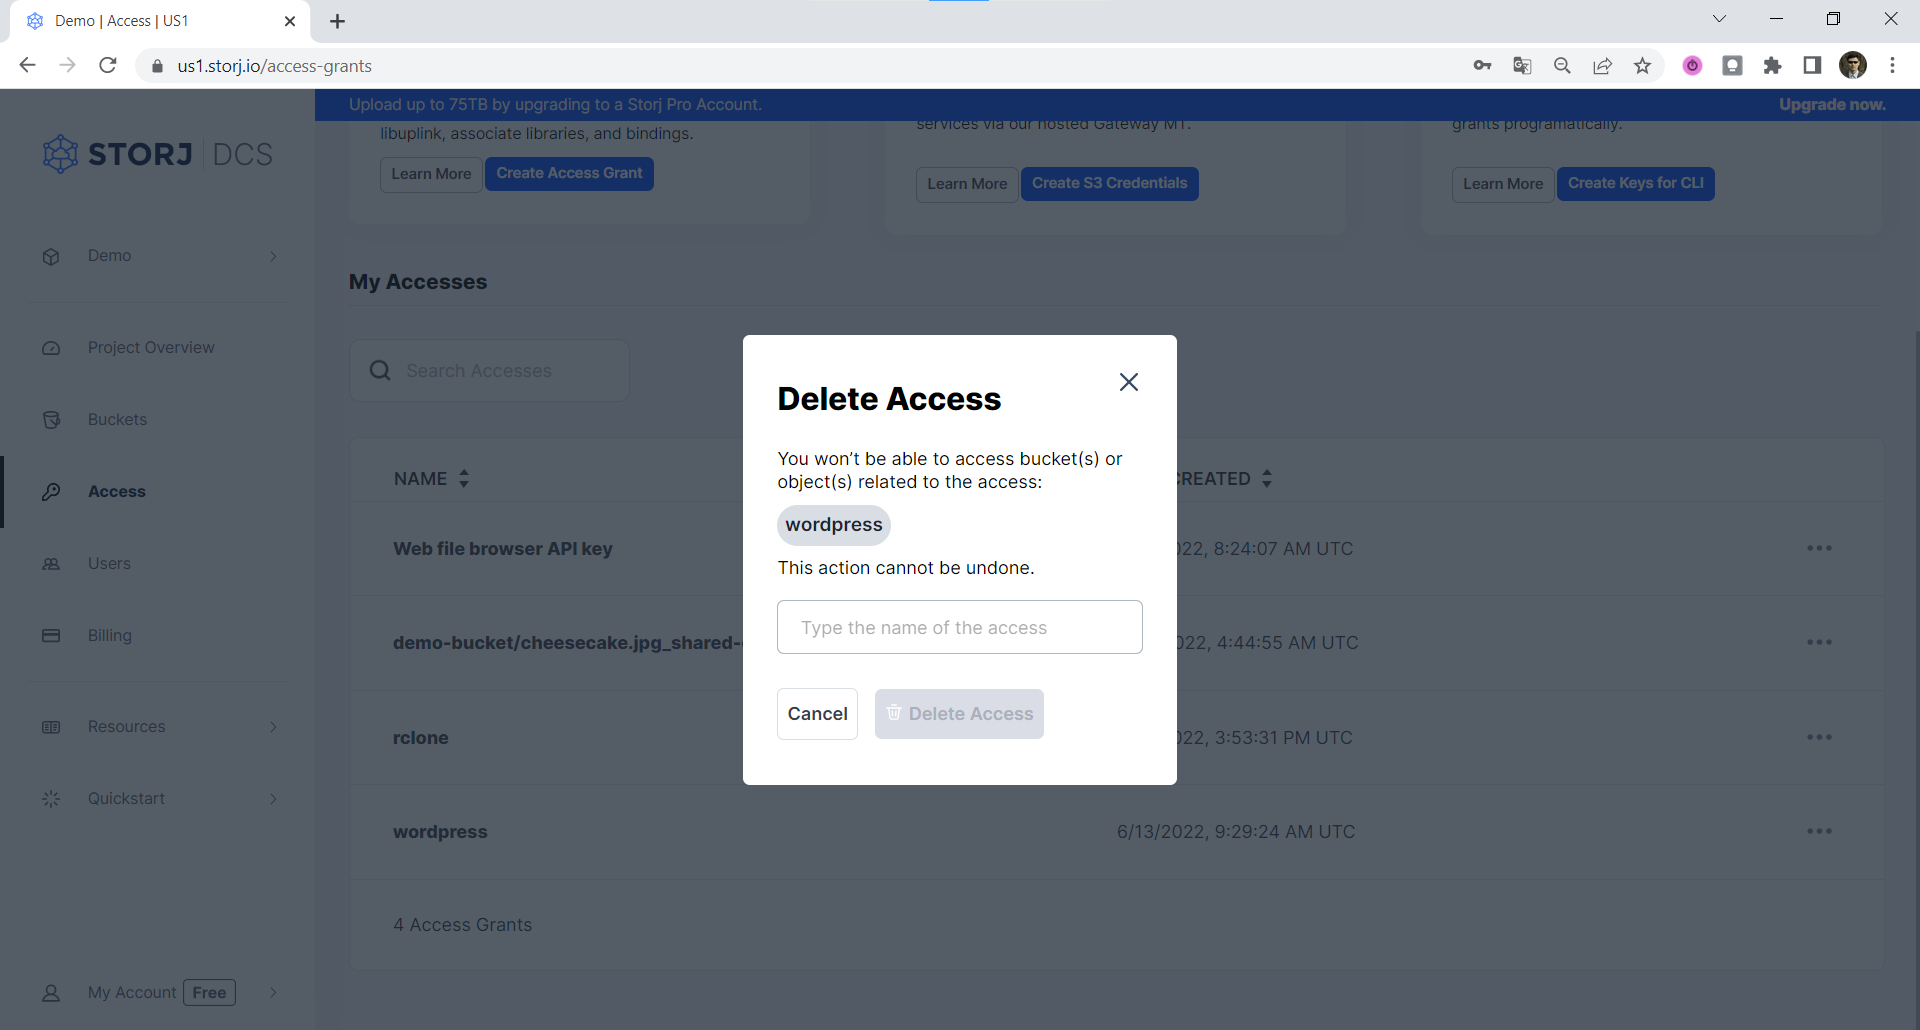
Important: If you delete an Access Grant from the Satellite user interface, that Access Grant will immediately cease to function, and all hierarchically derived child Access Grants and Storj gateway access credentials based on that Access Grant will also cease to function. Any data uploaded with that Access Grant will persist on Storj. If you didn't back up the Encryption Passphrase used with the Access Grant you are deleting, you will not be able to decrypt that data without that Encryption Passphrase, and it will be effectively unrecoverable.
You don't need to know everything in the whitepaper about our Access Grants, macaroon-based API Keys or our encryption implementation, but if you understand the general principles, you'll find these are some very sophisticated (but easy to use) tools for creating more secure and private applications.