Kerberos Vault
Introduction
The Kerberos.io project (not to be confused with the authentication protocol of the same name) offers an open-source platform for video analytics and monitoring. With a modular system design focused on minimal startup requirements and additional components available to add later, Kerberos.io is built to work for everything from small, personal systems to complex enterprise configurations. This makes it a useful solution that is relevant at all scales.
The modularity of Kerberos.io includes optional components that help integrate it into any cloud architecture. One of these components is Kerberos Vault, which provides a flexible and extensible storage solution for video files. Kerberos Vault is designed to work with several different cloud providers, including Storj, to allow for customized storage options where users can bring their own providers.
Storj and Kerberos
Storj's decentralized cloud storage platform offers a great video storage backend for integration with Kerberos.io and Kerberos Vault. This is because the distributed storage design that Storj is built on offers both high availability access to video files (thanks to its network of nodes across multiple regions) and secure, reliable hosting with no single-point-of-failure.
Conveniently, it is fairly simple to configure Storj to work with Kerberos Vault. This doc will show the steps necessary to do so.
Prerequisites
Before starting the steps in this outline, ensure you have the following:
A Storj account. You can Create Your Account for free at Storj.io/signup.
A Kubernetes cluster. Kerberos.io is best deployed as a container in Kubernetes. You can create a Kubernetes cluster locally or on any service provider that offers Kubernetes such as Google Cloud's GKE or Amazon EKS.
Kerberos Vault installed in your Kubernetes cluster. Kerberos.io provides documentation on how to install Kerberos Vault in Kubernetes, both for public and private cloud options.
With these prerequisites satisfied, we can begin configuring Kerberos Vault to use Storj in our Kubernetes cluster.
Creating a Storj Bucket and Access Credentials
The first step in configuring Storj as the storage backend for Kerberos.io is to create a bucket in your Storj account and Getting started for the bucket.
Kerberos Vault will then use the bucket information and access grant to connect with Storj.
For this, do the following steps:
1) Log in to your Storj account
2) On the main dashboard, click Create buckets and "New Bucket"
3) Give your bucket a descriptive name in the text box, for example "kerberos-vault"
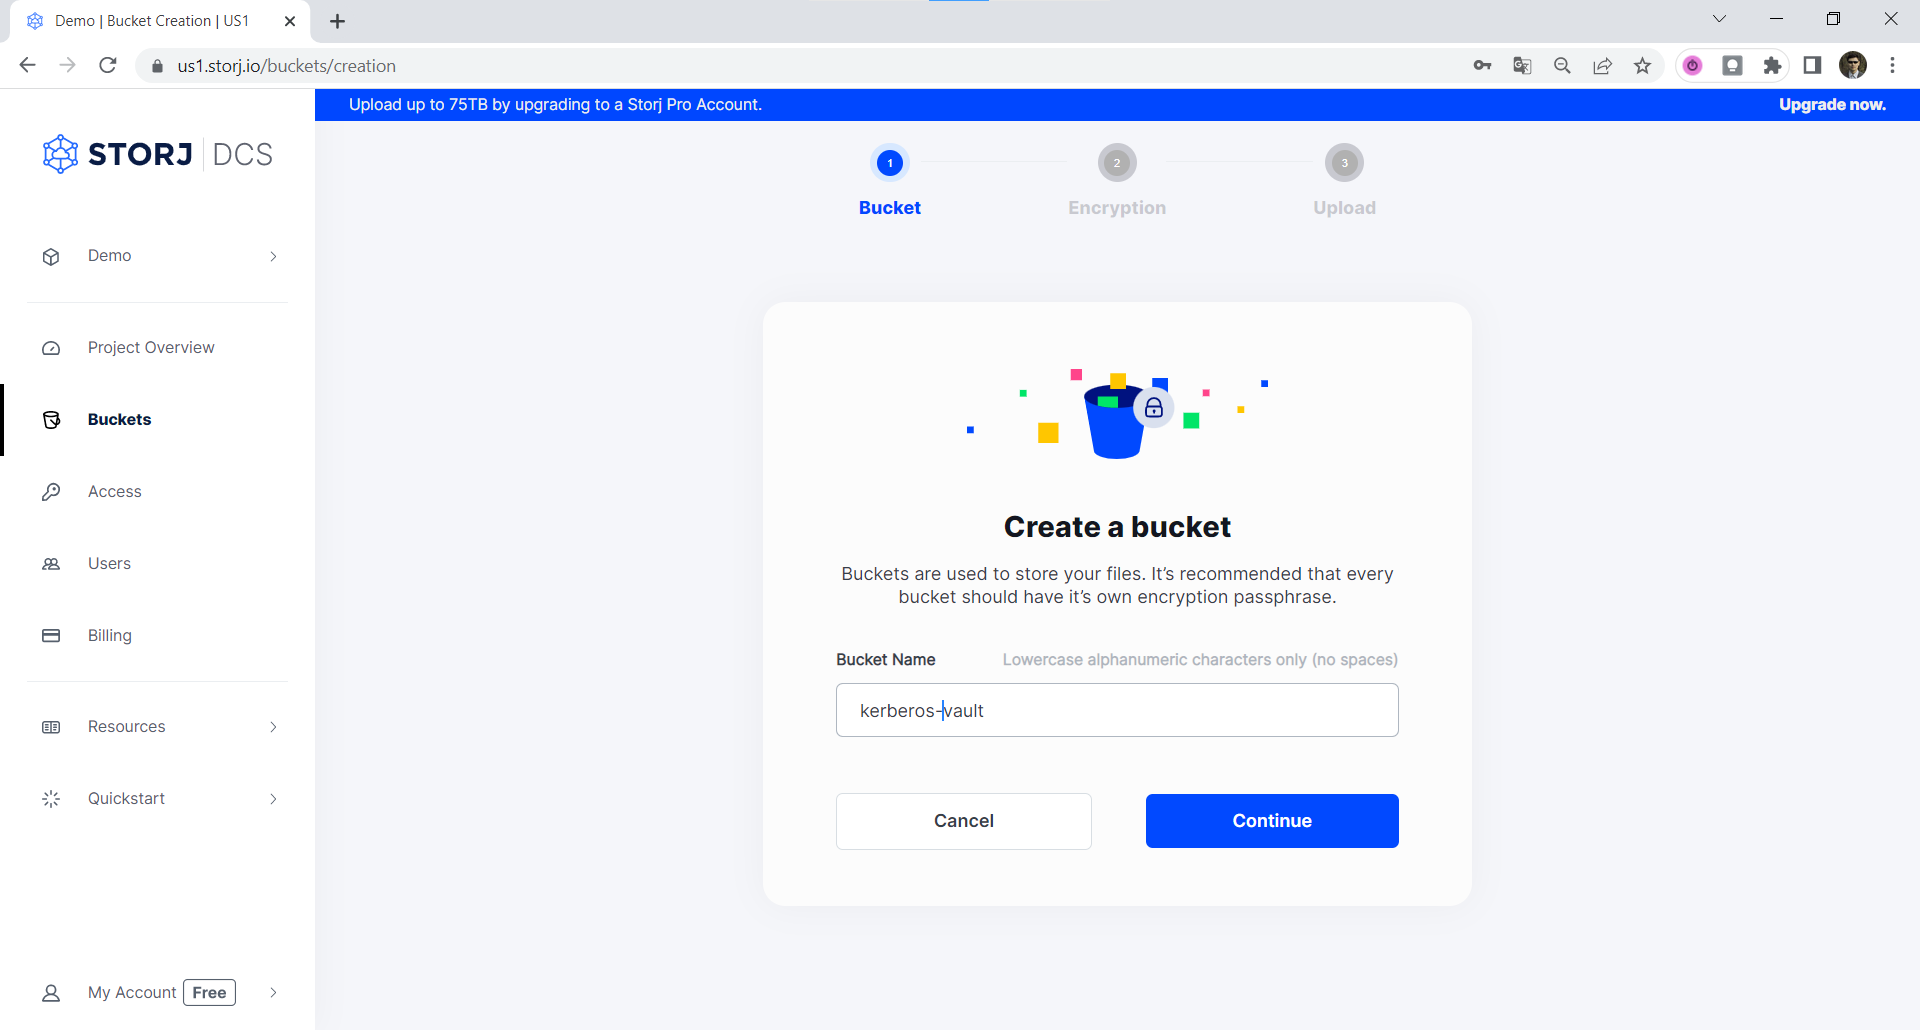
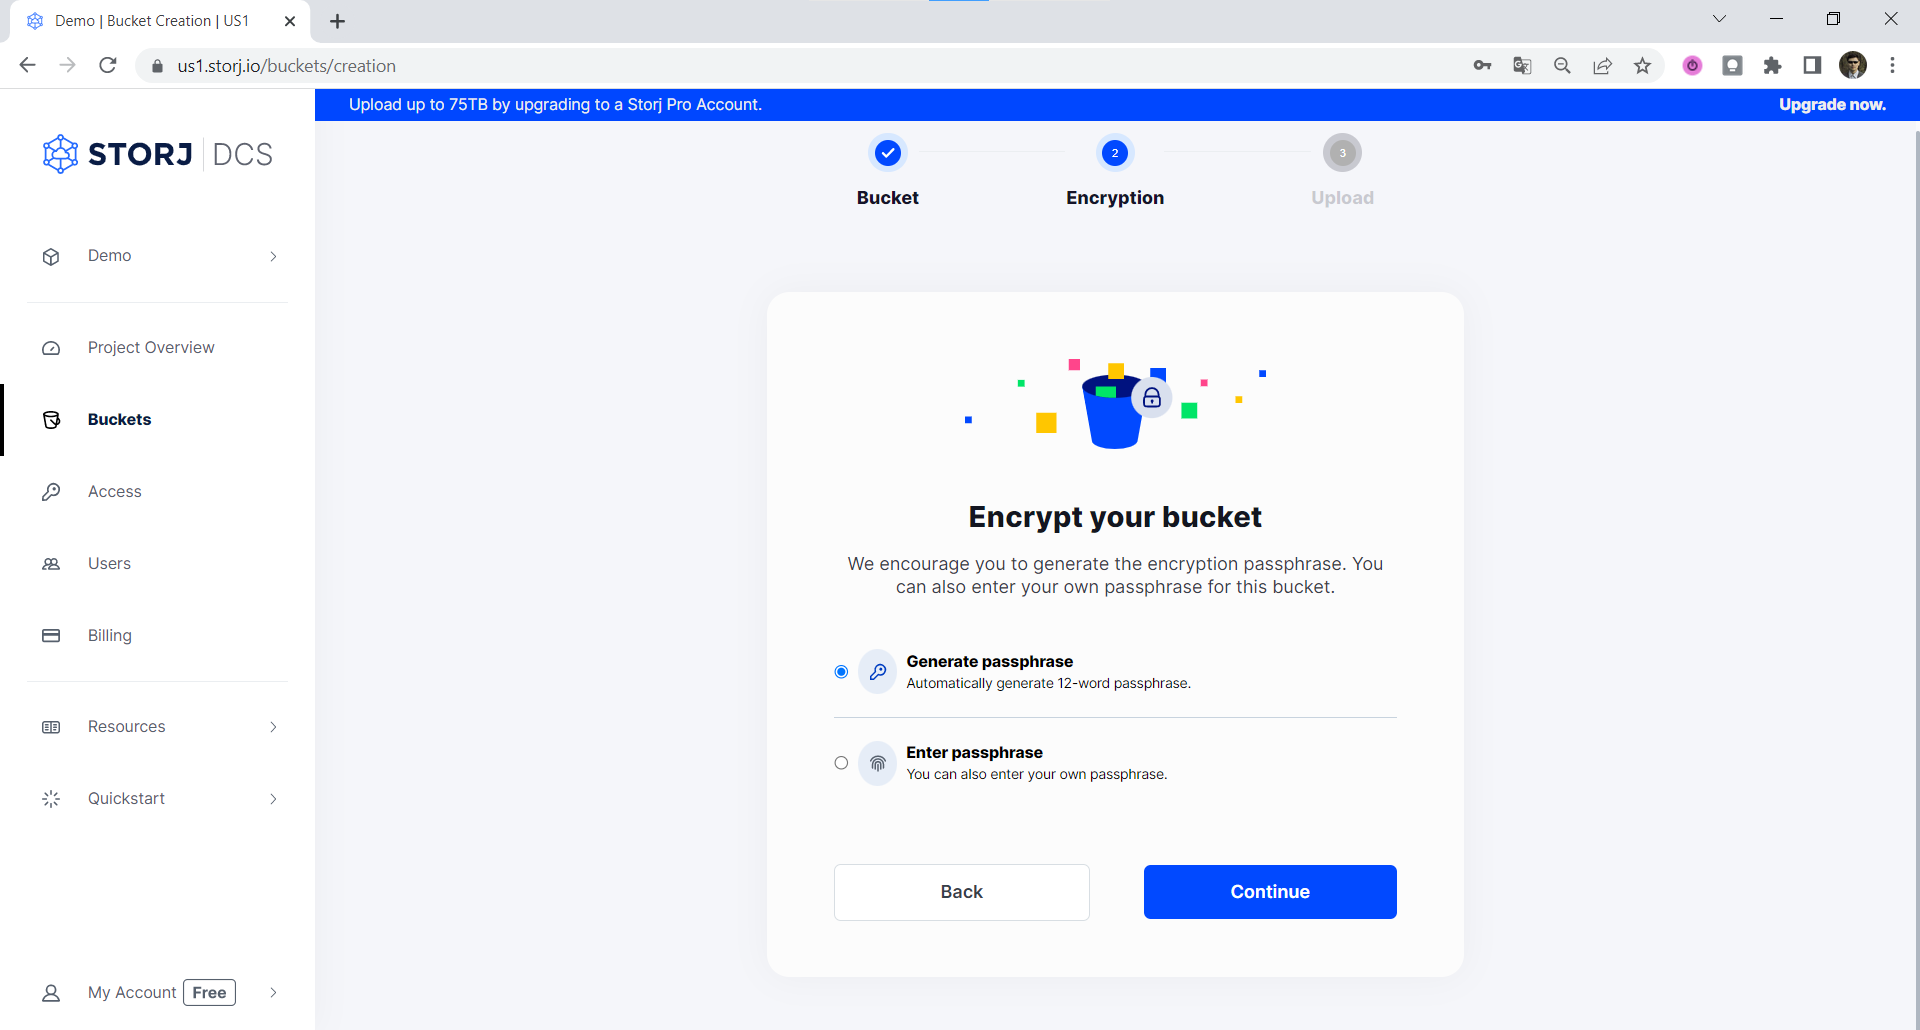
4) Click Continue. You will be prompted to select your Encryption - either Generate passphrase or Enter passphrase.
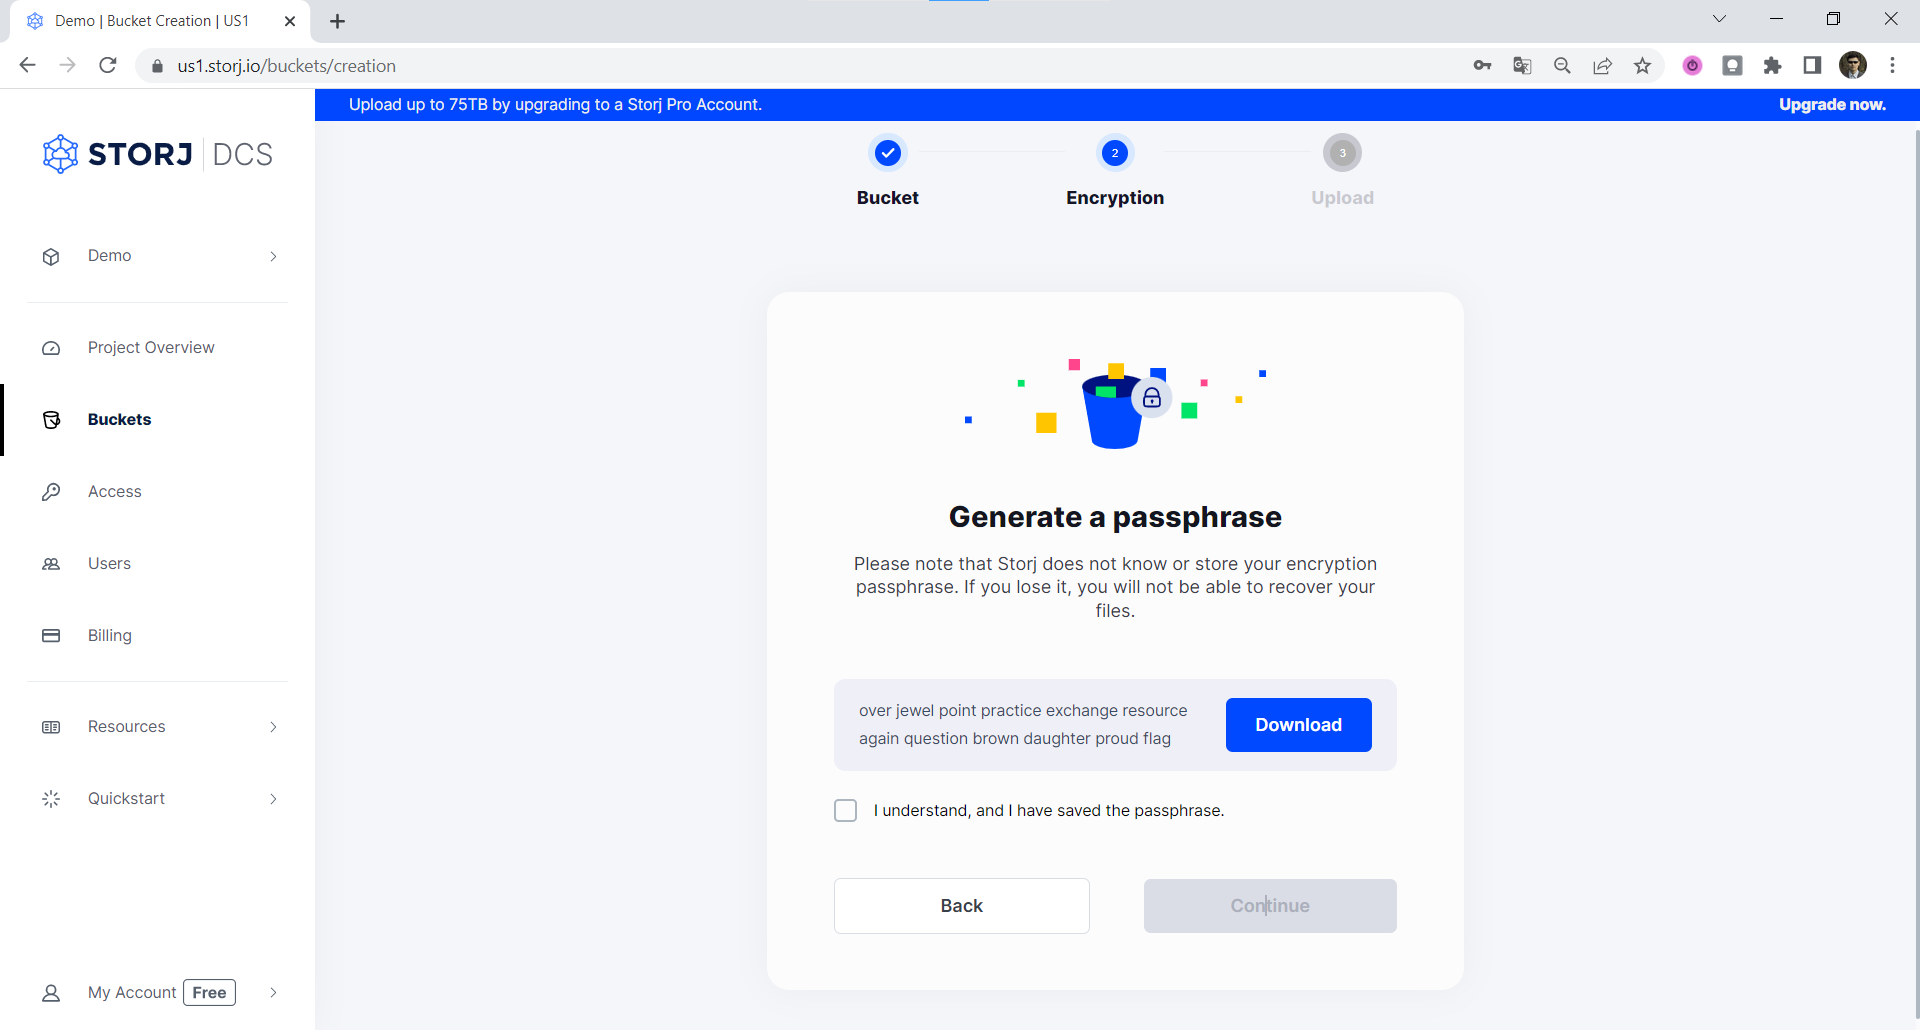
If this is your first time using the object browser, you must create an encryption passphrase. We strongly encourage you to use a mnemonic phrase. The GUI automatically generates one on the client side for you with the Generate passphrase option. You can also download it as a text file.
5) To continue, you need to mark the checkbox [v] I understand, and I have saved the passphrase. This will enable the Continue button. When you click it - the bucket “kerberos-vault” will be created.
This passphrase is important! Encryption keys derived from it are used to encrypt your data at rest, and your data will have to be re-uploaded if you want it to change!
Importantly, if you want two access grants to have access to the same data, they must use the same passphrase. You won’t be able to access your data if the passphrase in your access grant is different than the passphrase you uploaded the data with.
Please note that Storj does not know or store your encryption passphrase, so if you lose it, you will not be able to recover your files.
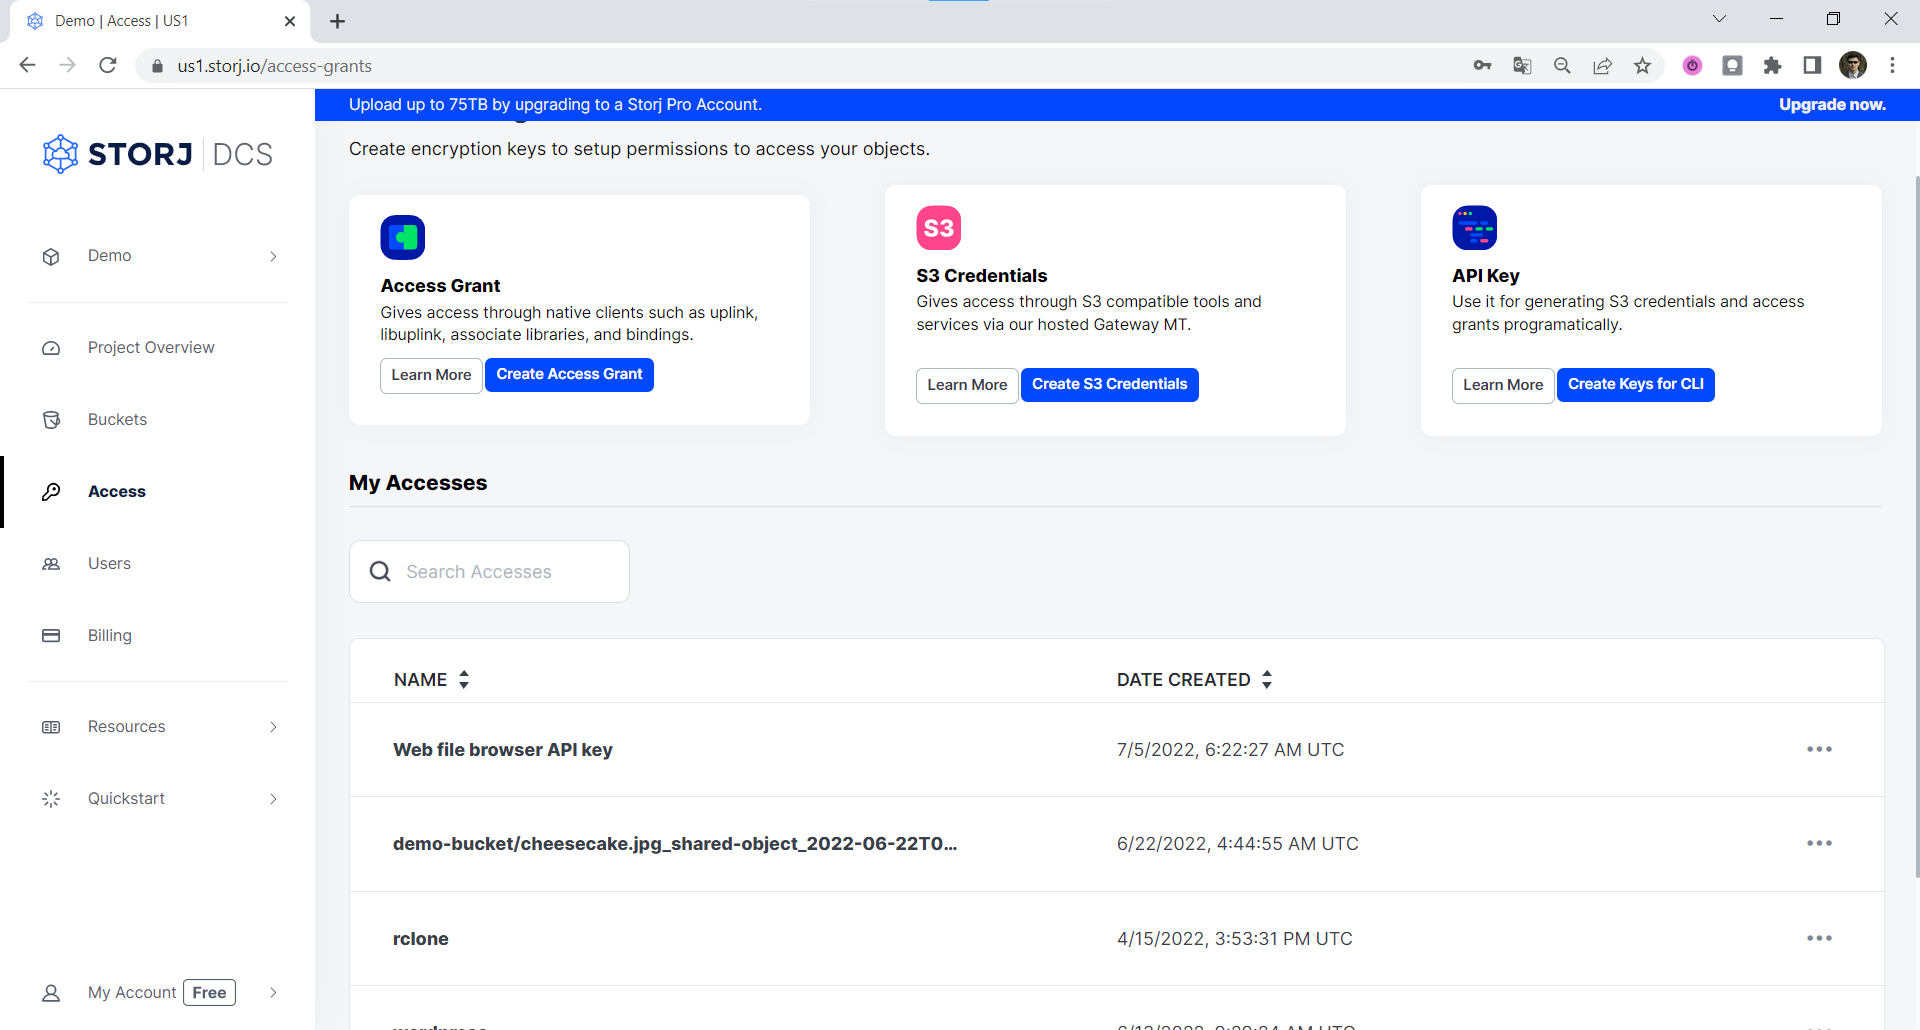
6) Navigate to the Access page, then click on Create S3 Credentials. A modal window will pop up where you should enter a name for this access grant.
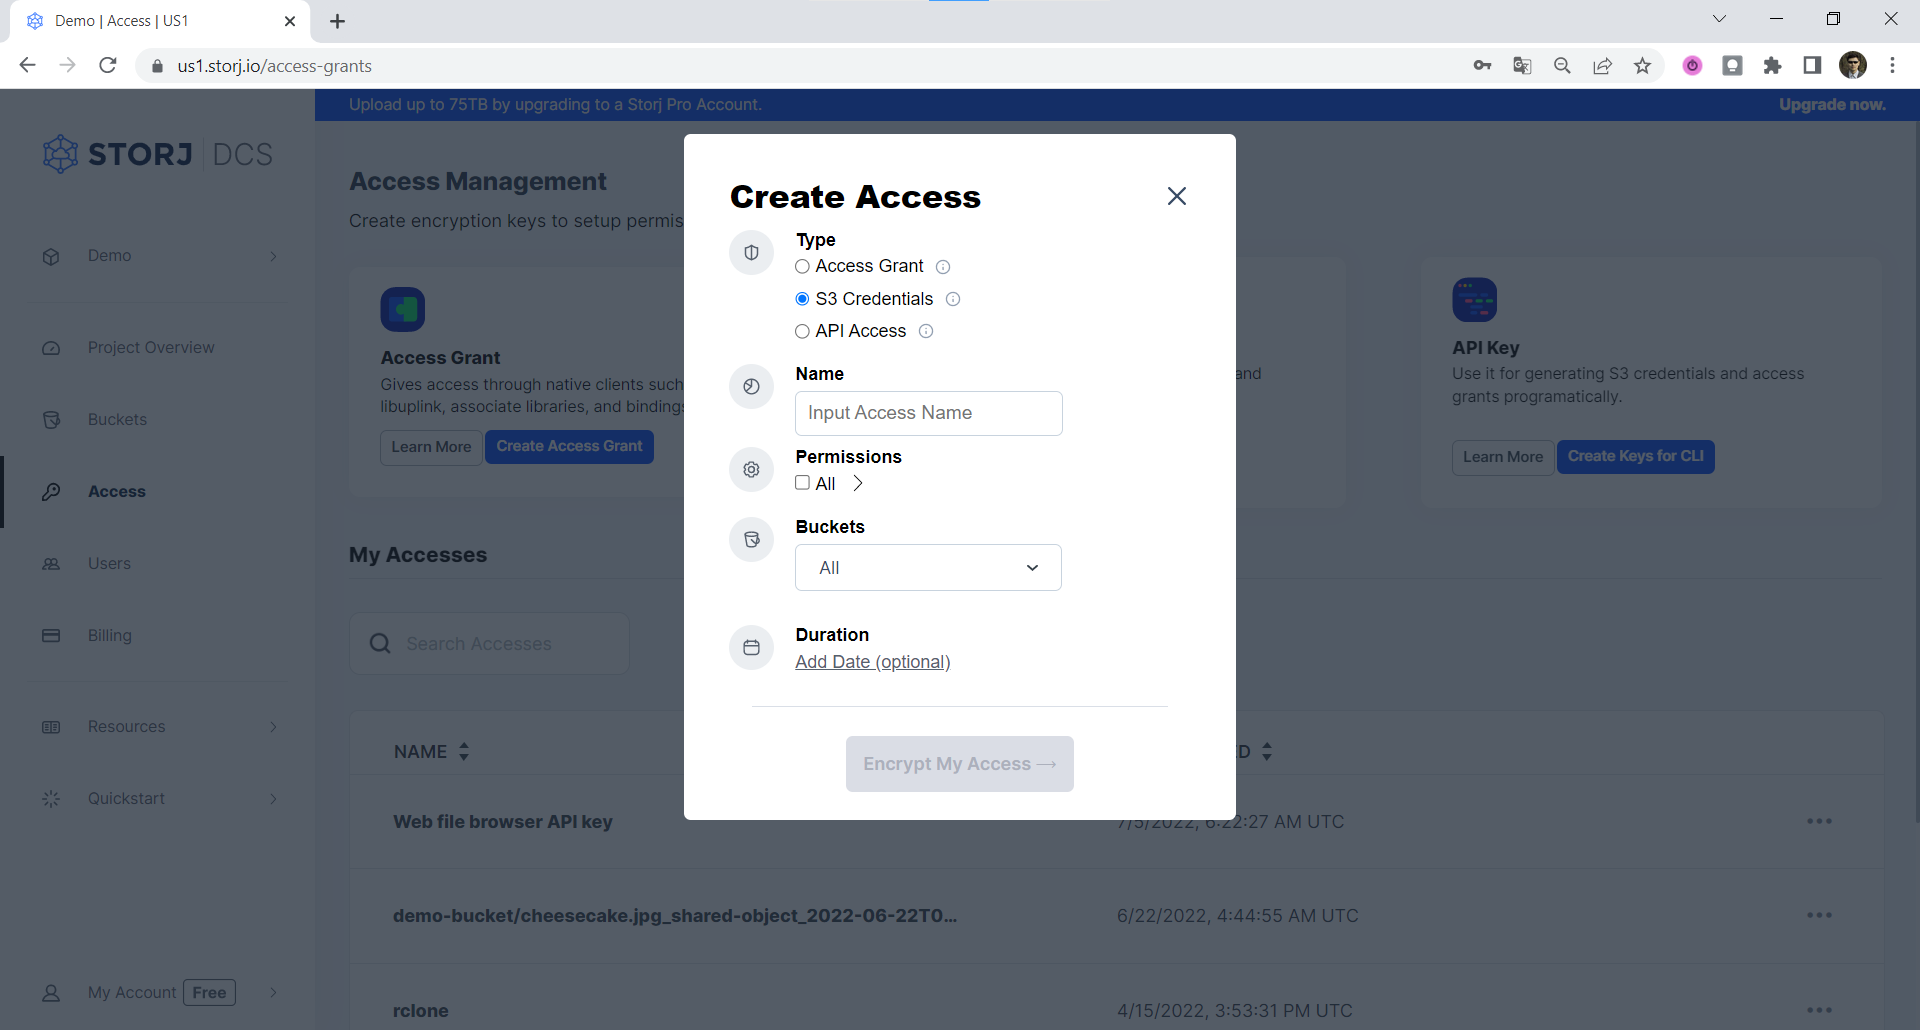
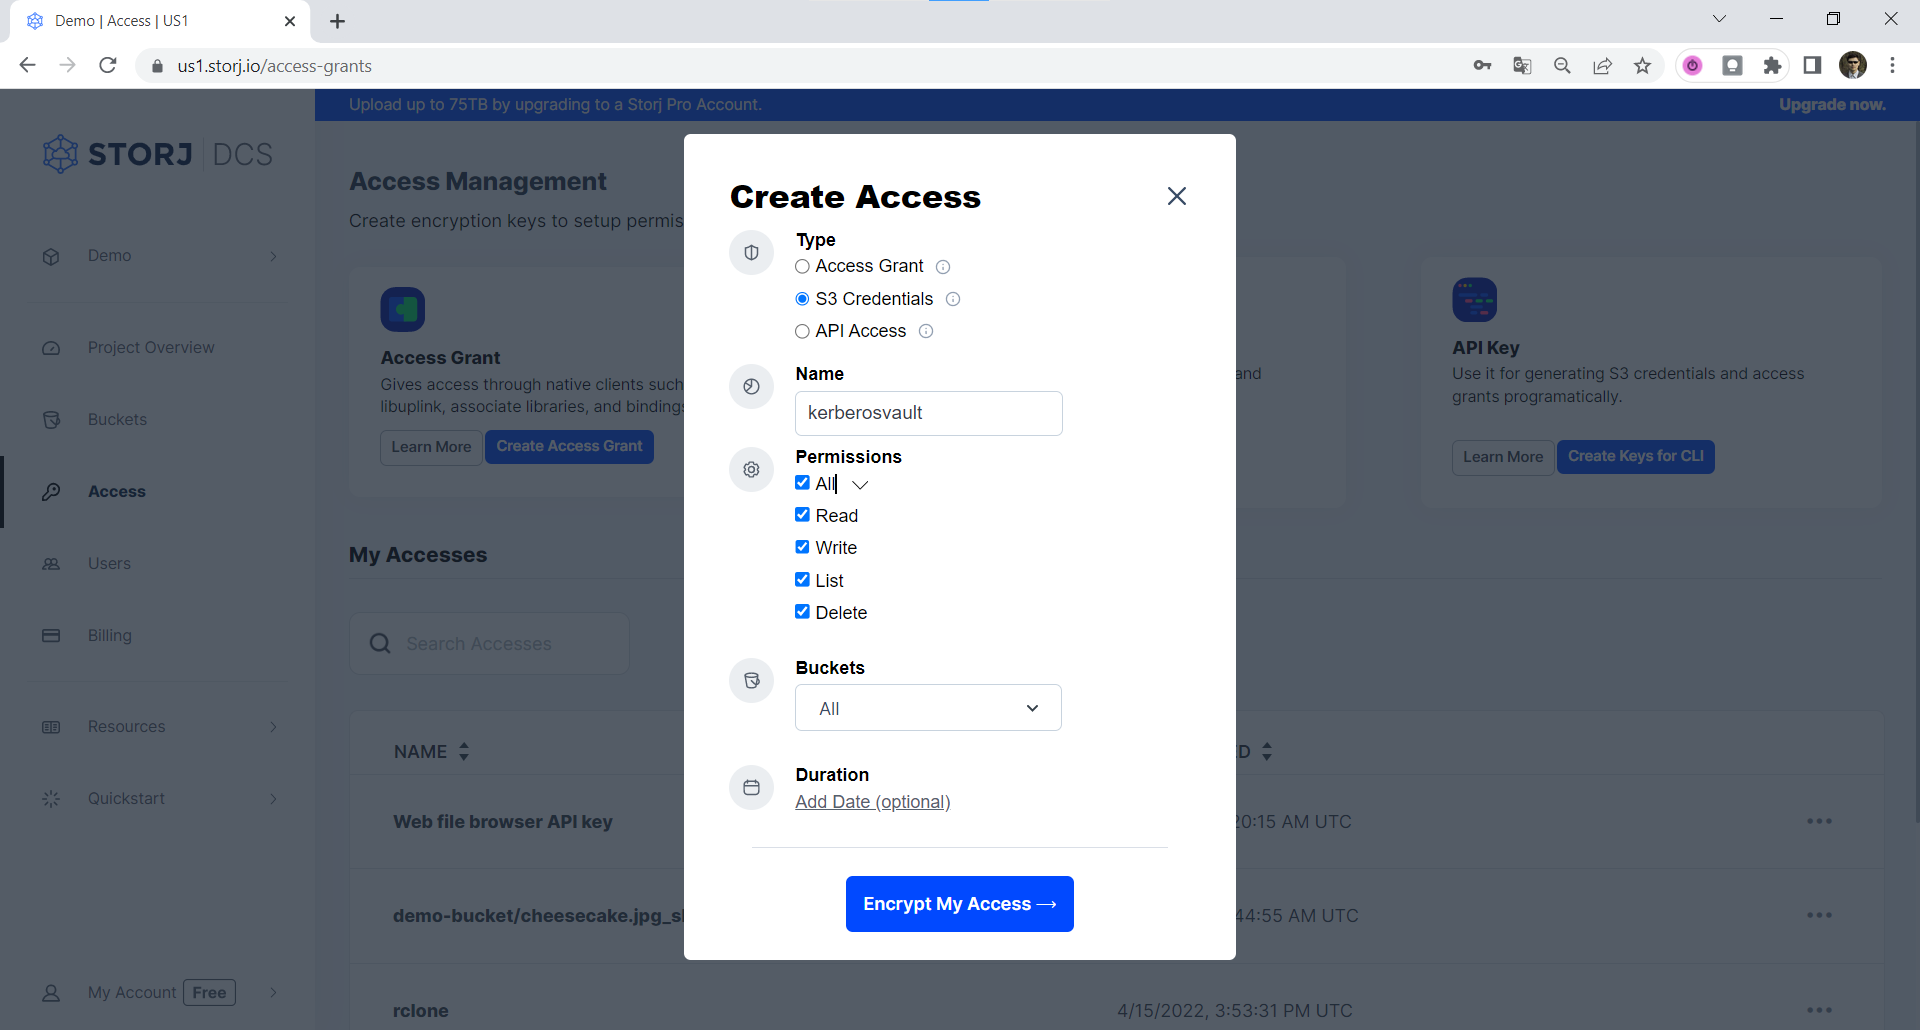
7) In the new window, give your access grant a descriptive name, for example “kerberosvault”
8) Choose the appropriate permissions you wish to grant Kerberos Vault for this bucket:
Download / Update / List / Delete - these are the actions that Kerberos.io will be able to perform
Duration - this is the time until this access grant will expire
Buckets - this sets which bucket (or buckets) Kerberos.io will have access to.
9) Click Encrypt My Access
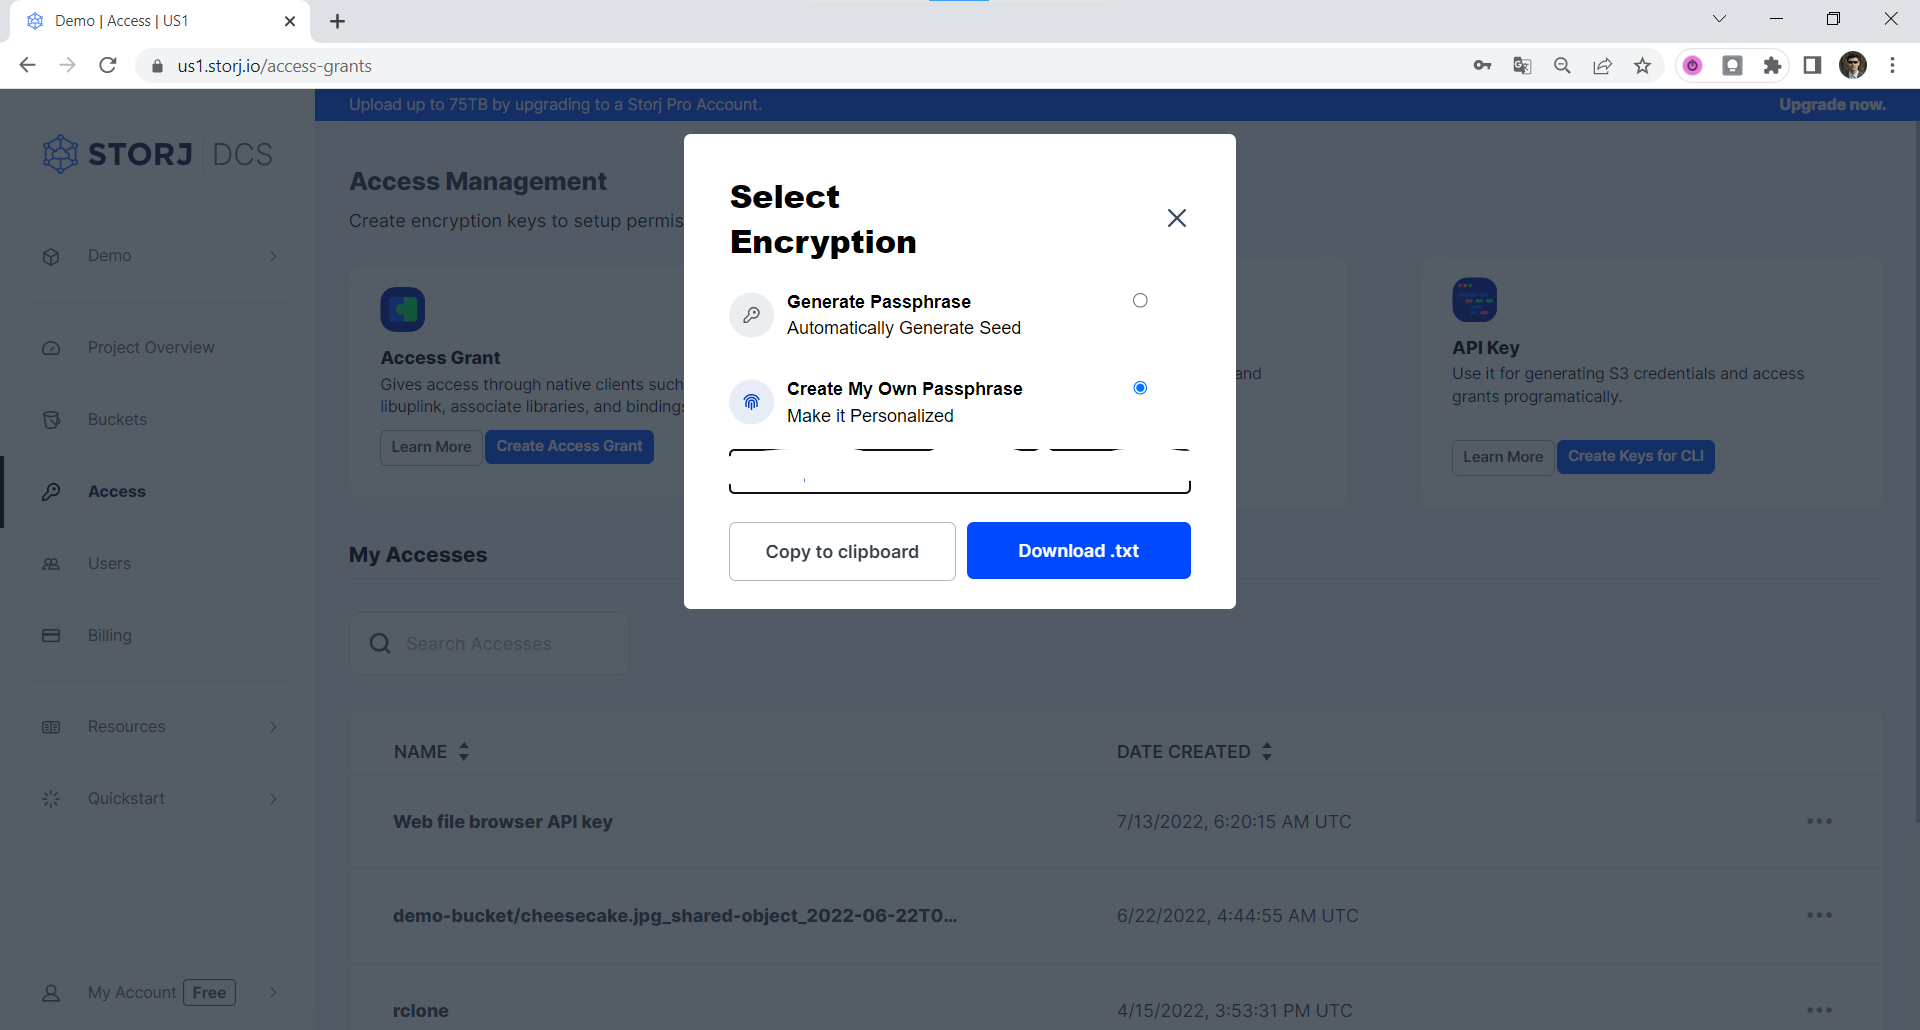
10) Select Create My Own Passphrase and provide your Encryption Phrase used during creation of “kerberos-vault” bucket earlier. To continue click either Copy to clipboard or Download .txt.
11) To confirm creation mark the checkbox [v] I understand that Storj does not know or store my encryption passphrase. If I lose it, I won’t be able to recover files., this will enable Create my Access button.
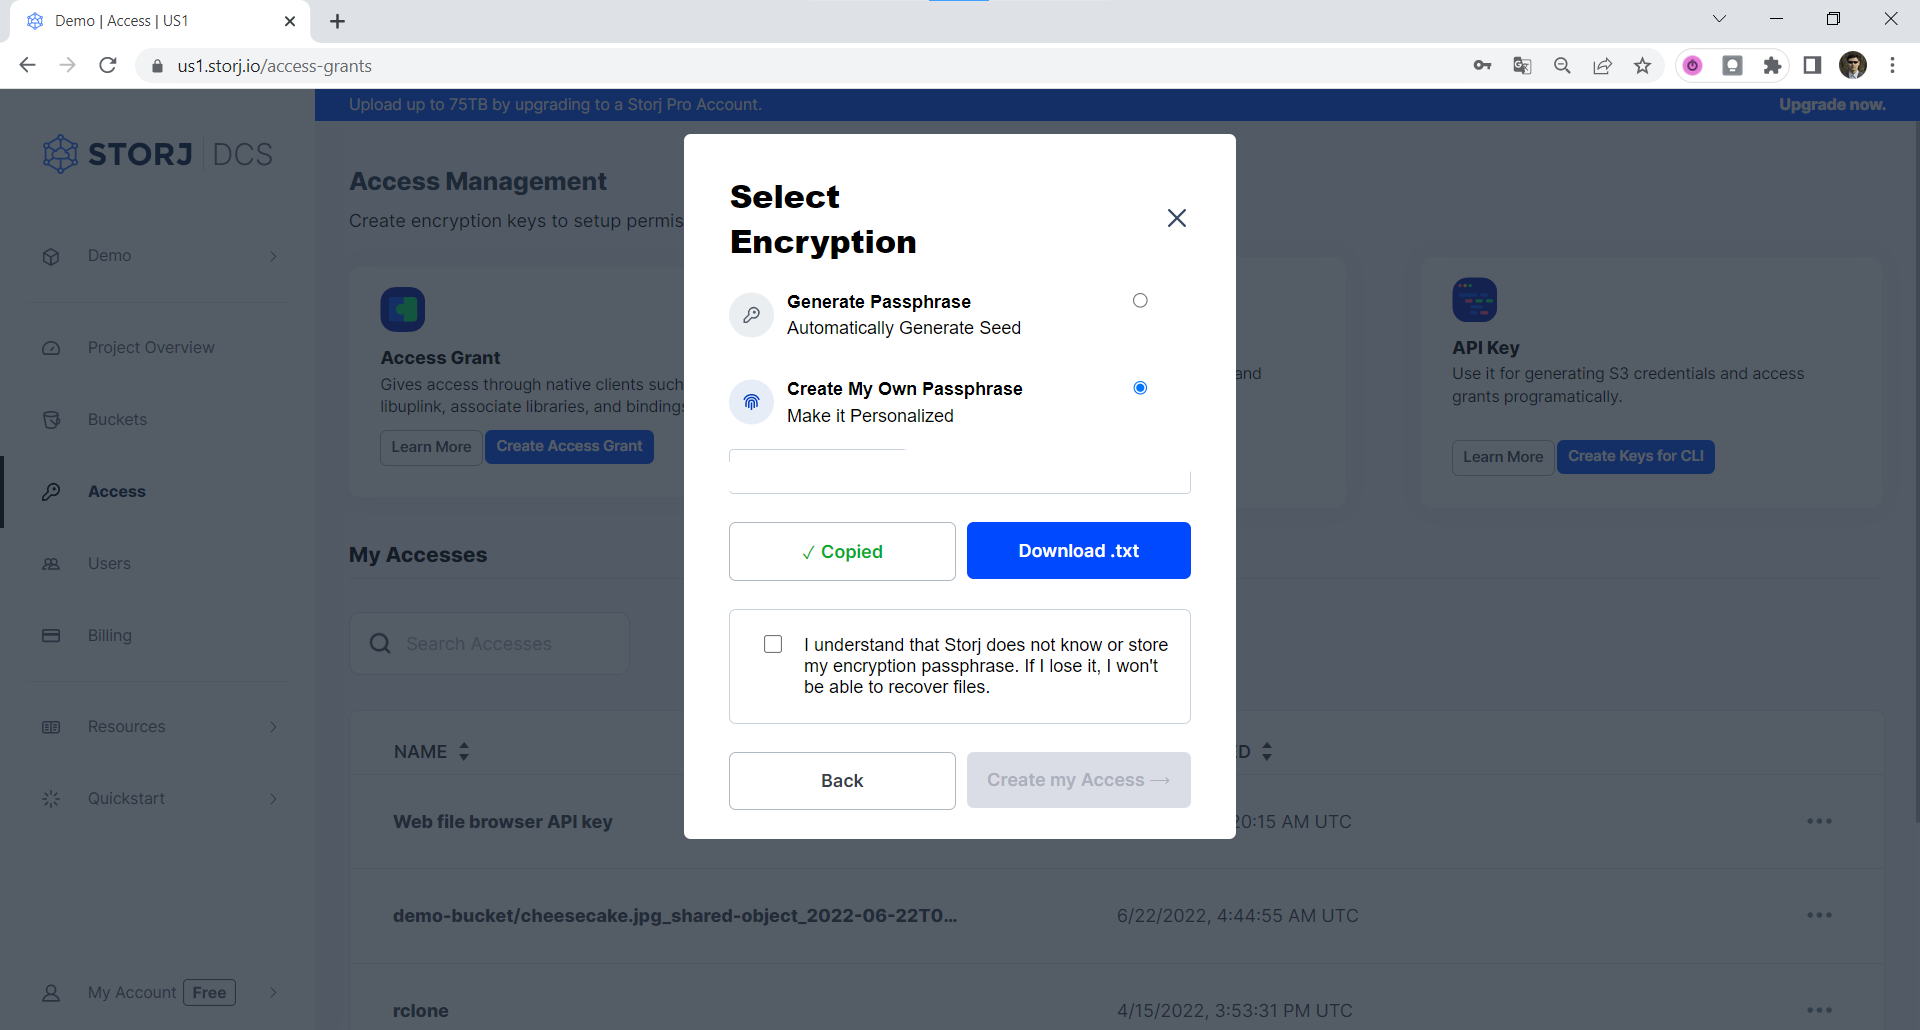
12) When you click on Create my Access the window with S3 Credentials will be opened.
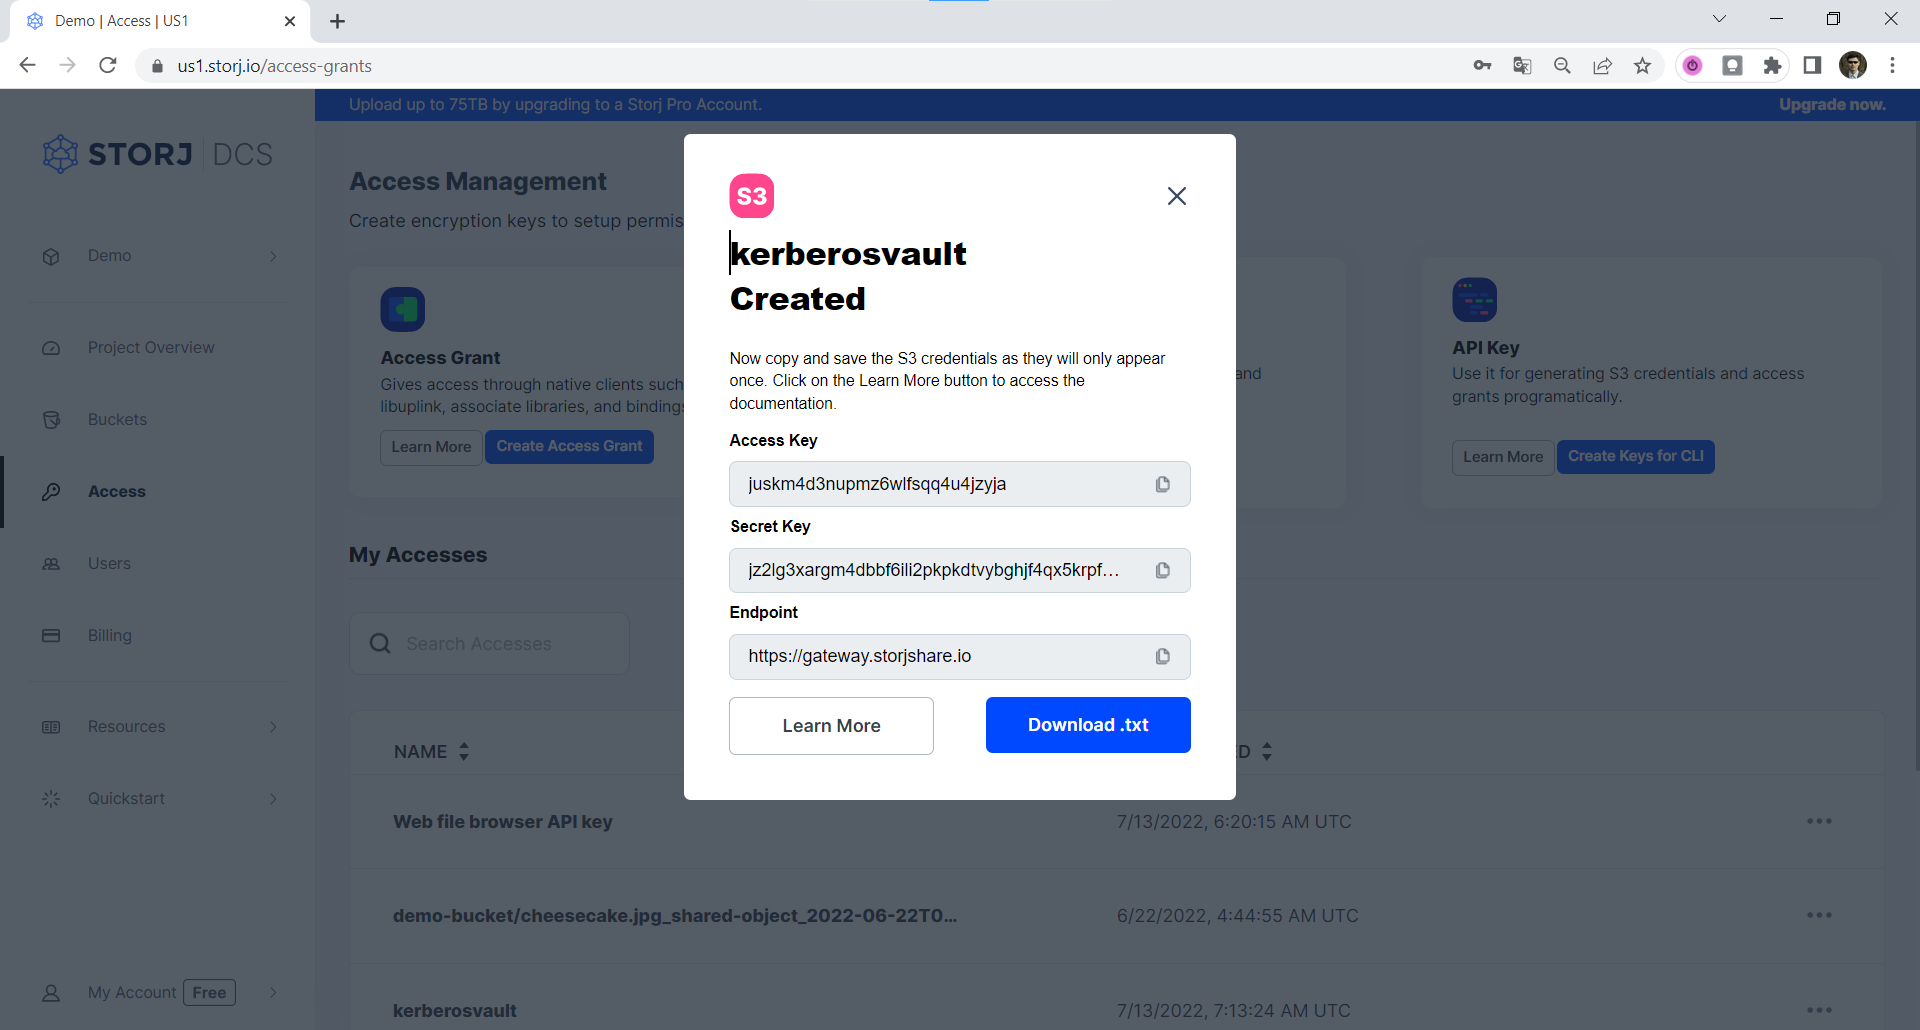
13) Copy S3 Keys and S3 Endpoint or click Download .txt to use with Kerberos Vault in a safe place.
After completing these steps, you are ready to configure Kerberos Vault with your new bucket’s access credentials.
Configuring Kerberos Vault to Use Storj
Now it is time to tell Kerberos where to store videos (your Storj bucket) and how to access that location (with the access grant created above). These steps can be completed from the Kerberos Vault web panel within your running instance of Kerberos inside a Kubernetes cluster.
From the main Kerberos Vault dashboard, select Storage Providers (on the left menu)
In the window that pops up, in the drop-down menu under Select Storage Provider, choose Storj.
Under Provider Name, enter a descriptive name for this provider to be referred to in your Kerberos instance (for example, "storjdcs")
For Bucket Name, enter the same bucket name as the one created above (in this tutorial, that would be "kerberos-vault")
Region this is not relevant for Storj or an edge deployment and can be left blank
Hostname is the Storj-hosted S3 Compatible Gatewayfor your Storj bucket's region (for example, "gateway.us1.storjshare.io")
Under Storj Credentials, enter the Access Key and Secret Key you saved earlier when creating your access credentials.
Finally, click Validate to ensure your access is correct and Add Integration to finish setup.
Summary
The flexibility of Kerberos.io and its components like Kerberos Vault are what make it a versatile platform for video monitoring and analytics. From single-camera setups to advanced cloud-based enterprise installations, the Kerberos.io video technology is adaptable to any configuration. This adaptability includes the option to customize your choice for video storage with the platform, which is where Storj makes an excellent choice.
In this tutorial, we demonstrated the steps to set up a Storj bucket and create access credentials for that bucket. We then showed how to update a Kerberos Vault installation to use Storj as a storage provider. Doing all of this allows Kerberos.io to leverage the distributed storage network provided by Storj, taking advantage of all the benefits it provides. Your video monitoring and analytics solution is now enhanced with the power of decentralized media storage.