Migrate from Backblaze to Storj
This article will discuss the migration process from Backblaze to Storj using the rclone tool, a command-line program to manage files on cloud storage.
Prerequisites
Before starting the migration process, you'll need to have the following:
Access to both your Backblaze and Storj accounts.
- Navigate to https://storj.io/signup?partner=rclone to sign up or log in to an existing Storj account.
Installed and configured rclone on your machine.
Why Rclone?
Rclone is a command-line program written in Go language, which is designed to sync files and directories from different cloud storage providers. It allows for easy migration, syncs directories and files, checks file hashes, and even modifies drives. It works with a wide range of cloud storage providers, including Backblaze and Storj, which makes it an excellent tool for our use-case.
Alternative to Backblaze
Storj is a great alternative to Backblaze because it utilizes a distributed cloud model allowing for faster global data access and retrieval compared to Backblaze's centralized model. Storj is also more cost-effective with its lower price per gigabyte for storage and bandwidth.
Install rclone
Visit https://rclone.org/install/ for instructions on how to install rclone.
Create Access Credentials
Before using rclone, we'll need to create keyID and applicationKey for Backblaze and an access grant for Storj.
Backblaze Account and Key
Use your Backblaze account credentials to log in to the Backblaze Management Console.
Click
Application Keysfrom the left side menu under Accounts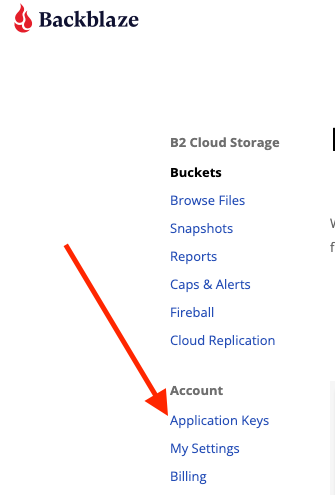
Click
Add a New Application Keybutton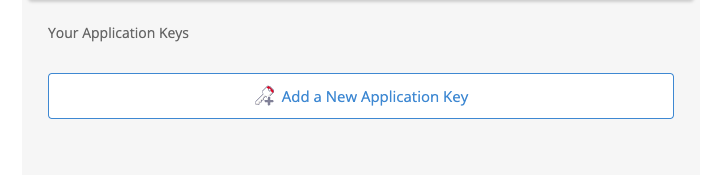
Populate the name of the key and Click the
Create New Keybutton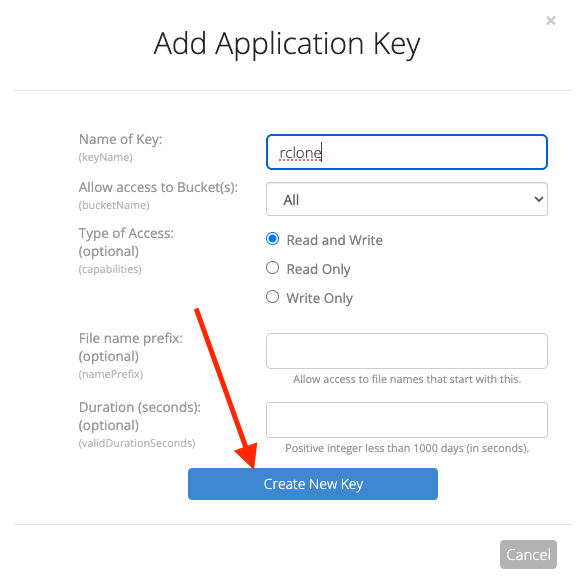
Save the
keyIDandapplicationKeyas you'll need those later to configure rclone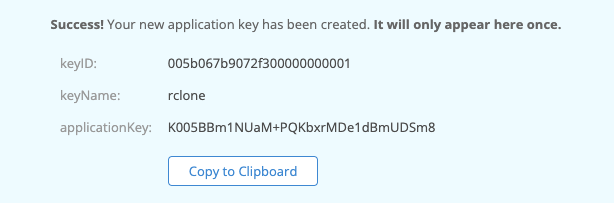
Create Storj Access Grant
A Storj access grant is a serialized, self-contained credential that allows users to access a specific bucket, or object, within a Storj project. It encapsulates everything needed for authentication and authorization on the Storj network.
Create Access Grant in the Storj Console:
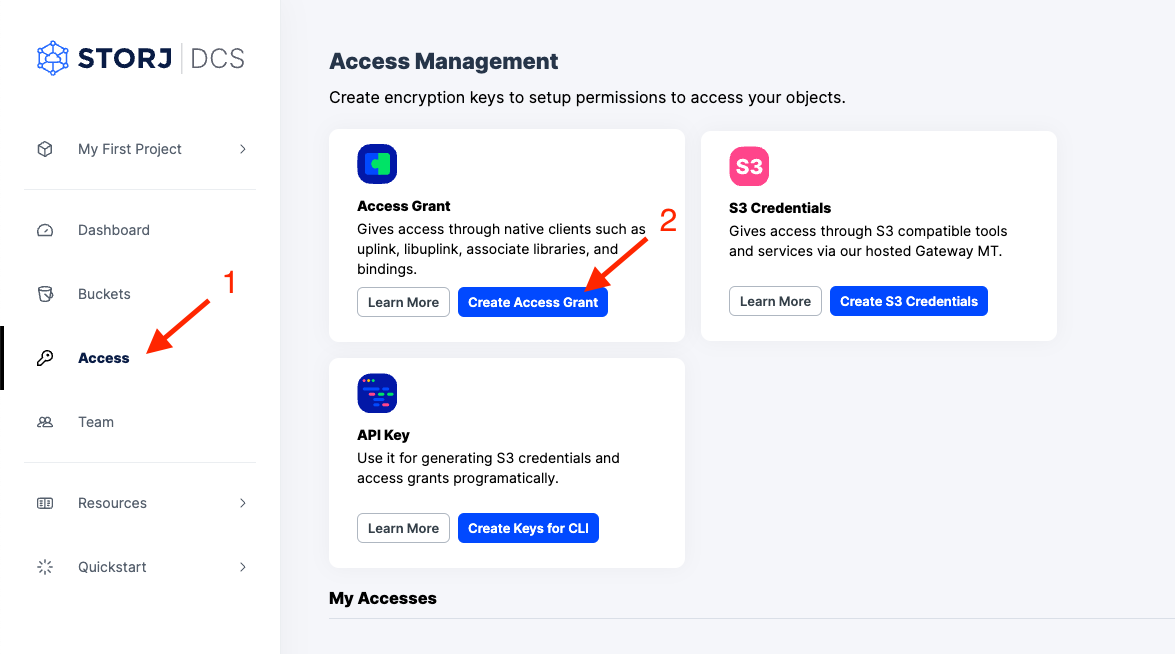
Navigate to Access on the left side menu.
Click Create Access Grant under the Access Grant block
When the Create Access screen comes up, set specifications according to the following guidelines:
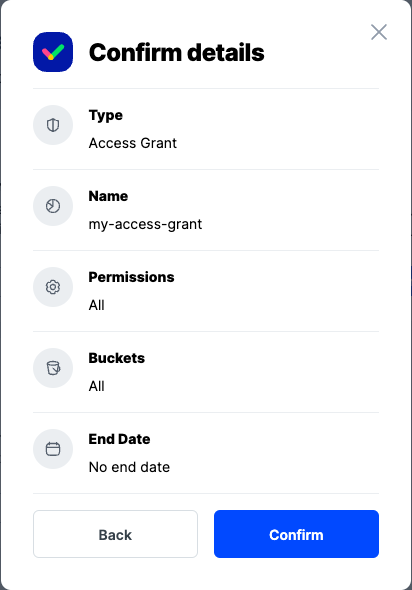
Type: Access Grant
Name: The name of the credentials (e.g. my-access-grant)
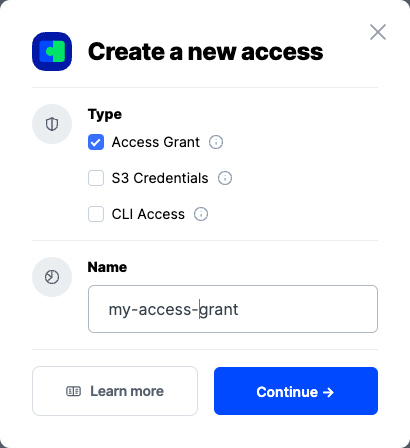
Click Continue to provide permissions
Permissions: All
Buckets: Feel free to specify the bucket (e.g. my-bucket), or leave as “All”
End date: provide an expiration date for these credentials (optional)
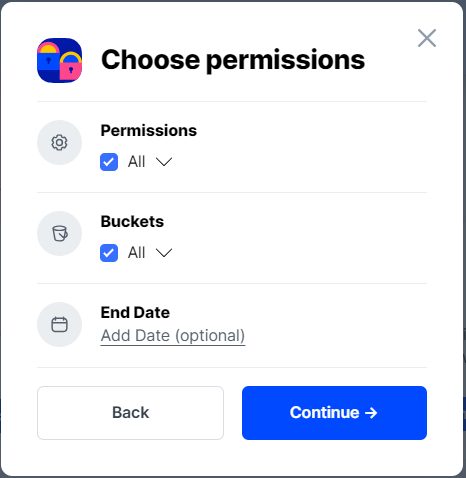
Click Continue to provide Access encryption Information
In order to see the data uploaded to your bucket in the web console, you must unlock the bucket with the same encryption passphrase as the credentials.
Use the current passphrase: this is default option
Advanced: you may provide a different encryption phrase either your own or generate a new one.
Enter a new passphrase: use this option, if you would like to provide your own new encryption phrase
Generate 12-word passphrase: use this option, if you would like to generate a new encryption phrase
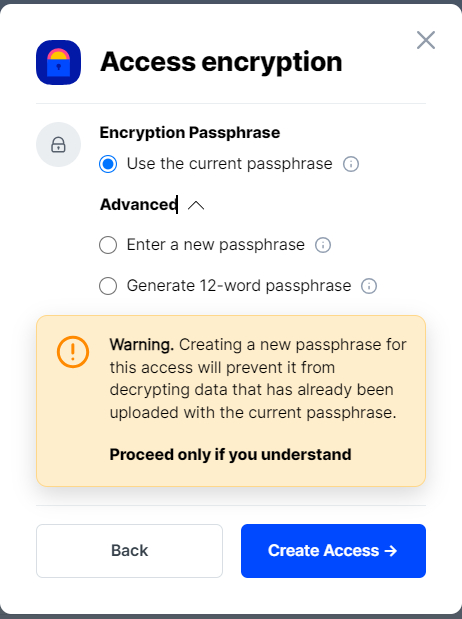
This passphrase is important! Encryption keys derived from it are used to encrypt your data at rest, and your data will have to be re-uploaded if you want it to change!
Importantly, if you want two access grants to have access to the same data, they must use the same passphrase. You won't be able to access your data if the passphrase in your access grant is different than the passphrase you uploaded the data with.
Please note that Storj does not know or store your encryption passphrase, so if you lose it, you will not be able to recover your files.
Click Create Access to finish creation of your S3 credentials
Click Confirm the Confirm details pop-up message
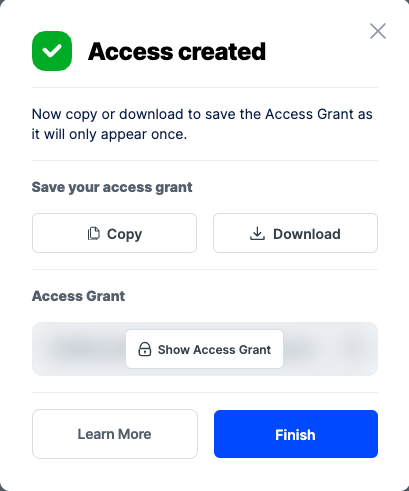
Your Access Grant is created. Write them down and store them, or click the Download all button. You will need these credentials for the following steps.
Update Rclone config
After getting your access keys for Storj and Backblaze, you need to configure rclone.
We'll edit the rclone config directory directly, but you can also run rclone config for a more interactive experience.
We'll edit the rclone config file directly, you can find where it is stored by running the following:
Command output will look like this
Configuration file is stored at: /Users/dan/.config/rclone/rclone.conf
Edit ~/.config/rclone/rclone.conf with the access keys created above and the values below (see sample file).
Backblaze:
[backblaze]: This is the section name for the configuration.
type = b2: This refers to the type of storage you are interacting with, in this case 'b2' for Backblaze
account: Use your Backblaze account ID or keyID. This is a unique identifier for your Backblaze account, used to ensure that rclone accesses the correct account.
key: Use your Backblaze application key. The application key is a credential that grants rclone the necessary permissions to access and manipulate the data in your Backblaze B2 buckets.
Storj:
[storj]: This is the section name for the configuration.
type = storj: This indicates that the type of storage is Storj.
access_grant: The access_grant is a serialized access grant string which encapsulates all necessary information to list or download objects. Replace with the actual access grant created previously.
~/.config/rclone/rclone.conf
Migrate data
Once the configuration is done, you can use the rclone sync command to migrate data from Backblaze to Storj. The syntax is as follows:
Be mindful of potential network costs due to high egress traffic when running rclone for large data migrations on your machine.
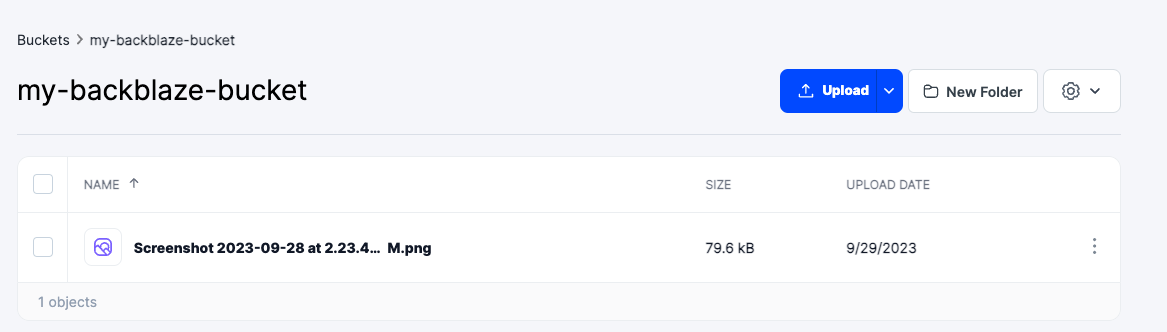
Replace my-backblaze-bucket with the name of your specific bucket. This command will sync the contents from your Backblaze bucket to your Storj bucket, effectively migrating the data.
Post-Migration Steps
After migration, validate the data integrity in your Storj bucket by running rclone check
This command will compare the source (Backblaze) and destination (Storj) and report any discrepancies.
You can also see the contents of your Backblaze bucket in the Storj Web Console.