Storage Node
Installing a Storage Node with the Windows Installer
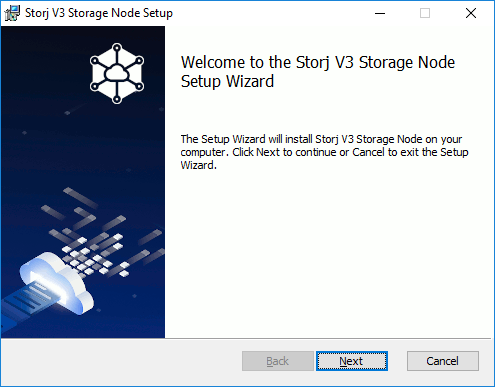
Extract the MSI from the zip and double click it. The installation window will open.
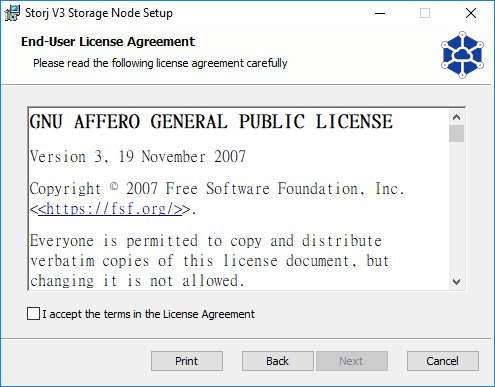
Accept the terms of our end-user license agreement.
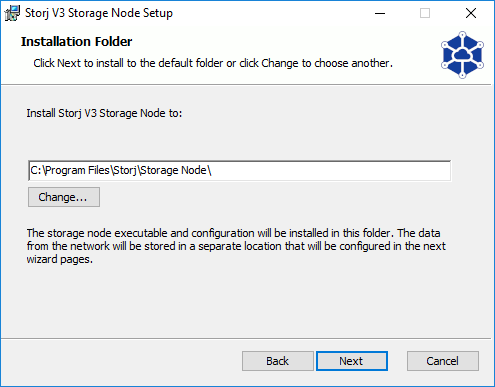
Select the folder you would like the Storage Node software to be installed in.
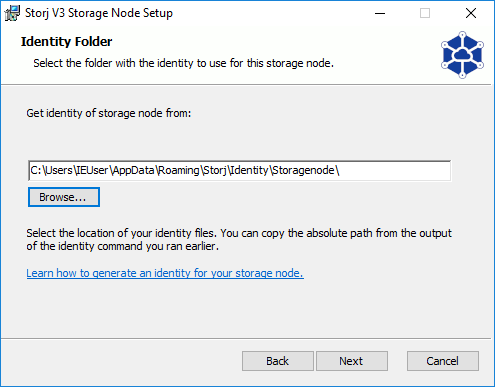
Select the folder your Identity is stored in.
When you generate your Storage Node Identity, the identity tool will show you what folder it was saved in. Please see the Step 5. Create an Identity section if you have not created one yet.
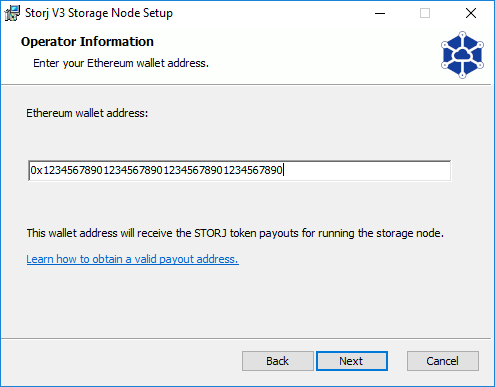
Enter your ERC-20 compatible wallet address where you want to receive your STORJ token payouts.
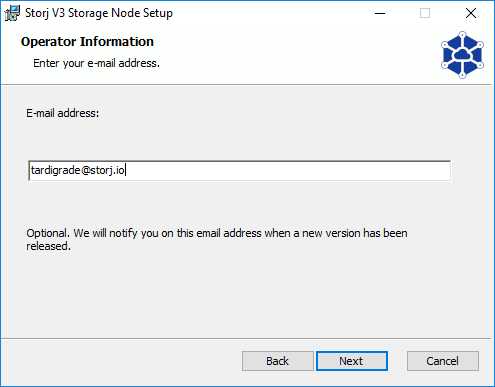
Enter your email address to receive alerts about software updates and new features.
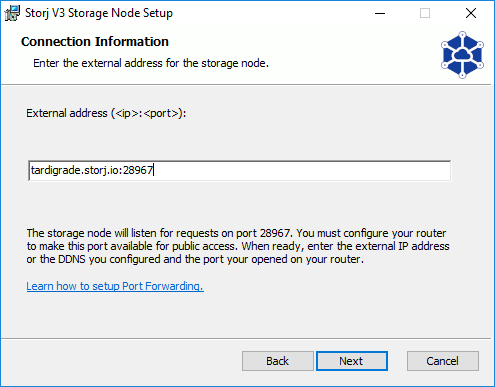
Enter your external IP address and port (<ip>:<port>).
You can find more information about how to configure this in the Step 3. Setup Port Forwarding section.
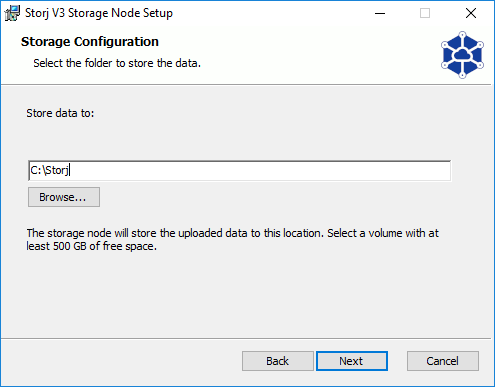
Select where you would like the network data to be stored on your machine.
The network-attached storage location could work, but it is neither supported nor recommended!
Splitting subfolders from the storage location (junctions, symlinks, hardlinks, etc.) will lead to a quick disqualification if they become unavailable! The writeability and readability checks are performed on the storage location, not on subfolders.
Moving an existing node on a CLI Setup to a Windows GUI Setup?
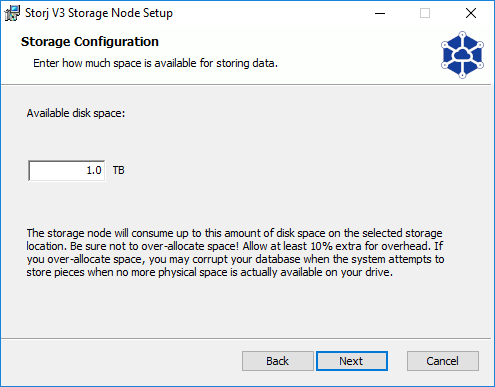
Select how much storage space you would allocate to the network.
Required minimum of 500 GB plus 10% overhead to be allocated
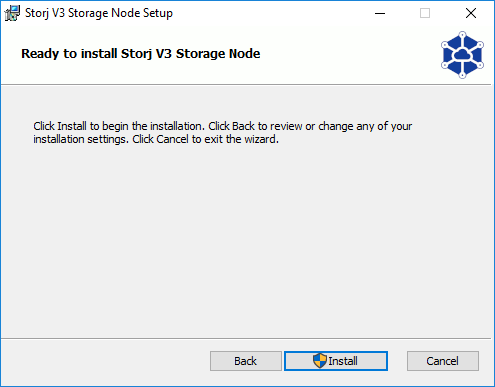
Click the install button to install your Storage Node with what you configured in the previous steps.
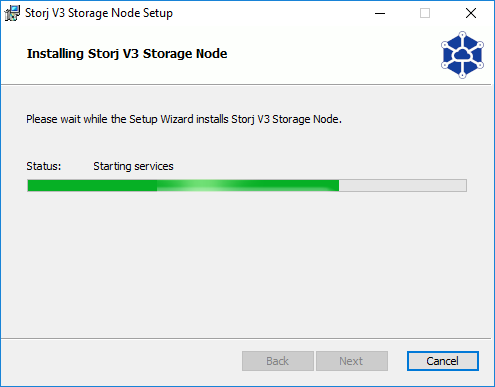
Wait for a few moments while the Storage Node is being installed on your machine.
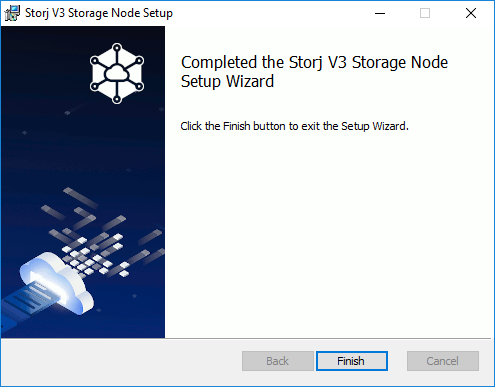
Click the Finish button to exit the installer.
Congrats, your Storage Node is now live!
Note: The Storage node and auto updater are installed as a Windows service. If you want to stop or restart the storage node you have to open the windows service page to do so.