FileZilla Native Integration
Introduction
This guide walks users through the process of setting up FileZilla to transfer files over Storj.
The native integration uses Design Decision - End-to-end Encryption for your object data, including metadata and path data.
This is the only integration available for the free version of Filezilla. If you wish to use the Hosted Gateway MT you will need the FileZilla Pro Integration
The _ FileZilla_ Client is a fast and reliable cross-platform (Windows, Linux, and Mac OS X) FTP, FTPS, and SFTP client with many useful features and an intuitive graphical user interface.
It includes a site manager to store all your connection details and logins, as well as an Explorer-style interface that shows the local and remote folders and can be customized independently.
With the launch of the native Storj Integration into the FileZilla client, developers can use the client configured to transfer files point-to-point using the decentralized cloud.
Getting Started

Create an Access Grant
A Storj access grant is a serialized, self-contained credential that allows users to access a specific bucket, or object, within a Storj project. It encapsulates everything needed for authentication and authorization on the Storj network.
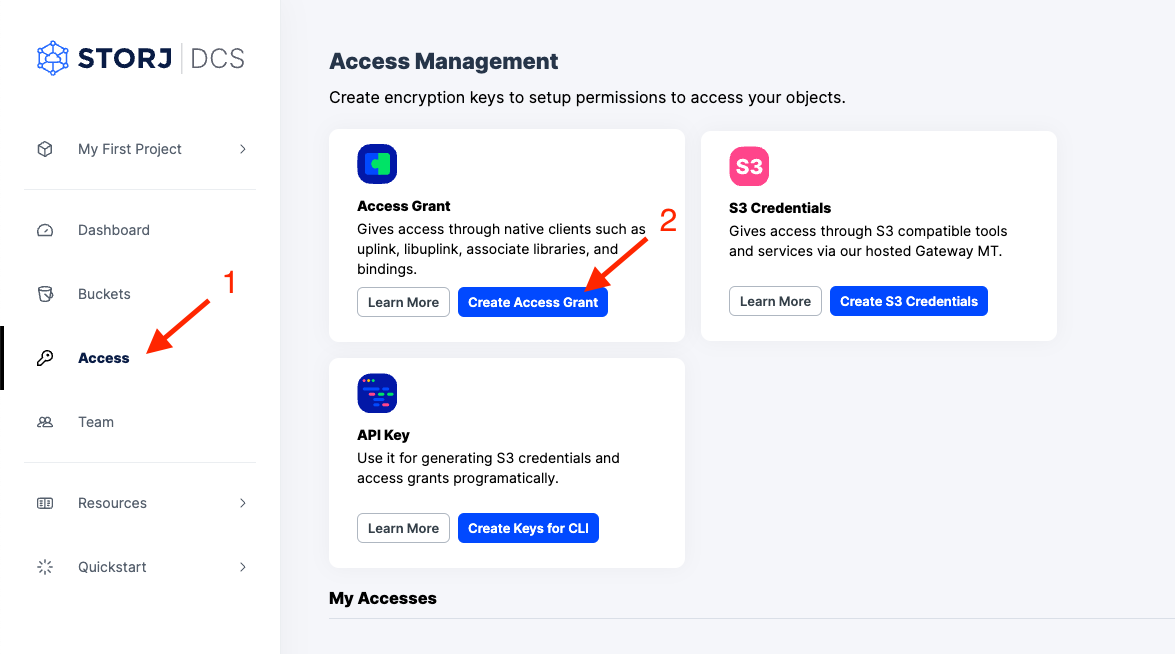
Create Access Grant in the Storj Console:
Navigate to Access on the left side menu.
Click Create Access Grant under the Access Grant block
When the Create Access screen comes up, set specifications according to the following guidelines:
Type: Access Grant
Name: The name of the credentials (e.g. my-access-grant)
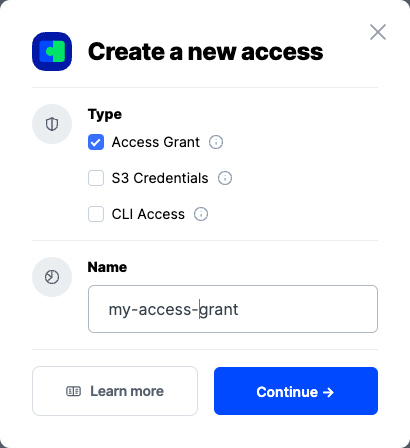
Click Continue to provide permissions
Permissions: All
Buckets: Feel free to specify the bucket (e.g. my-bucket), or leave as “All”
End date: provide an expiration date for these credentials (optional)
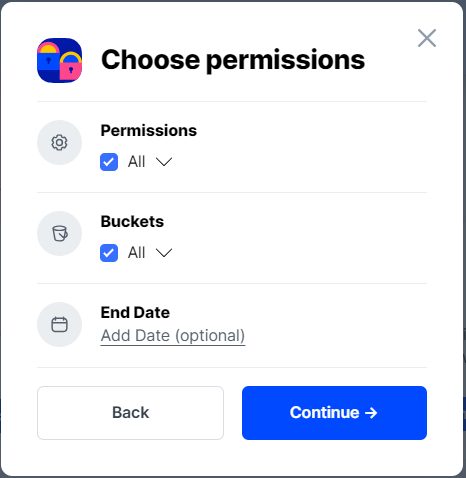
Click Continue to provide Access encryption Information
In order to see the data uploaded to your bucket in the web console, you must unlock the bucket with the same encryption passphrase as the credentials.
Use the current passphrase: this is default option
Advanced: you may provide a different encryption phrase either your own or generate a new one.
Enter a new passphrase: use this option, if you would like to provide your own new encryption phrase
Generate 12-word passphrase: use this option, if you would like to generate a new encryption phrase
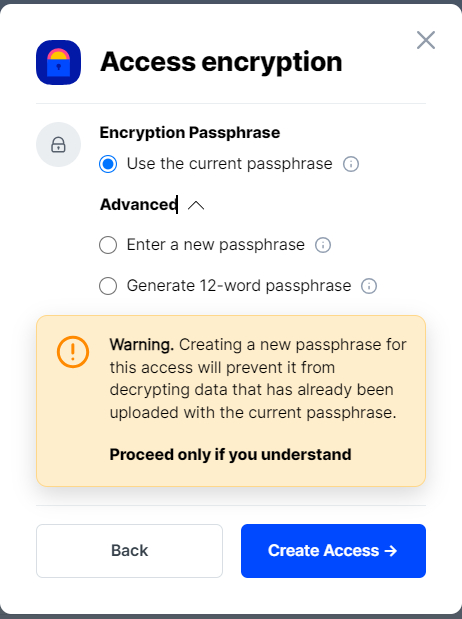
This passphrase is important! Encryption keys derived from it are used to encrypt your data at rest, and your data will have to be re-uploaded if you want it to change!
Importantly, if you want two access grants to have access to the same data, they must use the same passphrase. You won't be able to access your data if the passphrase in your access grant is different than the passphrase you uploaded the data with.
Please note that Storj does not know or store your encryption passphrase, so if you lose it, you will not be able to recover your files.
Click Create Access to finish creation of your S3 credentials
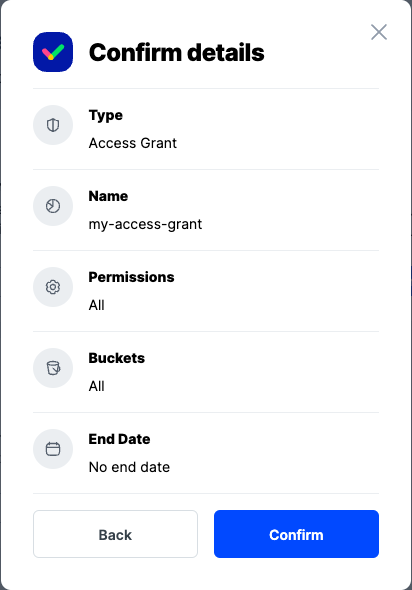
Click Confirm the Confirm details pop-up message
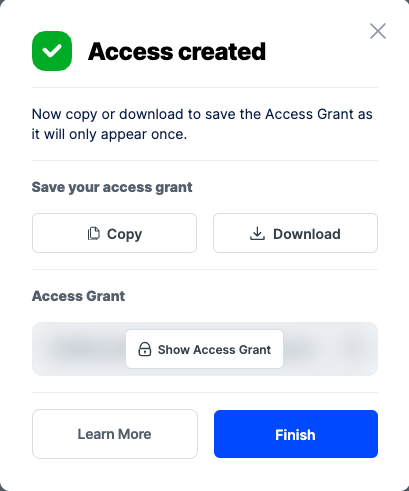
Your Access Grant is created. Write them down and store them, or click the Download all button. You will need these credentials for the following steps.
Downloading FileZilla
To download the latest release of FileZilla, navigate to https://filezilla-project.org/download.php?show_all=1 and select the version appropriate for your operating system, then install FileZilla.
Creating a new Site
Open the Site Manager by clicking on the leftmost icon.
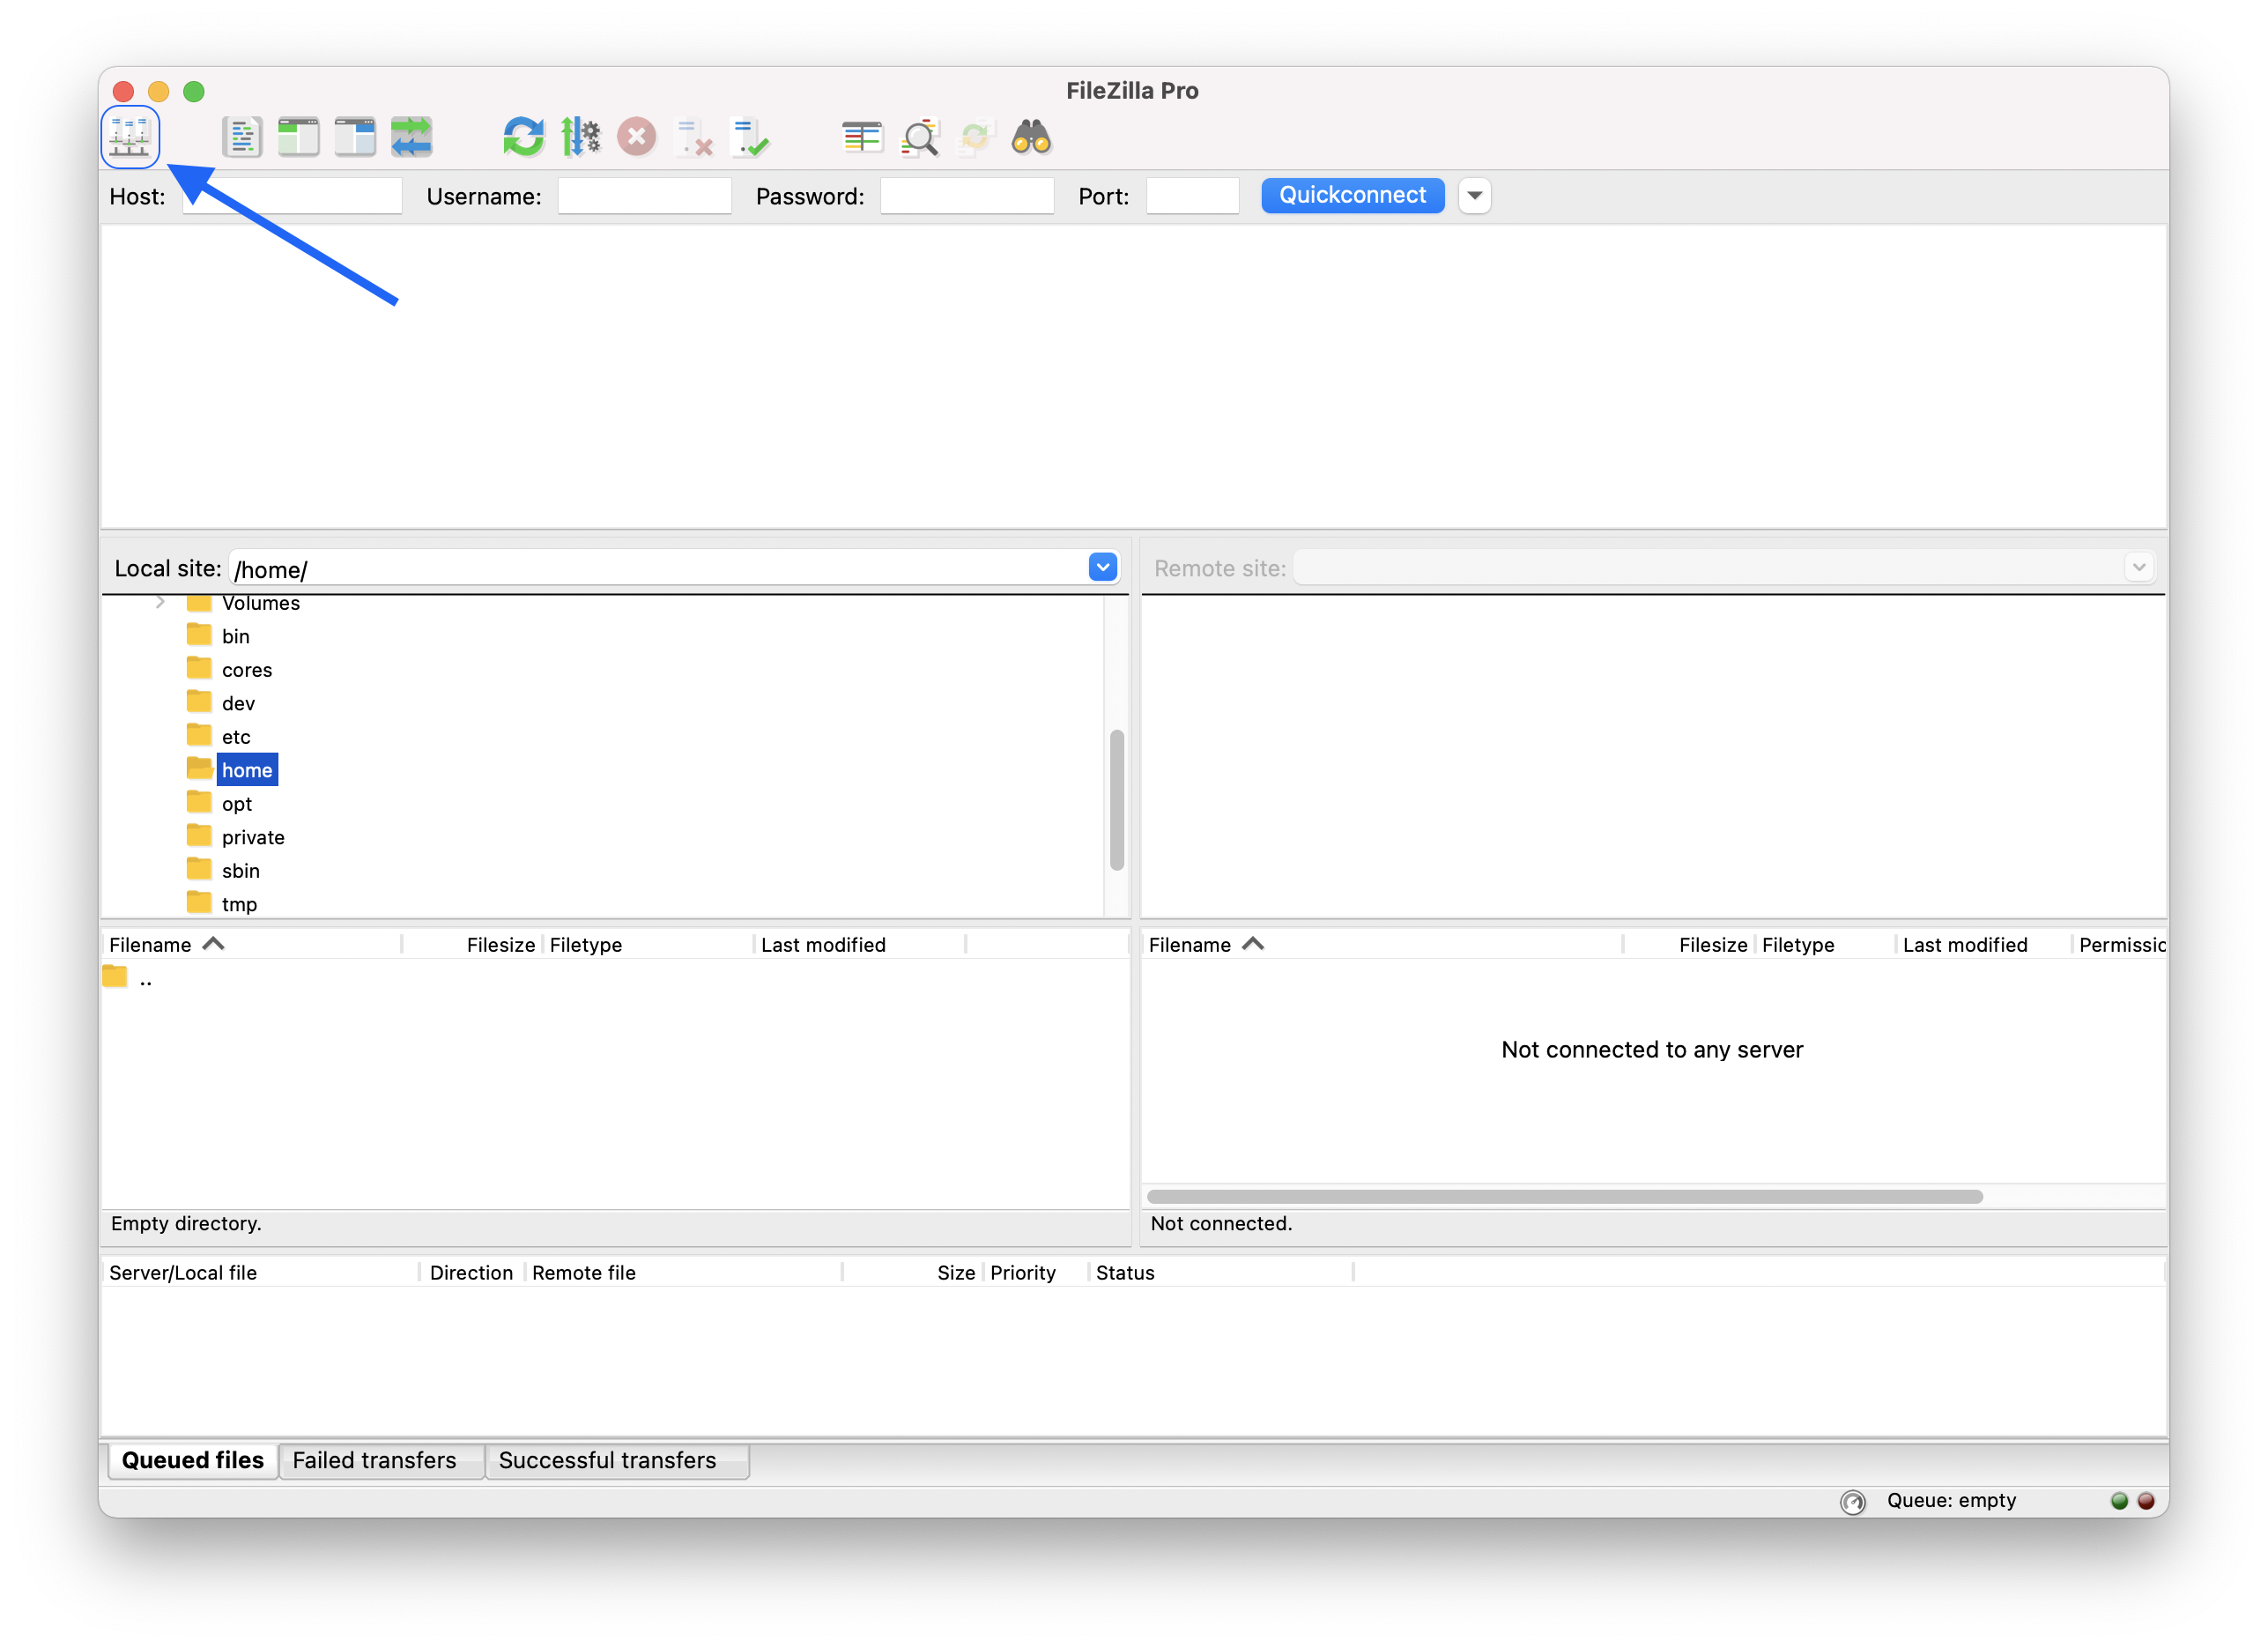
Select the 'New Site' option

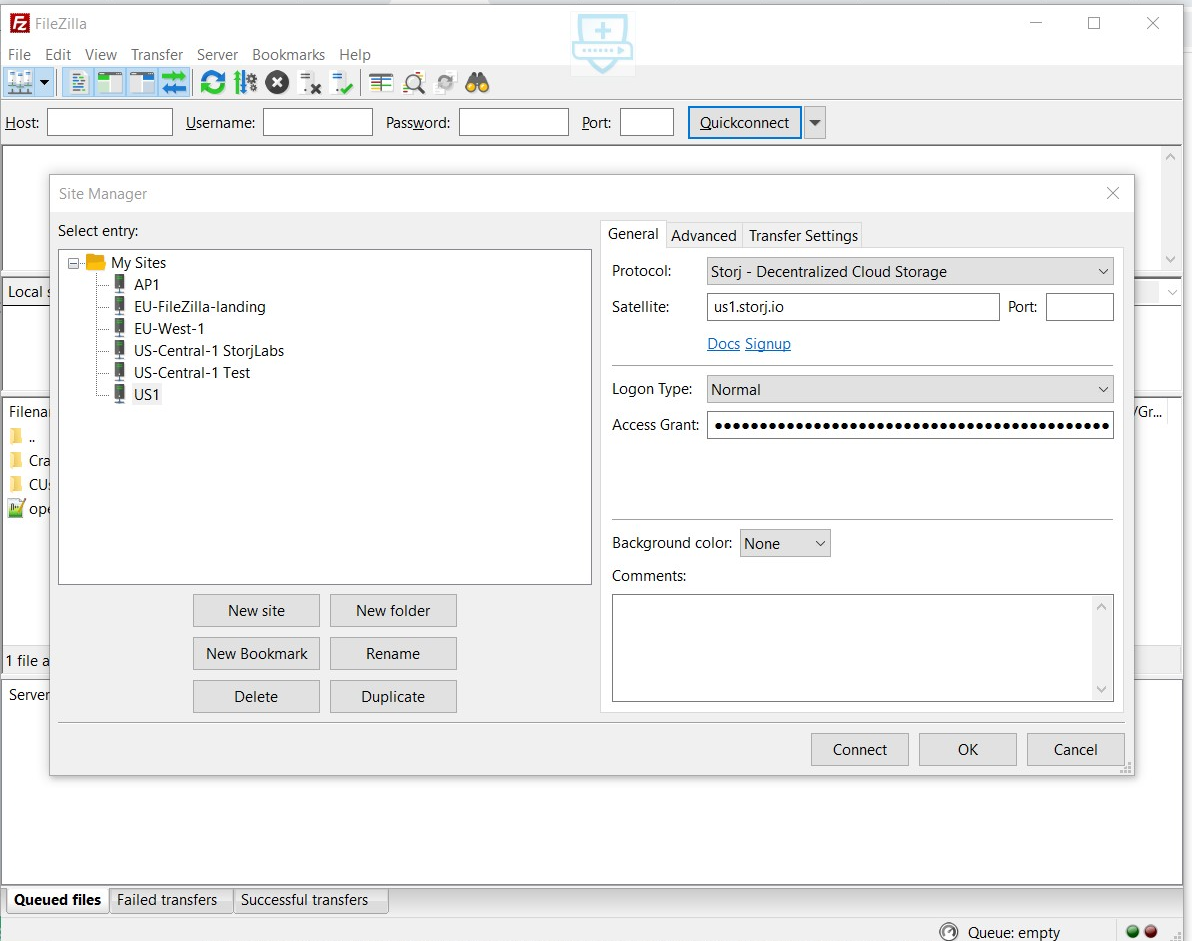
Configure the Satellite and Access Grant
Next, select Protocol: "Storj - Decentralized Cloud Storage" from the Protocol dropdown in the "General" tab.
Now enter the Satellite and Access Grant as shown below (Entering the port is not required)
Use the Satellite URL from which you created the Access Grant.
For Access Grant please enter the Access Grant you saved above.
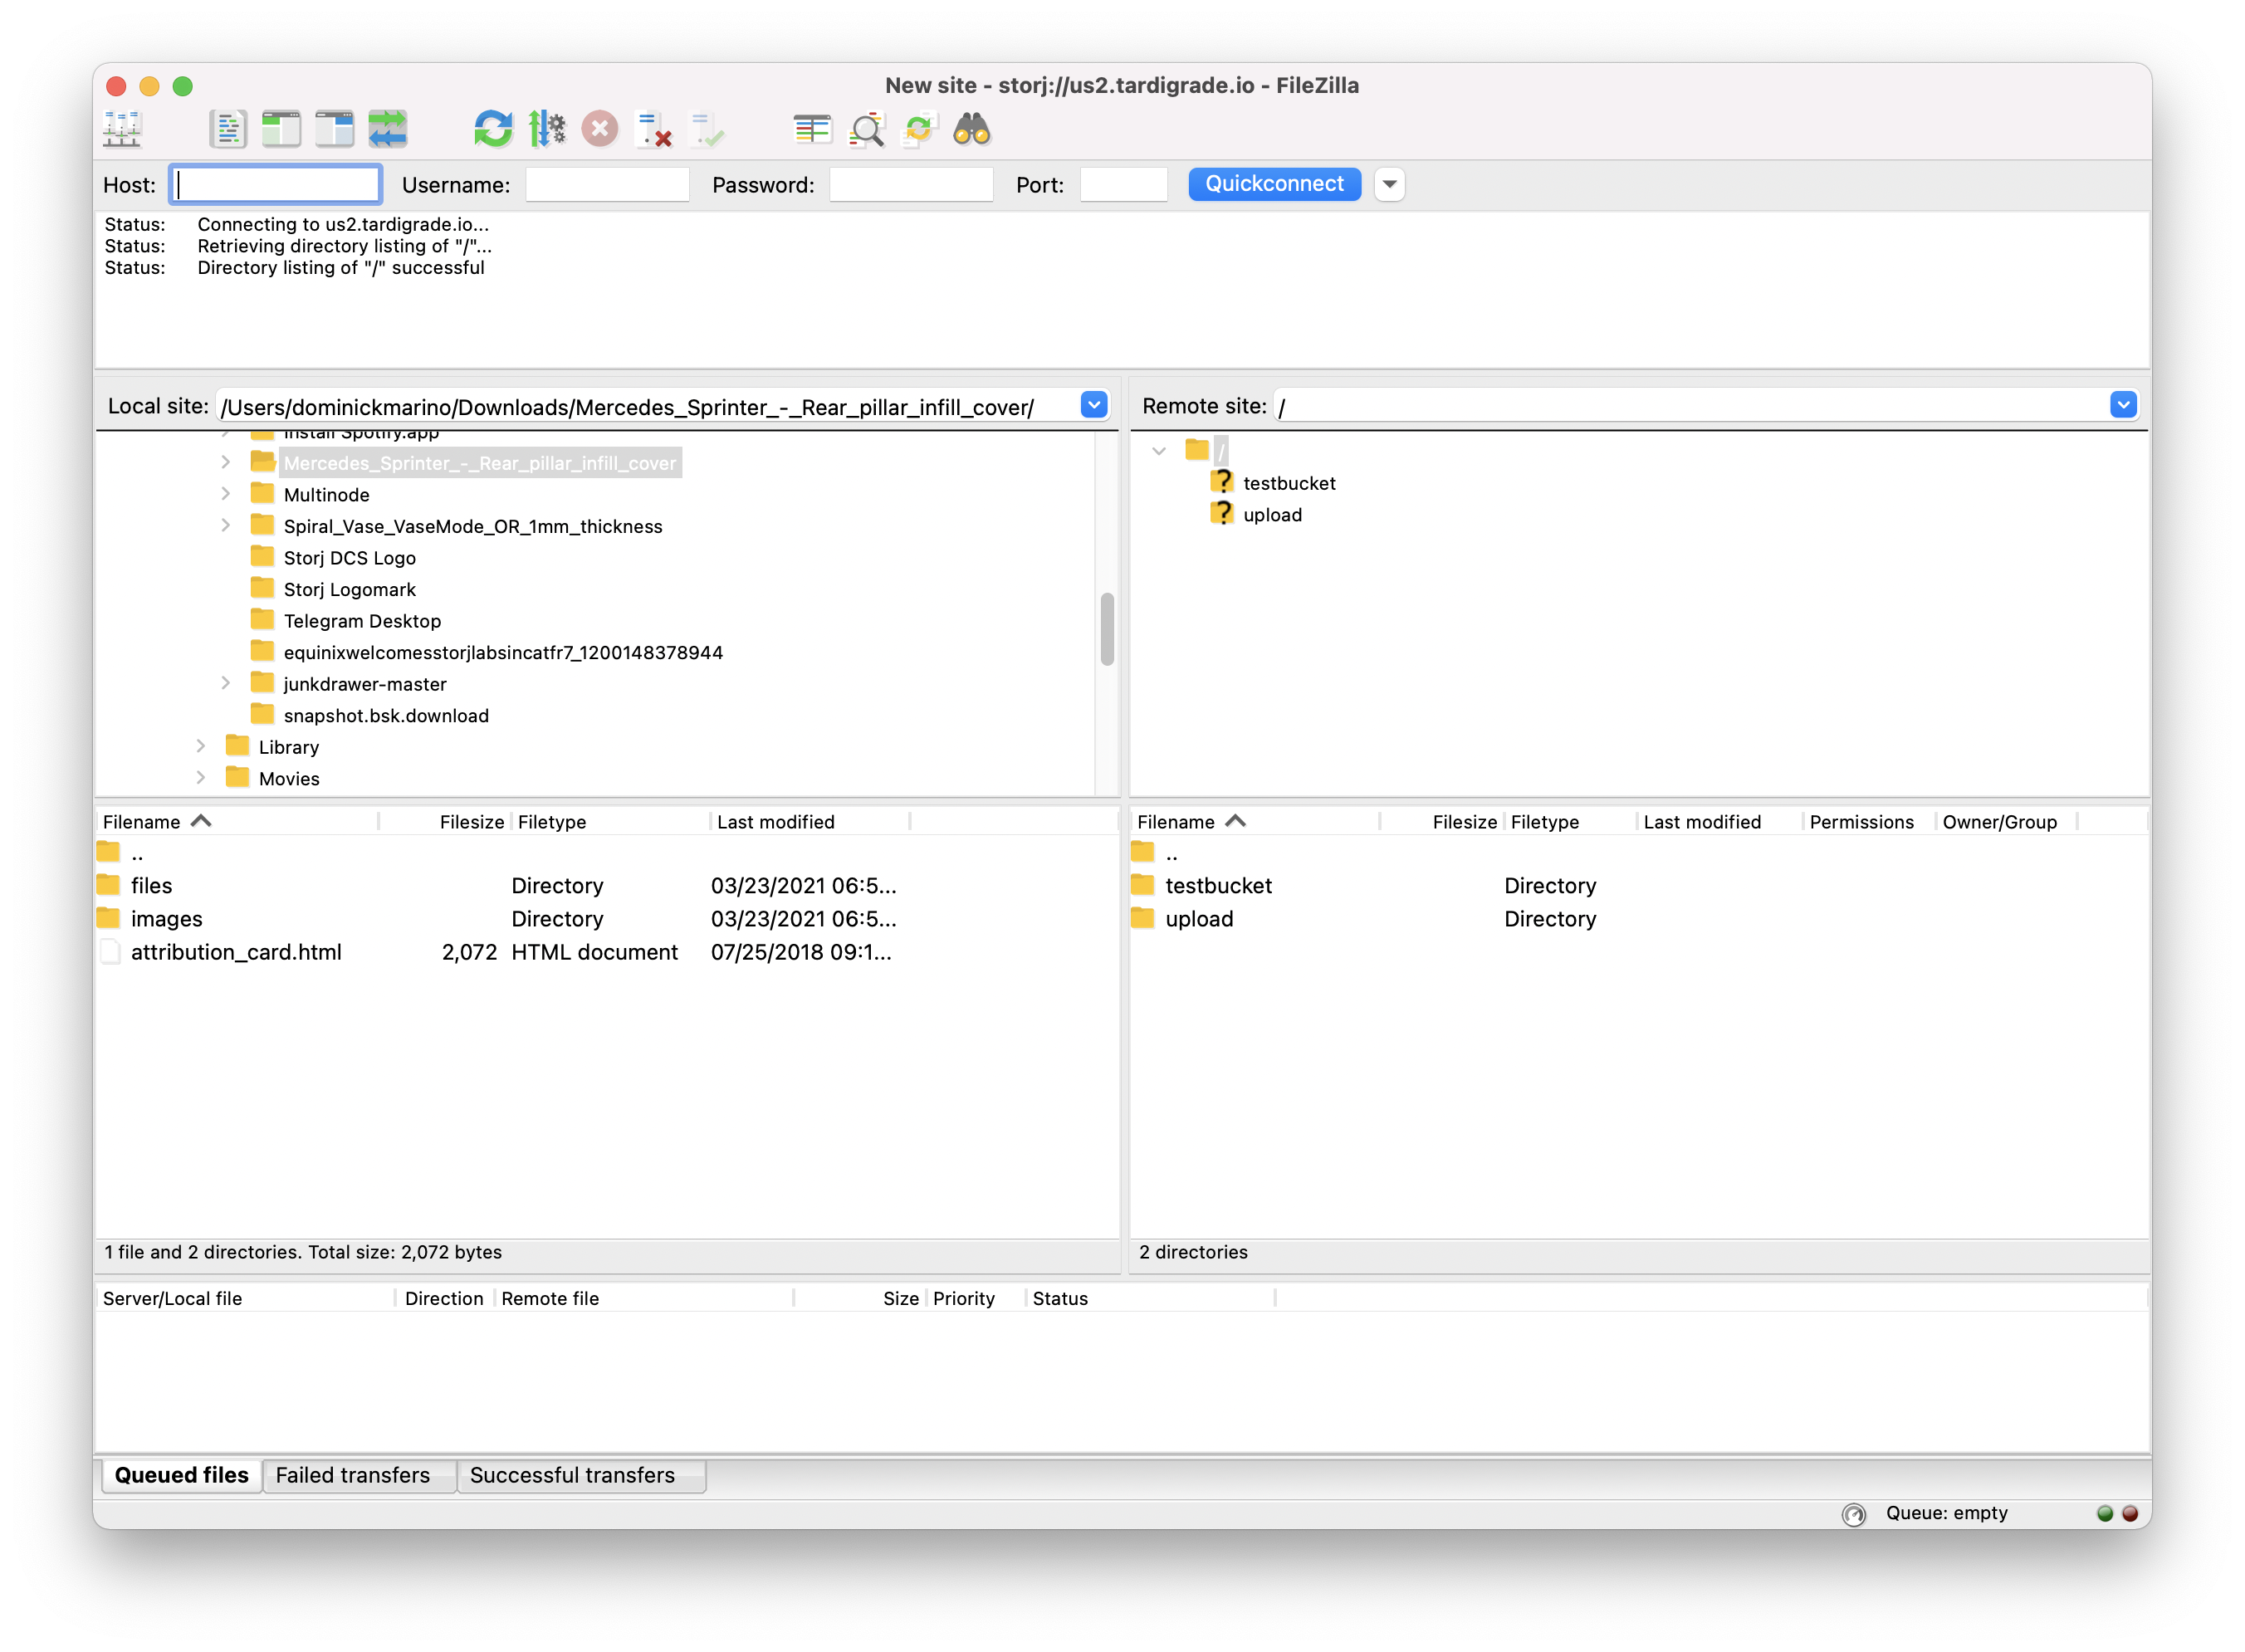
After you enter the above information, hit the "Connect" button, and FileZilla will connect directly to the remote site. You should see a screen showing your local site vs. Storj, like so:
Uploading a File
To upload a file to your local machine, simply drag it from the local to the remote site (on the decentralized cloud), as shown below:
Downloading a File
To download a file to your local machine, simply drag it from the remote site to the local site, as shown below: