Zerto
Introduction
Zerto brings together disaster recovery and data protection. It provides a single, scalable solution that offers simple cloud data management and protection across on-premises, hybrid, and multi-cloud environments.
You can use Zerto with Storj S3-compatible storage.
You can download a free trial here.
Demo site: Zerto’s Hands on Labs
Configure Zerto to use Storj
Log into Zerto Virtual Manager (ZVM).
On the left-hand side of the ZVM dashboard, click the Setup button (icon looks like a wrench).
Tab over to Repositories and click New Repository.

On the New Repository wizard screen:
General:
Provide a name for the repository
Change
Storage Typeto S3-Compatible storageToggle whether to set this as your default LTR repo
Settings:
Region: enter the region your bucket is provisioned in (US1, EU1 or AP1)
Endpoint URL: provided in the Getting started https://gateway.storjshare.io/
Bucket Name: enter the name of your bucket, for example, ¨demo-bucket
Access Key: provided in Getting started you generated with Storj
Secret Access Key: provided in Getting started you generated with Storj
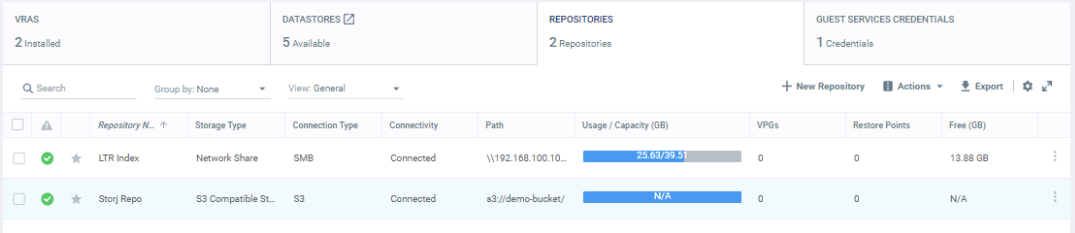
After populating all fields, click Save. You should now see the Storj Repo as part of your LTR repository list.
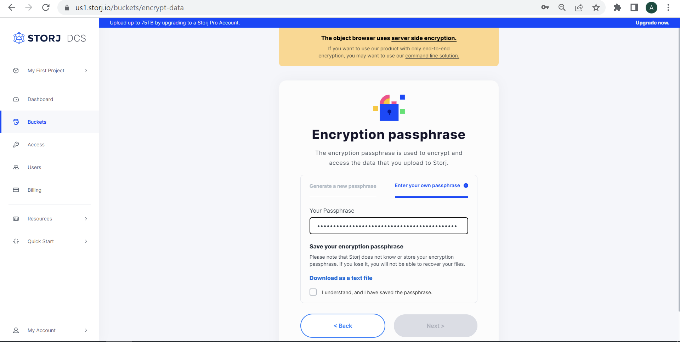
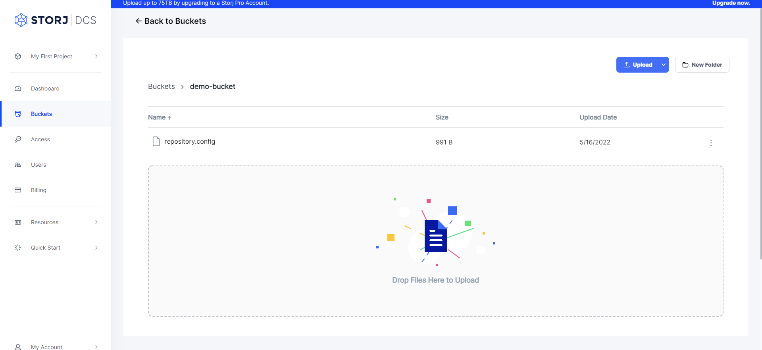
You may optionally verify Zerto's connection via the Storj website. To do so, please sign in to your Storj account, click on Buckets on the left-hand side, then select your demo-bucket from the Buckets view, and provide the encryption passphrase. You will be taken to this bucket’s page, where you will see a repository.config file, confirming the connection.
Once the repository is configured, return to the ZVM interface in Zerto.
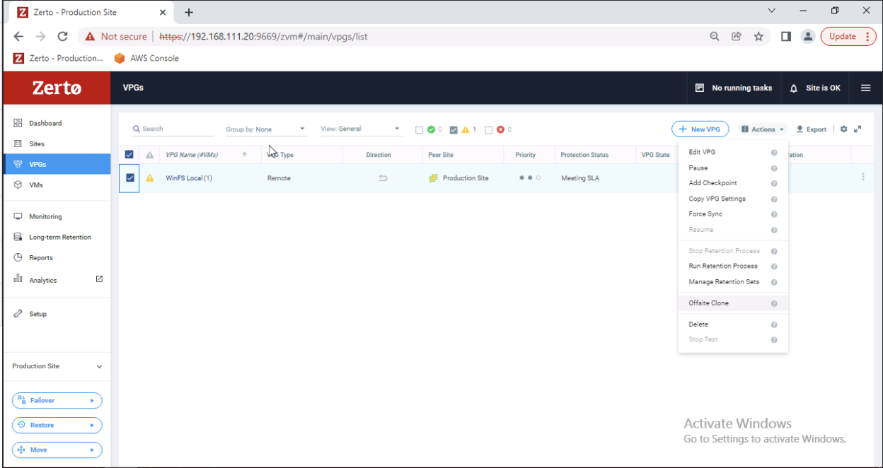
On the left-hand side, click VPGs. On the VPG management screen, tick the box next to the VPG you are looking to protect.
Check the following Long-Term Retention settings and click Done:
Returning to the VPG management page, click Actions, then Run Retention Process. This will initiate an upload of a copy of the virtual machine to the Storj repository.
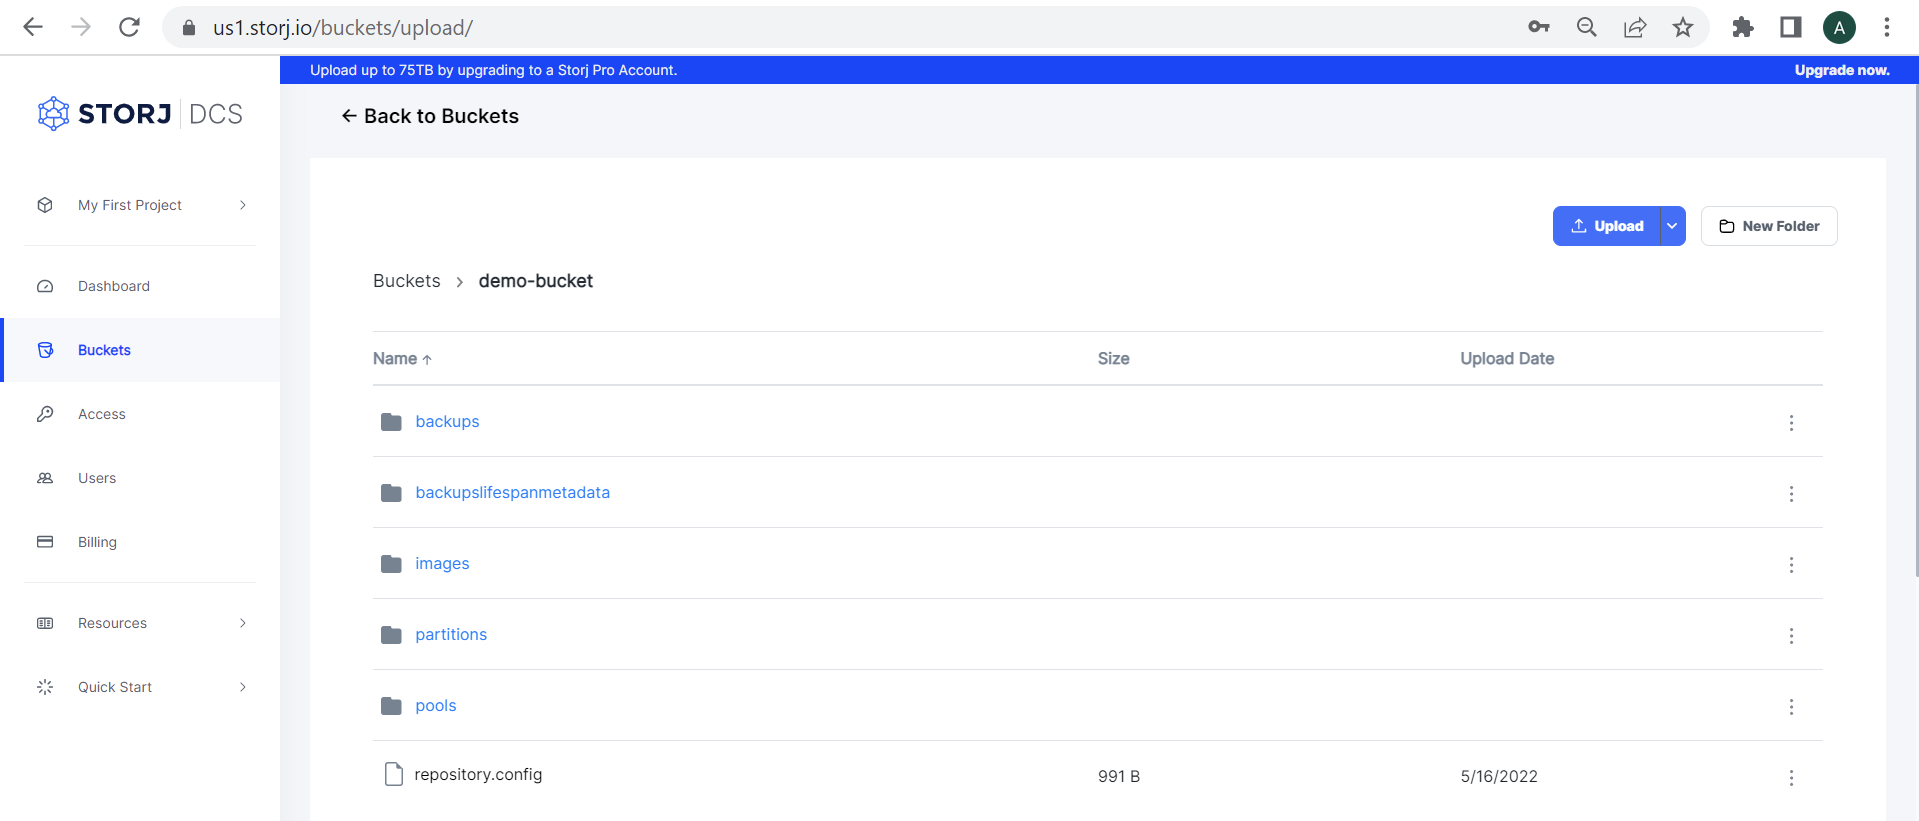
You may return to the Storj website to see a copy of the Windows File Server in the Storj demo-bucket.
Restoring a backup with Zerto
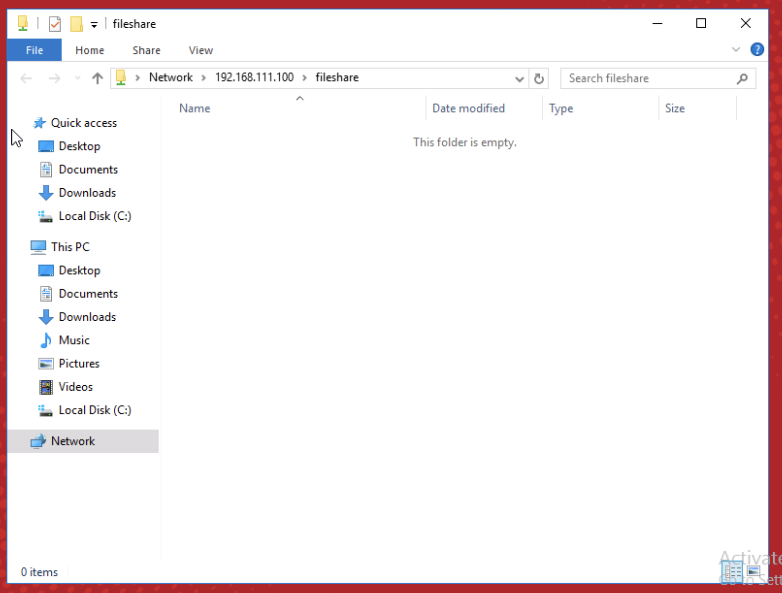
Once the initial Retention Process has been completed, you may “accidentally” delete all the files in that recently copied file server in order to test the functionality of restoring a backup.
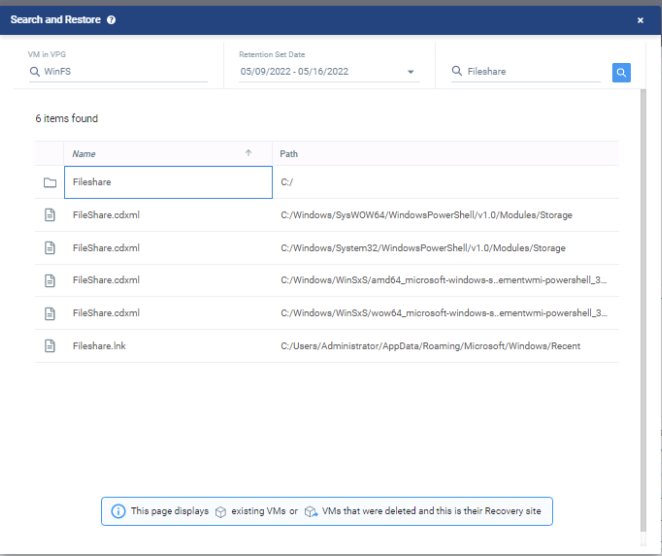
Return to the ZVM console and start a File Level Restore. Click Restore, then Search and Restore.
Search for the deleted file share and click on it. Then click Restore File.
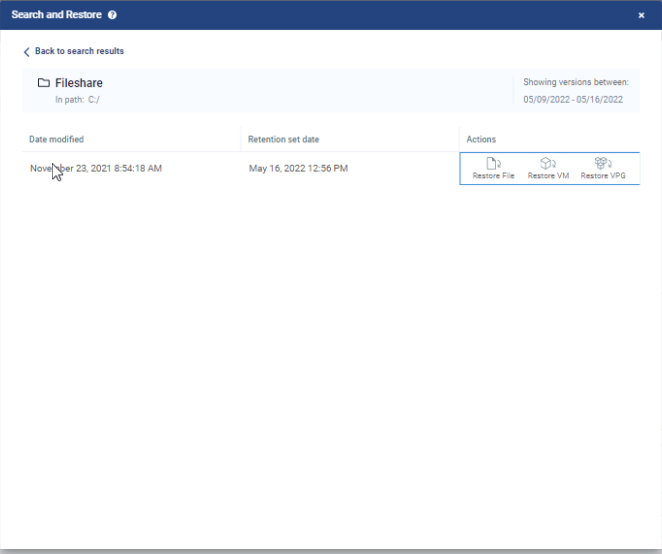
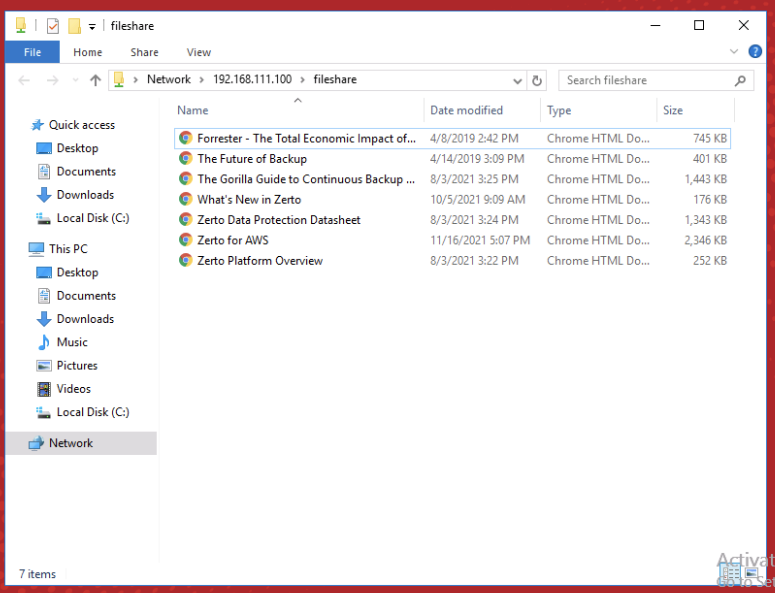
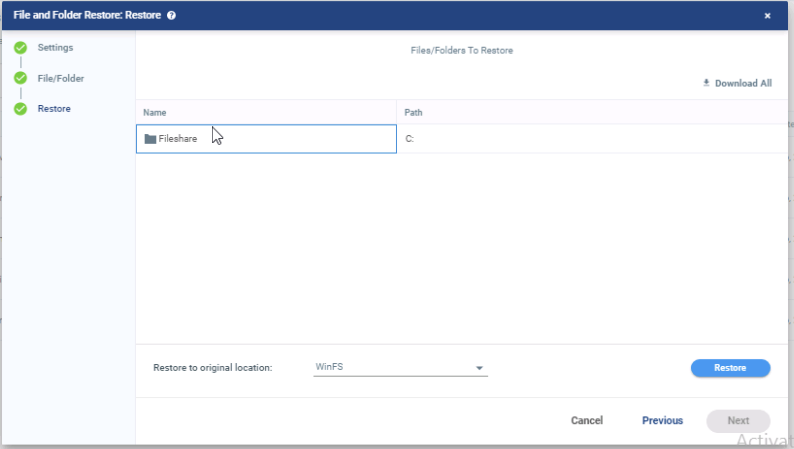
Click the folder icon and select the Fileshare to restore it to the Windows File Servers (WinFS), as shown below. Click Restore.
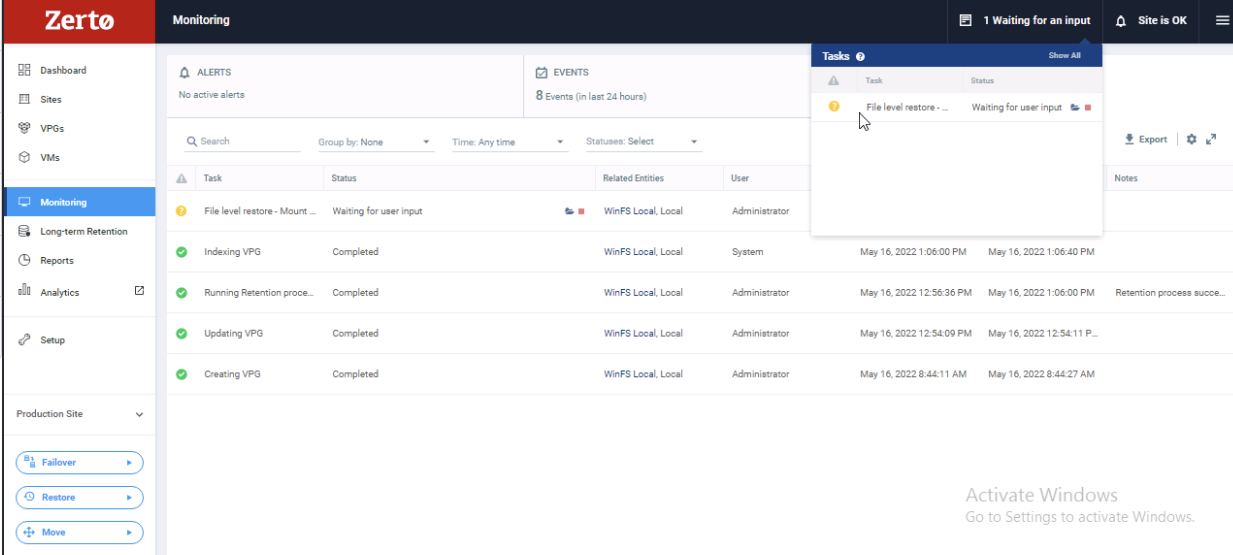
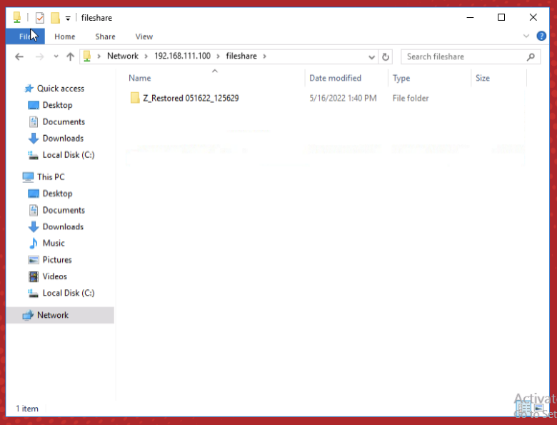
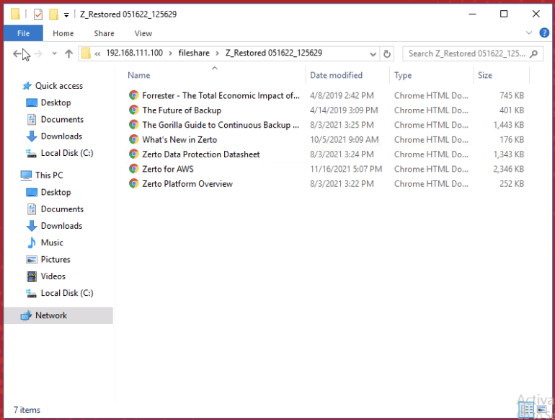
A file restore task will kick-off, beginning the movement of that file share directory and all its contents backed up in Storj back to the Windows File Server. Once completed, you can find the recovered folder and its files restored in the directory.