TrueNAS - iXsystems
TrueNAS is a network attached storage (NAS) solution that allows for an off-site backup with cloud storage, such as Storj, to provide simplicity, speed, and durability in data storage.
Advantages of Storj with TrueNAS
Using Storj with TrueNAS provides resilient cloud object storage with blazing performance and zero-trust security. This integration ensures:
Data durability: Use Storj as an offsite backup for your TrueNAS storage for multi-region durability.
Speed and simplicity of on-site storage with the added protection of a back-up in the cloud.
It is also configurable in a variety of ways.
Integration
This integration uses S3 credentials passed from Storj to TrueNAS. You will need to set up a Storj account, create a Storj bucket for TrueNAS, and generate S3 credentials for TrueNAS. Then, you will need to create a Cloud Credential on TrueNAS that will grant it access to the bucket in Storj.
Software Requirements
Storj is fully integrated with TrueNAS.
To integrate TrueNAS with Storj, you will need:
A Storj account
A TrueNAS storage device connected to your network.
For more information about the iX Storj integration, visit https://www.truenas.com/ix-storj.
Setting up Storj
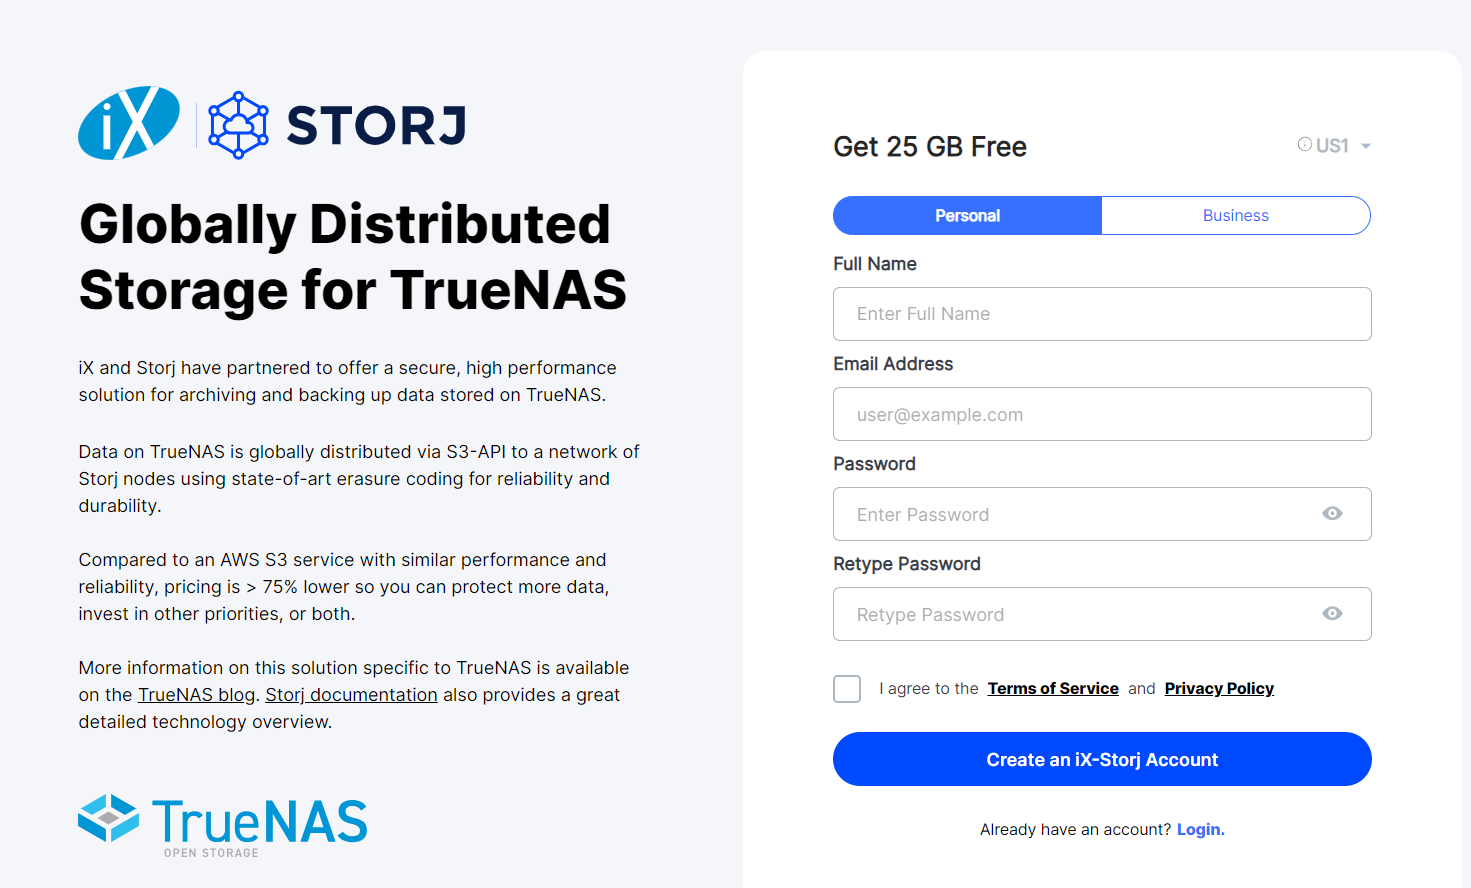
Sign up for an account
Navigate to https://storj.io/signup?partner=ix-storj-1 to sign up iX-Storj account. Enter your full name, email address, and a password, as shown below:
If you have an existing Storj account, you will need to contact support to have it linked to the iX Storj integration. See here for more information
Create a Bucket
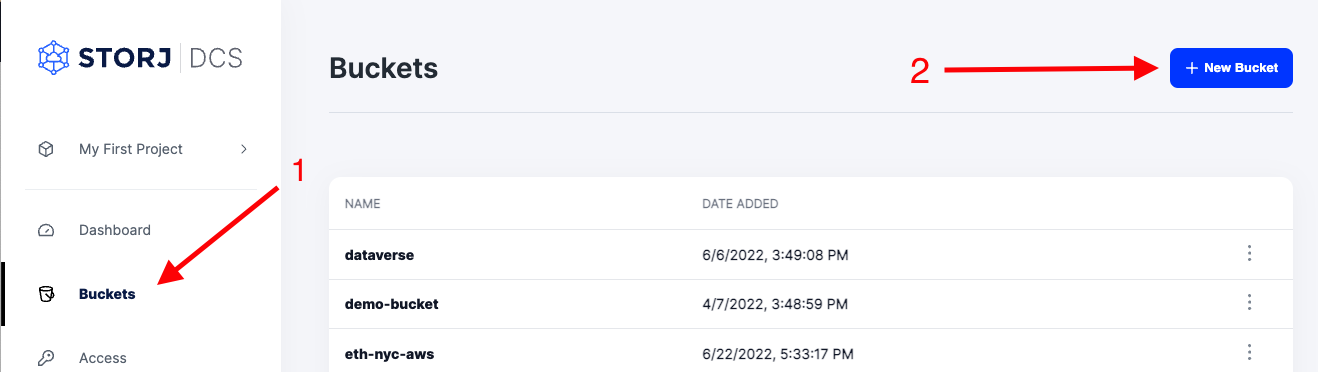
Once you have your Storj account you can create a bucket for your data to be stored in.
1. Navigate to “Buckets” on the left side menu.
2. Click “New Bucket” on the top right.
3. Assign the bucket an easily identifiable name, such as "my-bucket".
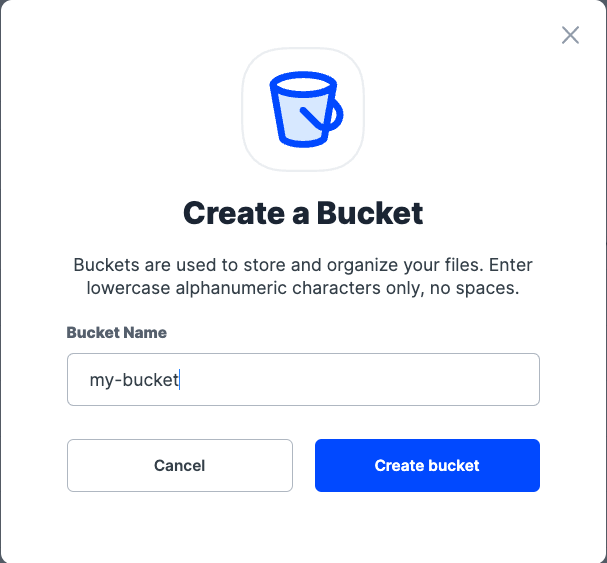
4. Click Create bucket
Generate S3 credentials
Storj has an Amazon S3 compatible API and you'll need generate S3 credentials to use it. S3 credentials consist of an access key, secret key, and endpoint.
Create S3 credentials in the Storj web console:
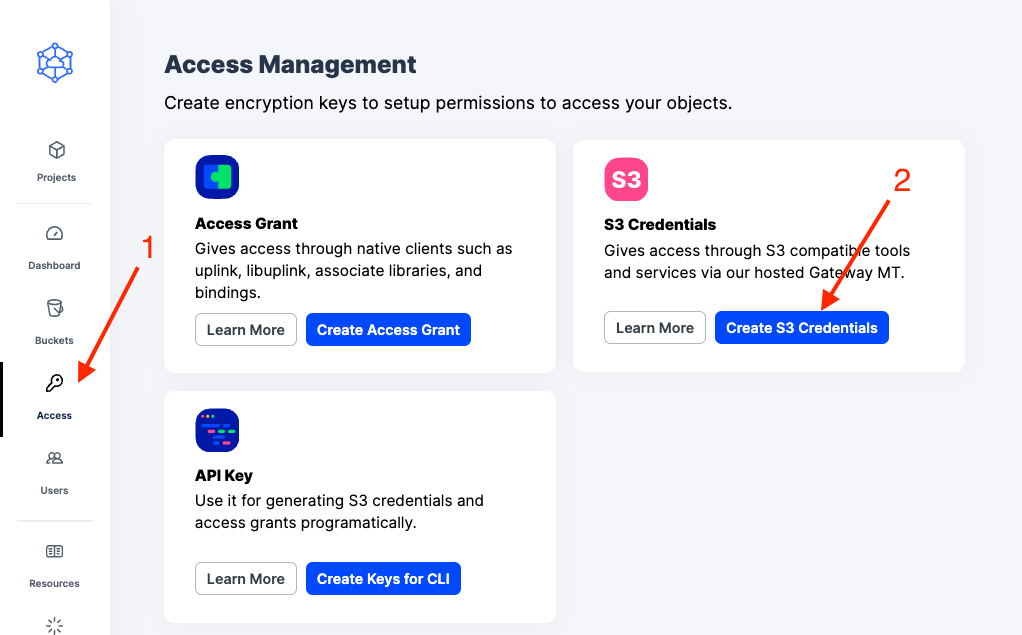
1. Navigate to Access on the left side menu.
2. Click Create S3 Credentials under the S3 Credentials block.
3. When the Create Access screen comes up, set specifications according to the following guidelines:
Type: S3 Credentials
Name: The name of the credentials (e.g. my-access)
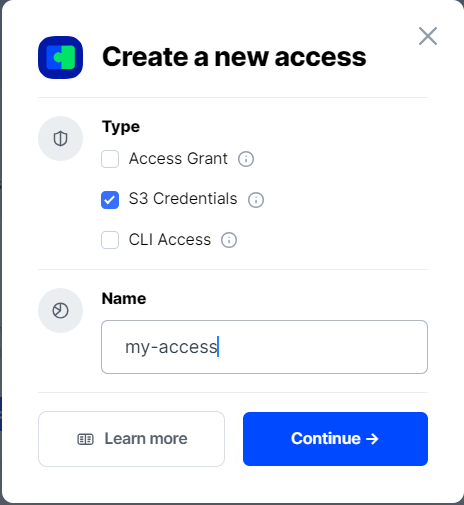
4. Click Continue to provide permissions
Permissions: All
Buckets: Feel free to specify the bucket you created above (e.g. my-bucket), or leave as “All”
End date: provide an expiration date for these credentials (optional)
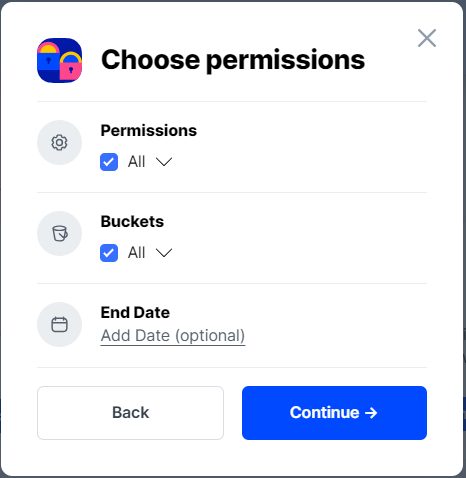
5. Click Continue to provide Access encryption Information
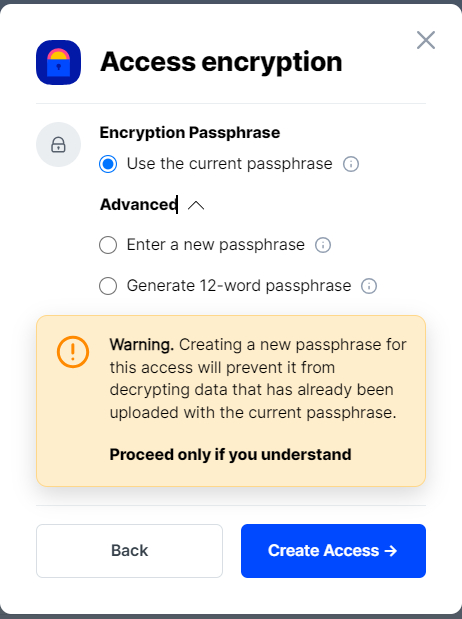
Use the current passphrase: this is default option
Advanced: you may provide a different encryption phrase either your own or generate a new one.
Enter a new passphrase: use this option, if you would like to provide your own new encryption phrase
Generate 12-word passphrase: use this option, if you would like to generate a new encryption phrase
In order to see the data uploaded to your bucket in the web console, you must unlock the bucket with the same encryption passphrase as the credentials.
6. Click Create Access to finish creation of your S3 credentials
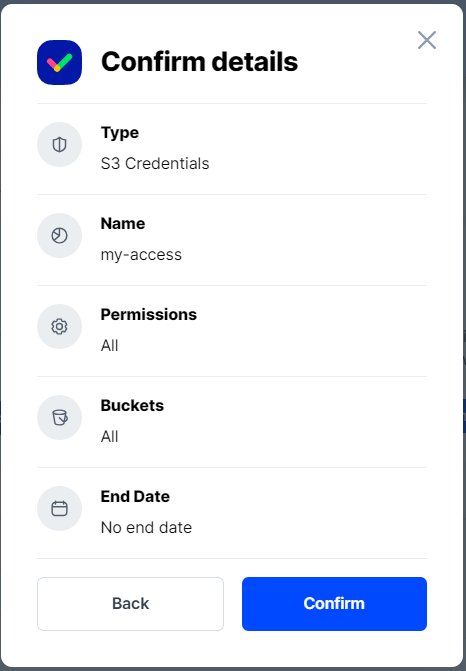
7. Click Confirm the Confirm details pop-up message
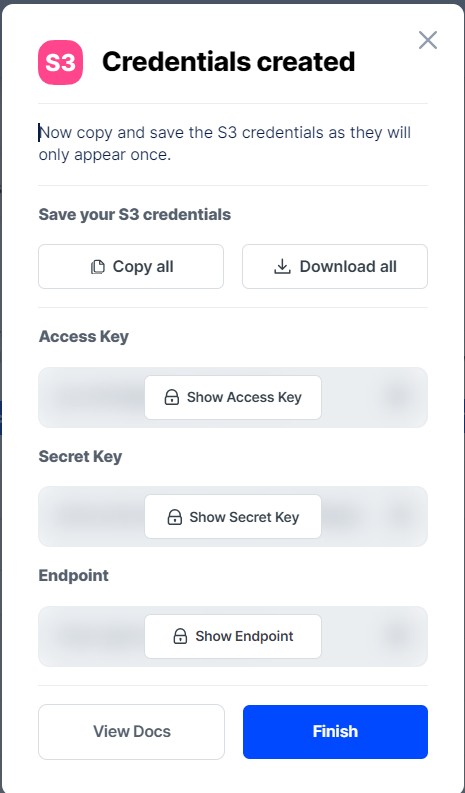
8. Your S3 credentials are created. Write them down and store them, or click the Download all button. You will need these credentials for the following steps.
Connecting TrueNAS to Storj
To complete the integration, you will need the S3 credentials created in the previous steps and a TrueNAS login.
Create a Cloud Credential in TrueNAS
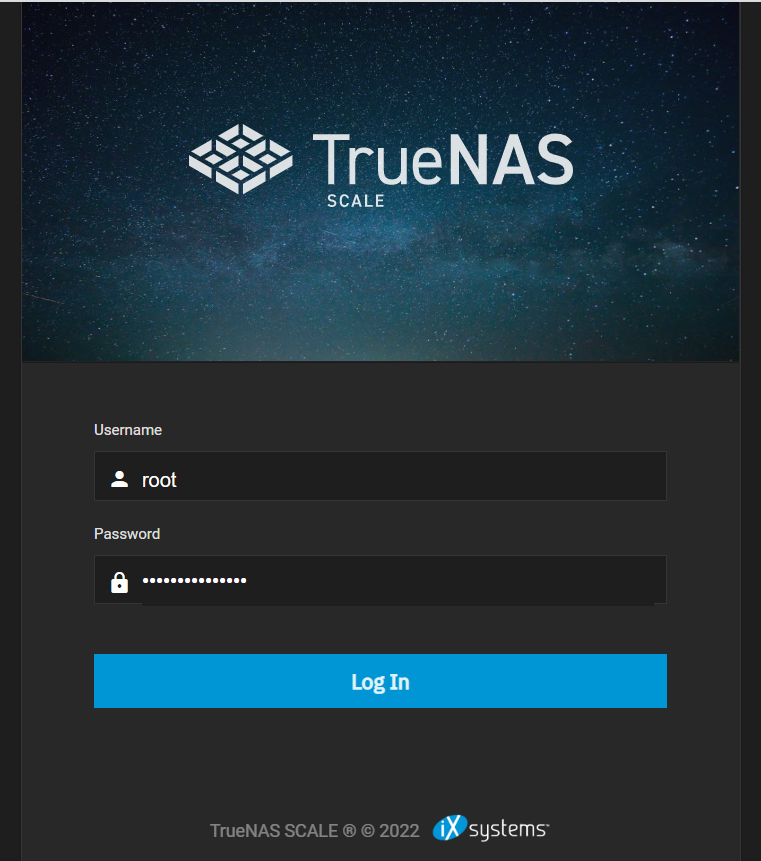
1. Log into TrueNAS on your network.
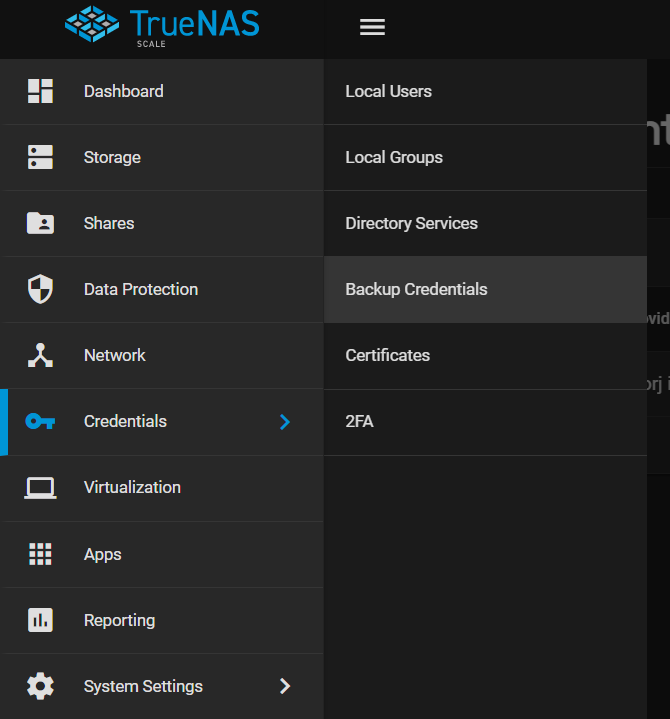
2. On the left-hand menu, navigate to Credentials and select Backup credentials.
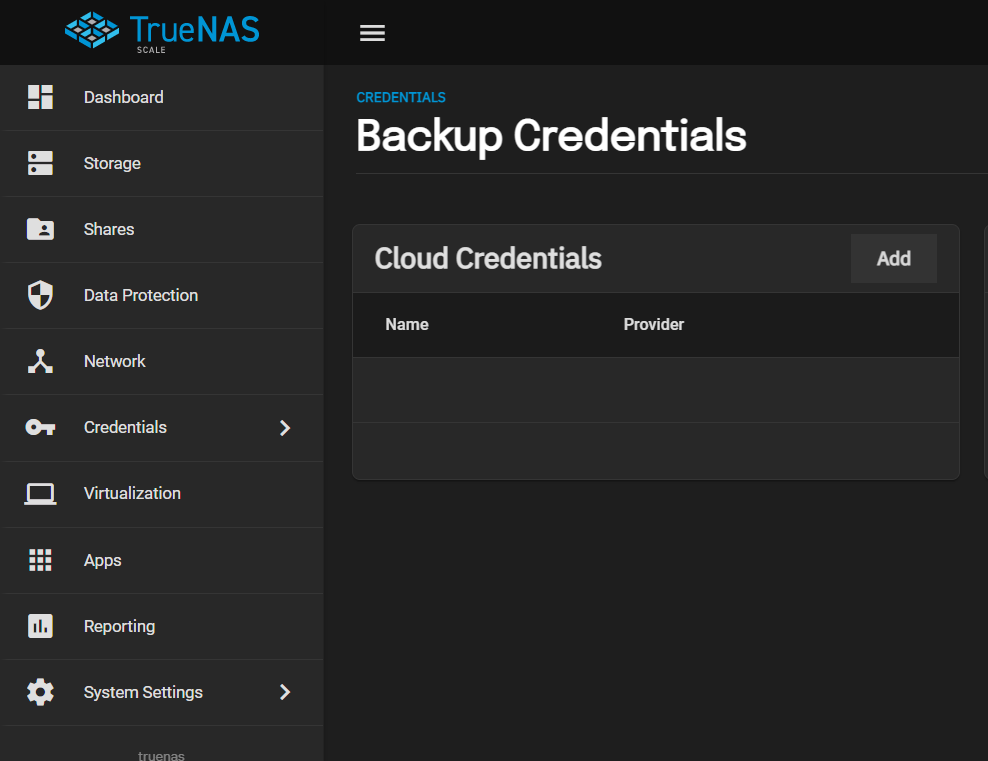
3. Click Add under the Cloud Credentials section.
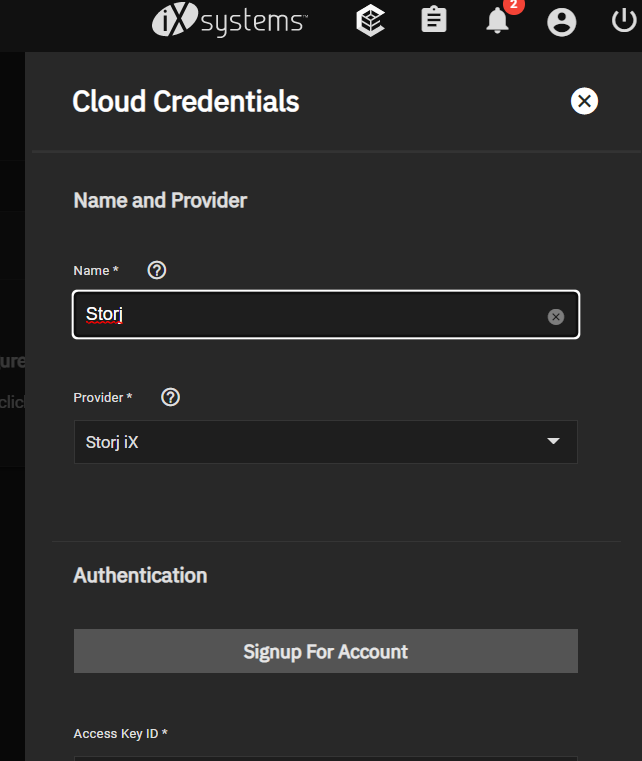
4. On the right-hand pop-up menu, complete the fields as follows:
Name: the name of your credential, e.g. Storj.
Provider: select Storj iX from the drop-down.
Access Key ID: the access key from your S3 credentials created in Storj.
Secret Access Key: the secret key from your S3 credentials created in Storj.
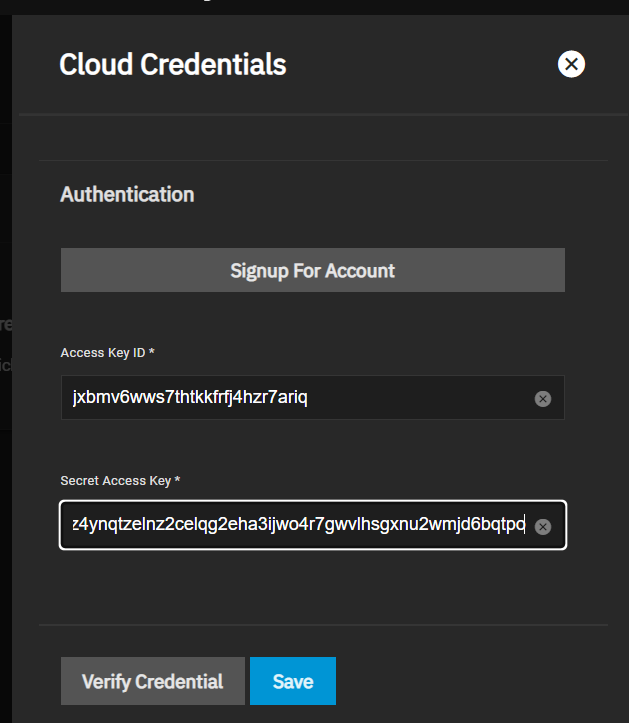
5. Click Verify to very the credentials if you wish.
6. Click Save.
Create a Cloud Sync Task
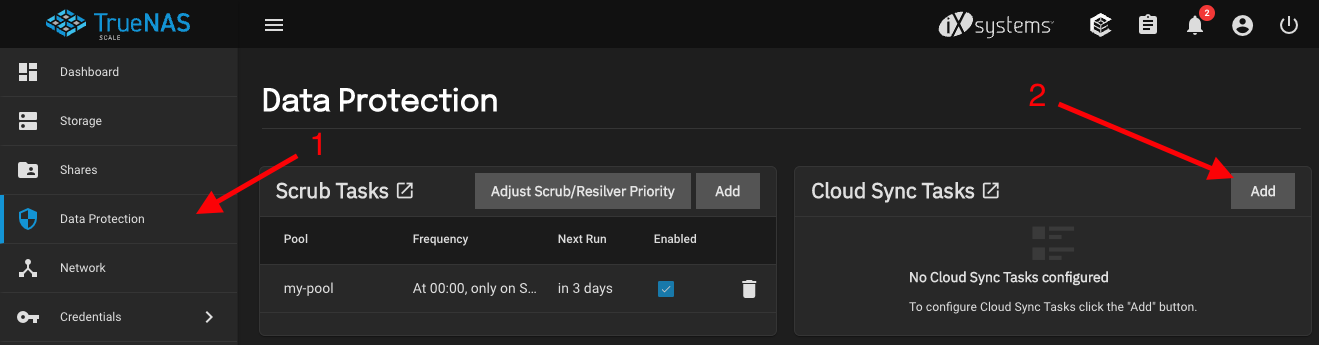
1. On the left-hand menu, click Data Protection, navigate to Cloud Sync Tasks, and click Add.
2. In the Add Cloud Sync Task window, fill out the fields as follows:
Description: your preferred description, e.g., "Daily".
Direction: PUSH. This transfers data from TrueNAS to the cloud.
Transfer Mode: Copy
Credential: Choose the Storj credential from the drop-down.
Bucket: choose the truenas bucket you created within Storj.
Folder (optional): The path where the data should be stored within the bucket.
Directory/Files: the folder in your directory to push from.
3. Click Save. Under Cloud Sync Tasks you should see an entry for the Daily task, along with a green SUCCESS tag.
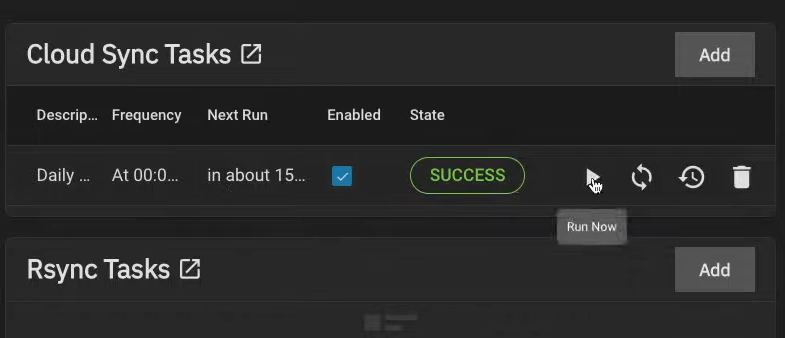
4. To test whether the sync has been successful, click the Run Now arrow in the task entry.

Success!
While the tasks are running, an orange "RUNNING" label will appear in the task entry. Once the task completes, it will return to a green "SUCCESS" tag.
You can now check on the file sync. The TrueNAS bucket in Storj should contain the contents of the folder you had uploaded.