Static site hosting
You can use your own domain name and host your own static website on Storj
Static websites are files, including HTML, CSS, and Javascript files, presented to the user exactly as they are stored on disk.
Part 1: Uplink CLI
Download the uplink binary (Set Up Uplink CLI with Access Grant) and upload your static site files to Storj. You may also upload your files in any other manner, but you will need the Uplink CLI for the remaining steps.
Share the bucket or object prefix (not individual objects) that will be the root of your website/subdomain. At the root, name your home page
index.html. The website will serve the index.html file automatically e.g.http://www.example.testandhttp://www.example.test/index.htmlwill serve the same content. Anything shared with--dnswill be readonly and available publicly (no secret key needed).Finally, you can optionally add the
--tlsflag in order to return an additional DNS entry used for securing your domain with TLS.
Notably, this mechanism allows you to host multiple websites from the same bucket by using different prefixes. You may also create multiple subdomains by using different hostnames (however, the Uplink CLI only generates info for one at a time).
The command above prints a zone file with the information needed to create 3 DNS records. Your CNAME should match the linkshare service domain (link.storjshare.io by default).
Remember to update the $ORIGIN from example.com to your domain name (keep the trailing .). You may also change the DNS $TTL.
For example, running
will output a zone file like the following:
Part 2: DNS Provider
1. In your DNS provider, create a CNAME record on your hostname using the CNAME from your generated zone file as the target name.
Ensure you include the trailing . at the end of your CNAME if your DNS providers allows.
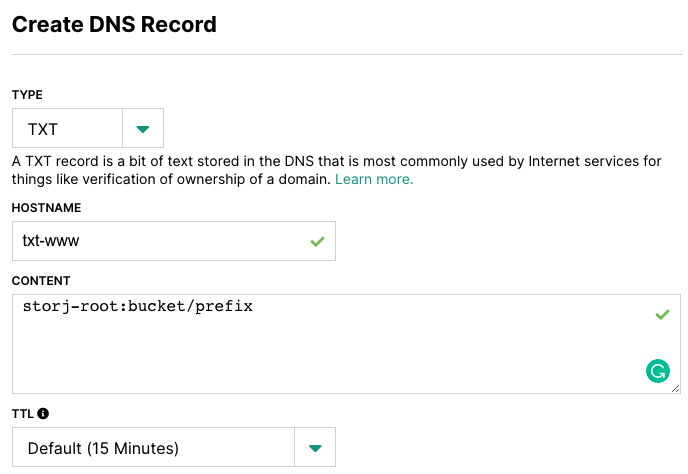
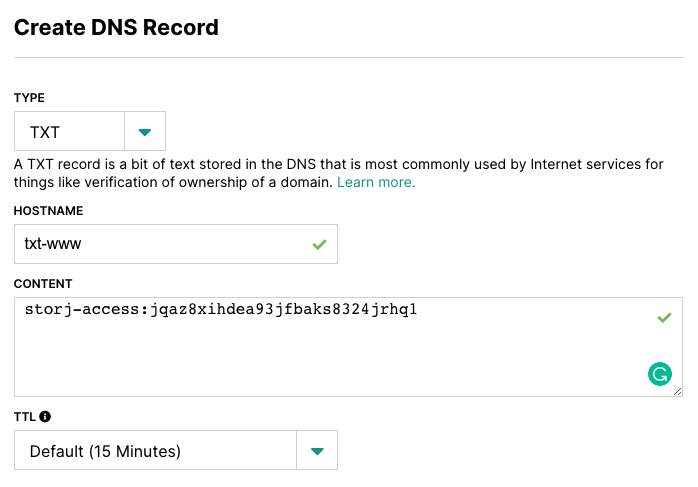
2. Create 2 TXT records, prepending txt- to your hostname.
Root Path: the bucket or object prefix key that you want your root domain to resolve to (and that contains your index.html file).
Access Key: the readonly and public access key to your root path.
3. You can check to make sure your DNS records are ready with dig @1.1.1.1 txt-<hostname>.<domain> TXT
4. Optionally, if you create a page titled 404.htmlin the root of your shared prefix, it will be served in 404 conditions.
5. That's it! You should be all set to access your website! e.g.http://www.example.test
Why is my browser telling me that my connection is not secure?
While Linksharing links are secure, when you use a custom domain the browser is expecting a TLS certificate for your domain to be present on the Storj servers hosting the link. We do not generate this certificate by default, so you will need to upgrade to a Pro Account and follow the relevant steps for enabling TLS (HTTPS) for custom domains here: Custom Domains