Elements
ELEMENTS provides a powerful hardware and software platform that supports every post-production and broadcasting workflow step – from sophisticated on-premise technologies with unique features to future-proof cloud solutions.
Advantages of ELEMENTS with Storj
ELEMENTS’ S3 Integration can leverage Storj's decentralized storage technology, providing enhanced security and scalability for users. Storj's end-to-end encryption and distributed network of nodes ensure secure content storage and efficient content distribution. The combination of these platforms provides a cost-effective and reliable way to store, manage and collaborate on media content, making it an ideal choice for individuals and businesses that require a secure and scalable asset management platform.
Integration
The integration between ELEMENTS and Storj is achieved through the S3 protocol, which enables ELEMENTS to store media content directly to and from the Storj network. With a 3rd party cloud license, ELEMENTS users can configure their ELEMENTS solution to use Storj as a storage location for their media content.
To integrate ELEMENTS with Storj, you will need:
To begin, you need to create a Storj account. Navigate to https://storj.io/signup?partner=elements to sign up, or log in https://storj.io/login if you already have an account.
A bucket for ELEMENTS in your Storj account
Storj S3 compatible credentials
Admin Access to your ELEMENTS webUI for configuration and management
ELEMENTS 3rd party cloud storage license
Create a Storj Account
To begin, you will need to create a Storj account. If you already an account, go to https://storj.io/login.
Navigate to https://storj.io/signup to sign up. Enter your full name, email address, and a password, as shown below:

Create a Bucket
Once you have your Storj account you can create a bucket for your data to be stored in.
1. Navigate to “Buckets” on the left side menu.
2. Click “New Bucket” on the top right.
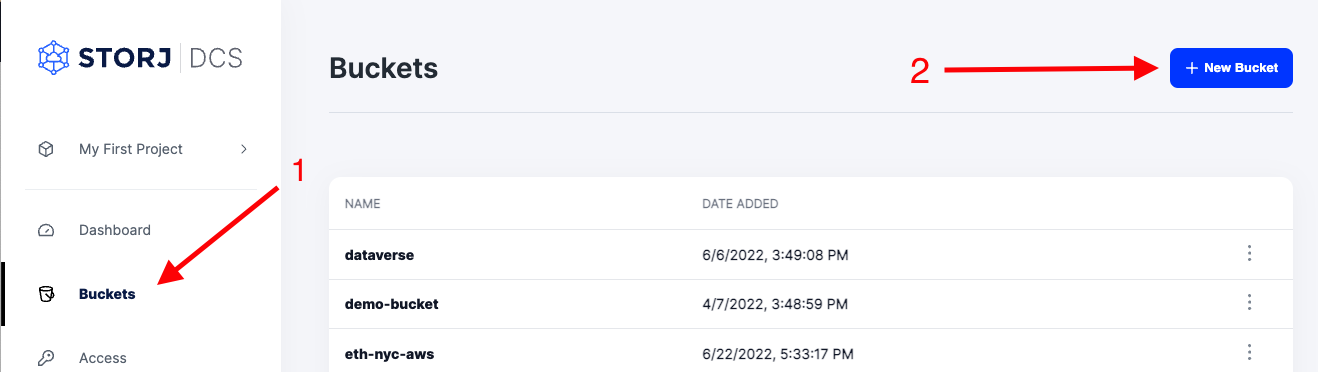
3. Assign the bucket an easily identifiable name, such as "my-bucket".
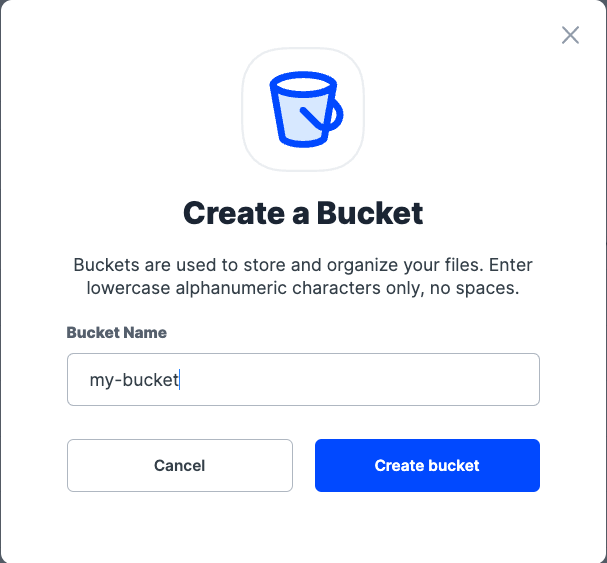
4. Click Create bucket
Generate S3 credentials
Storj has an Amazon S3 compatible API and you'll need generate S3 credentials to use it. S3 credentials consist of an access key, secret key, and endpoint.
Create S3 credentials in the Storj web console:
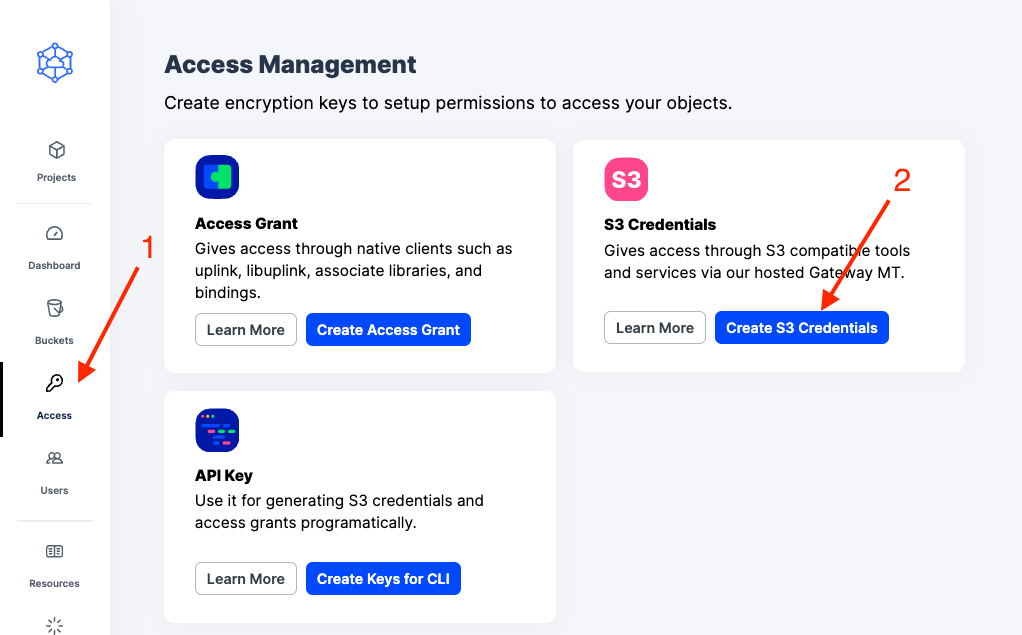
1. Navigate to Access on the left side menu.
2. Click Create S3 Credentials under the S3 Credentials block.
3. When the Create Access screen comes up, set specifications according to the following guidelines:
Type: S3 Credentials
Name: The name of the credentials (e.g. my-access)
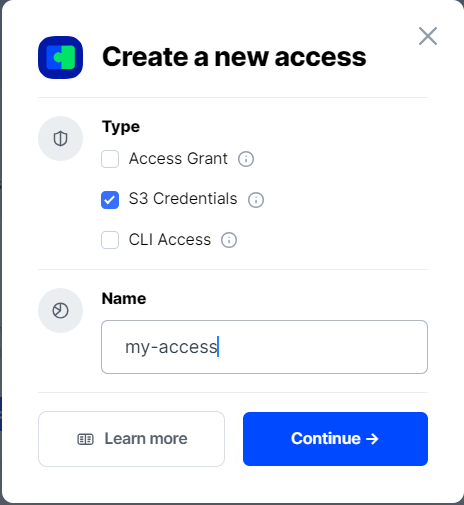
4. Click Continue to provide permissions
Permissions: All
Buckets: Feel free to specify the bucket you created above (e.g. my-bucket), or leave as “All”
End date: provide an expiration date for these credentials (optional)
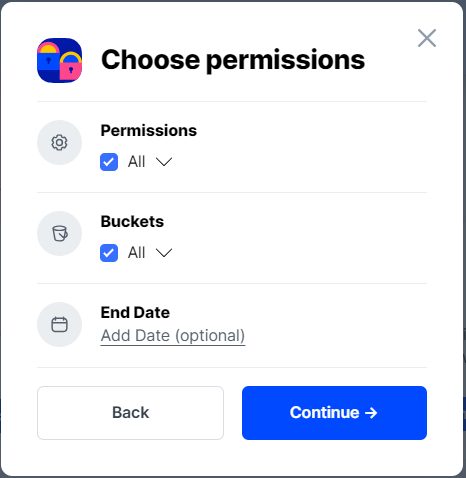
5. Click Continue to provide Access encryption Information
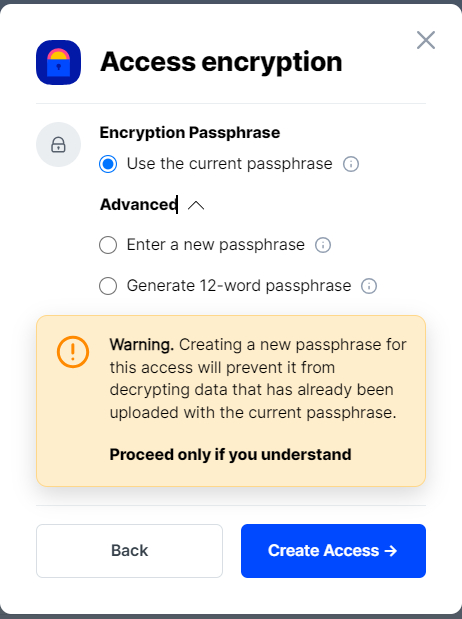
Use the current passphrase: this is default option
Advanced: you may provide a different encryption phrase either your own or generate a new one.
Enter a new passphrase: use this option, if you would like to provide your own new encryption phrase
Generate 12-word passphrase: use this option, if you would like to generate a new encryption phrase
In order to see the data uploaded to your bucket in the web console, you must unlock the bucket with the same encryption passphrase as the credentials.
6. Click Create Access to finish creation of your S3 credentials
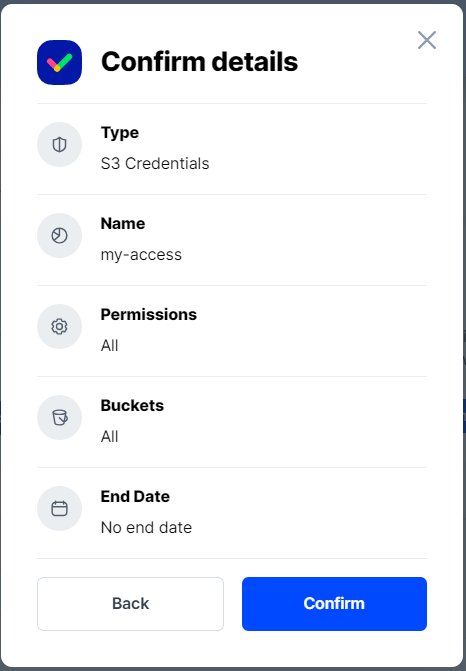
7. Click Confirm the Confirm details pop-up message
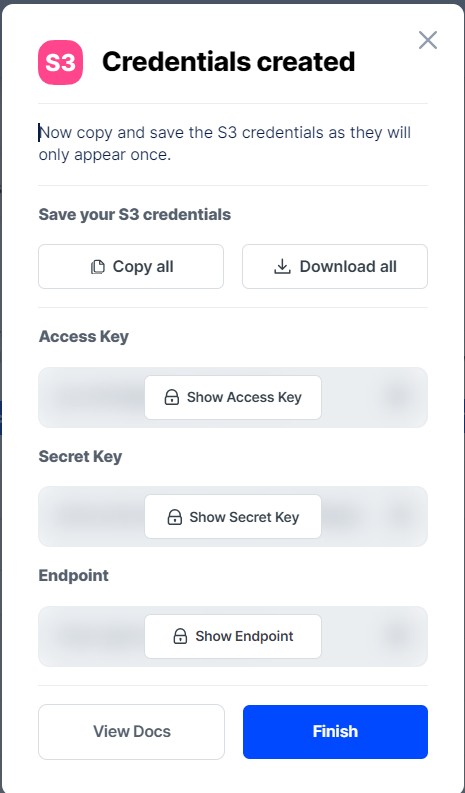
8. Your S3 credentials are created. Write them down and store them, or click the Download all button. You will need these credentials for the following steps.
Connect ELEMENTS to Storj
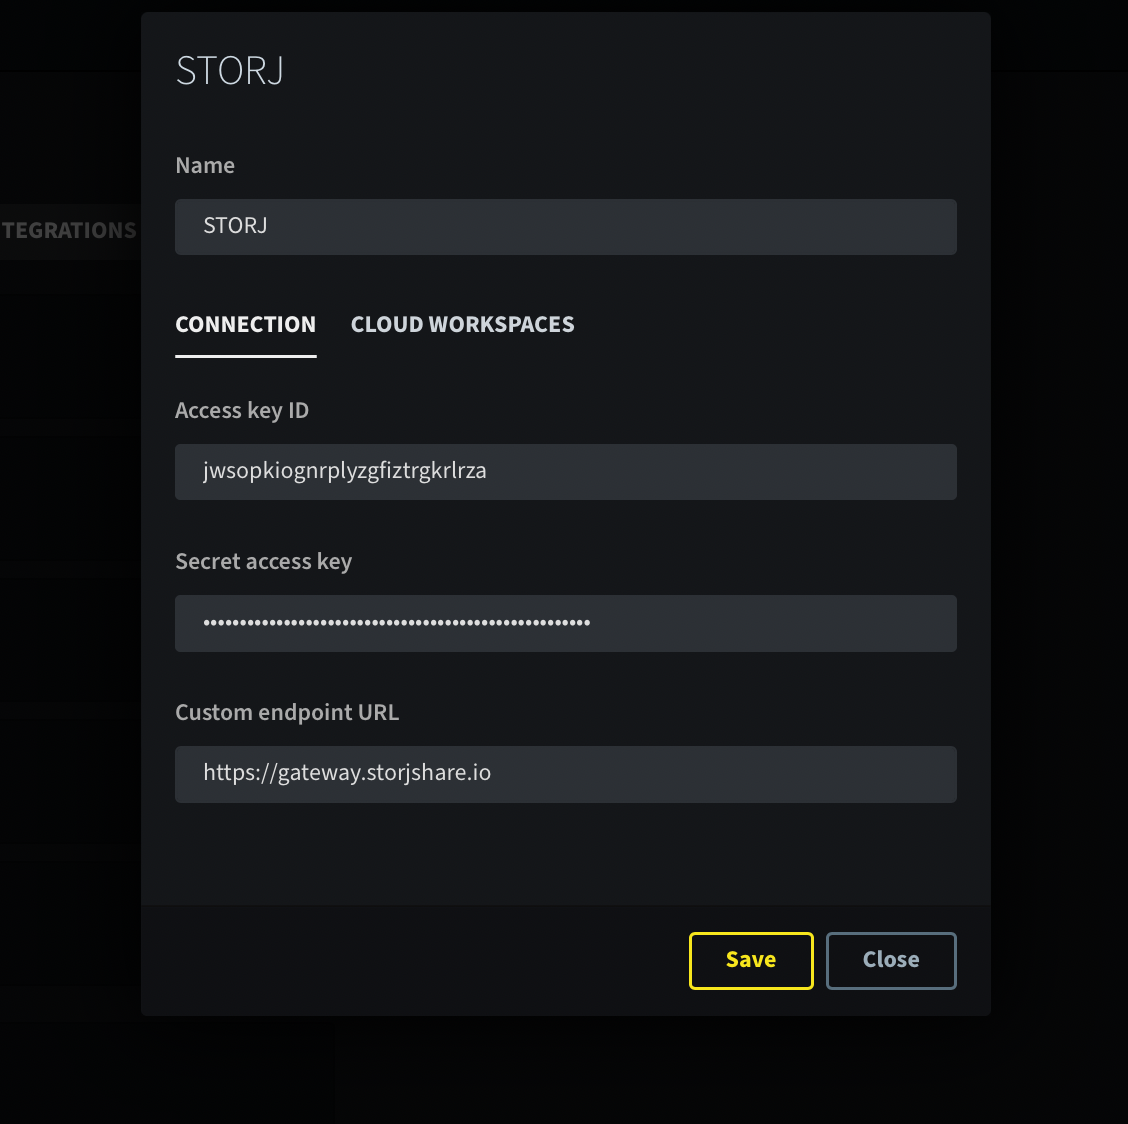
1. Copy the Access Key, Secret Key, and Endpoint from Storj to the connection fields on ELEMENTS system (Requires ELEMENTS’ 3rd party storage licensing).
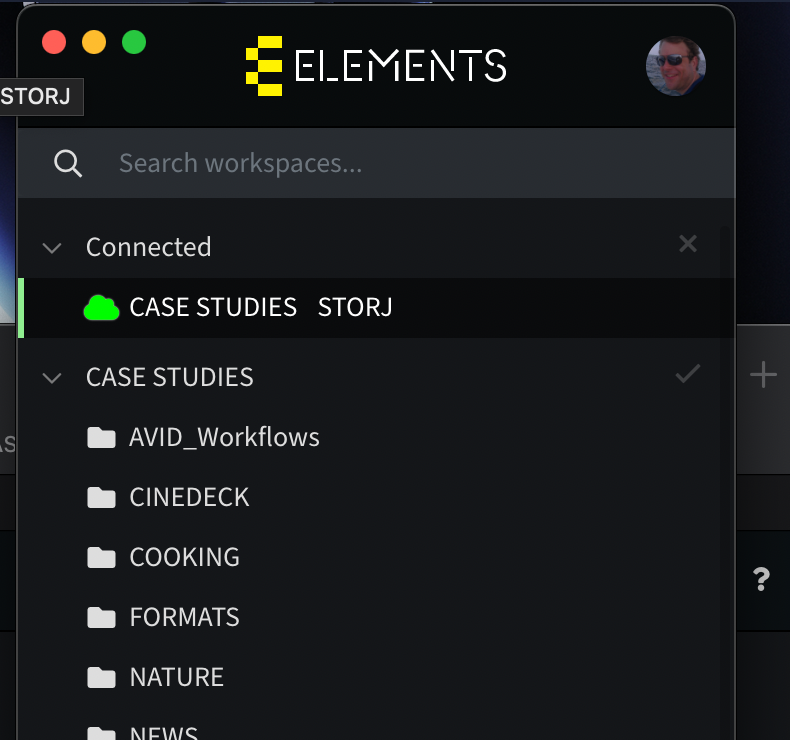
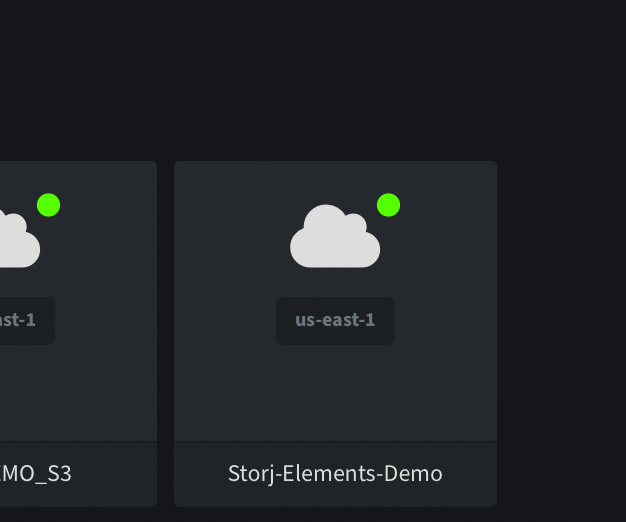
2. Once connected, ELEMENTS can create workspaces, manage permissions, and allow users to mount and use these workspaces via the ELEMENTS client for Mac, Windows and Linux. In a single bucket, we can create multiple workspaces and control access to those workspaces.
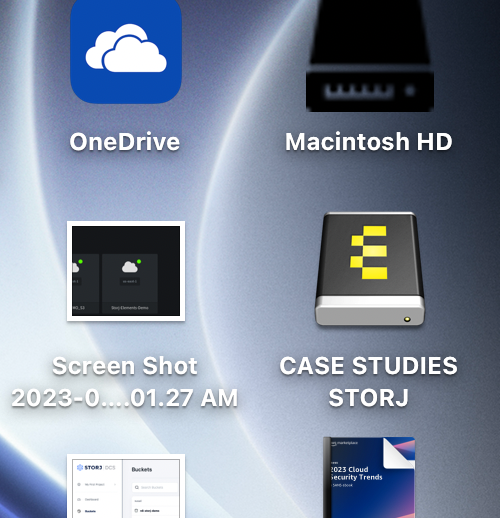
Allow users to mount ELEMENTS workspaces hosted on Storj as network volumes on their local Mac or Windows box.

Use Automation engine and/or sync utility to archive, restore and transfer files to and from.