Object Browser
The Object Browser supports uploading and managing objects directly through the browser with no command-line tool required. This component uses our Storj-hosted S3 Compatible Gateway service.
By using hosted Gateway MT you are opting into server-side encryption. See Design Decision - Server-side Encryption
Configure Object Browser Access
Navigate to the Create buckets page within your project. If you do not have any buckets yet - we will create a demo-bucket for you.
When you click on the bucket, you will be prompted to read carefully - The object browser uses Design Decision - Server-side Encryption.
Don't forget to save your Encryption Passphrase generated below, you will need it for future access.

If this is your first time using the object browser, you must create an encryption passphrase. We strongly encourage you to use a mnemonic phrase. The GUI automatically generates one on the client side for you with the Generate passphrase option. You can also download it as a text file.
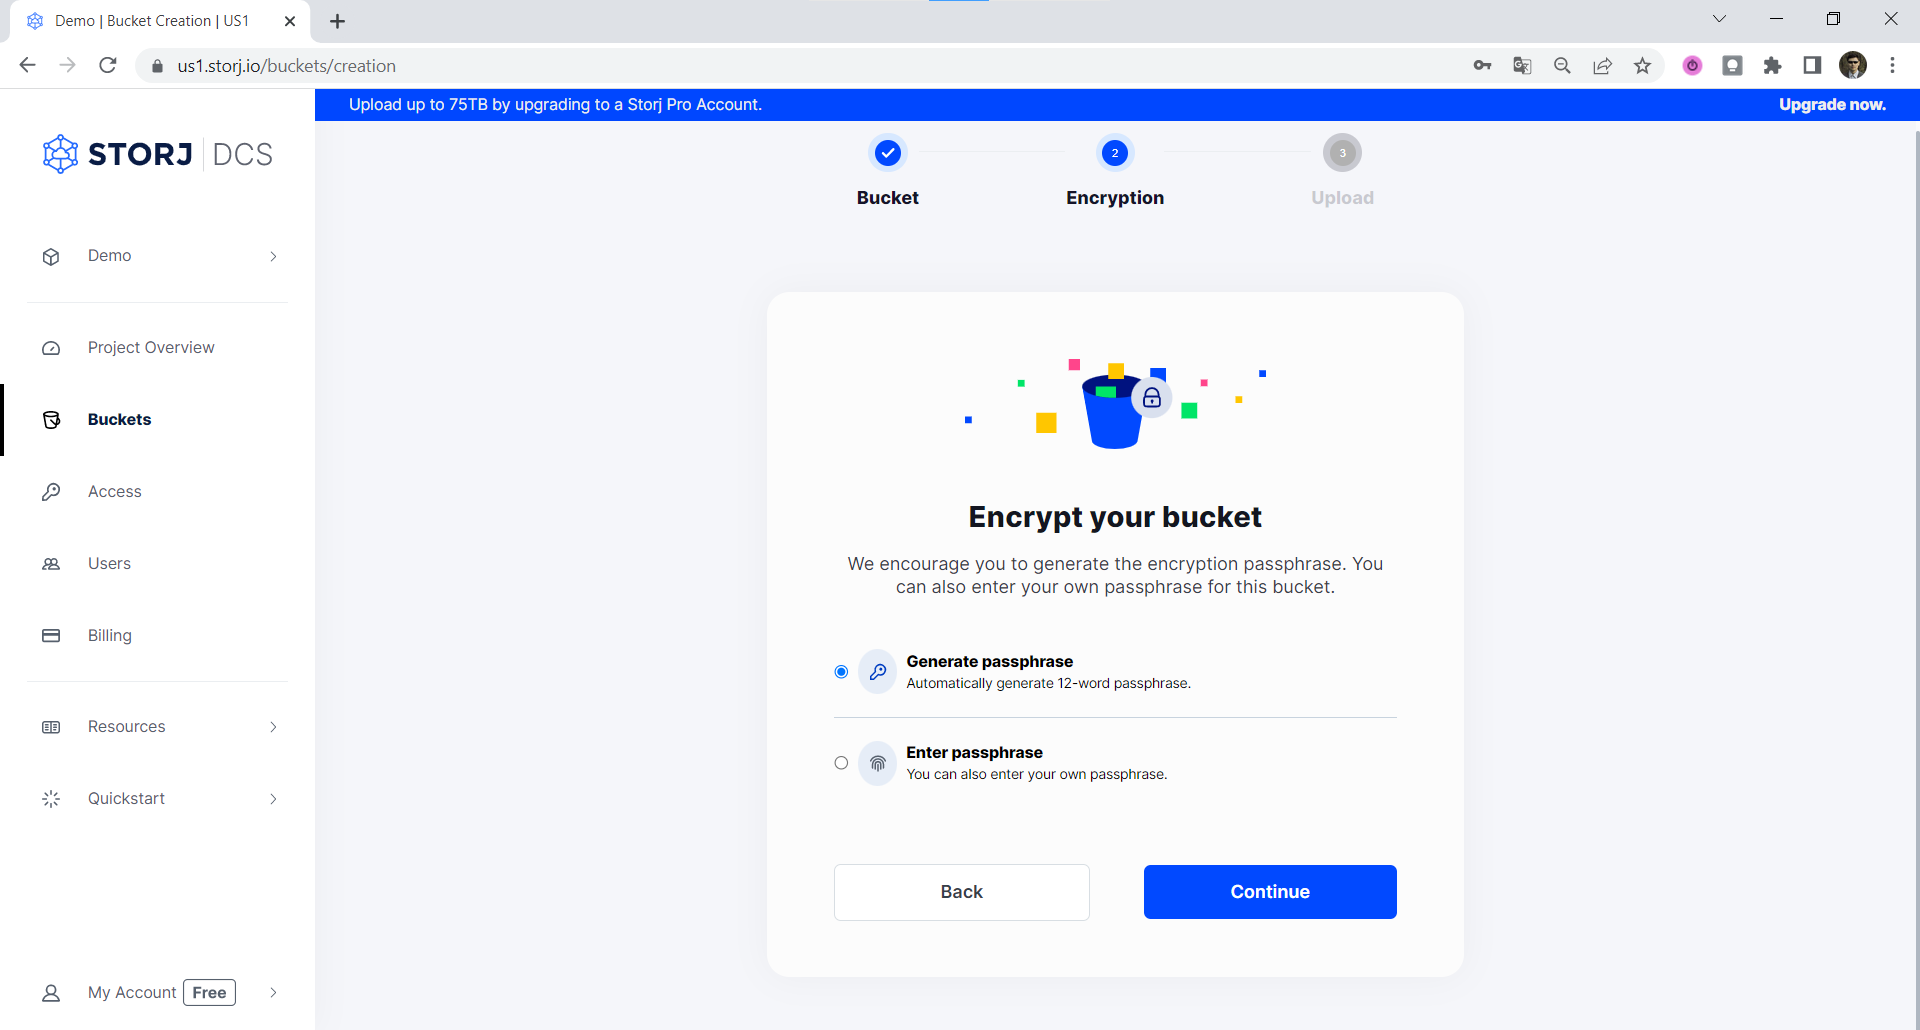
Alternatively, you can enter your own passphrase using the Enter passphrase option. Finish selection by click on Continue button.
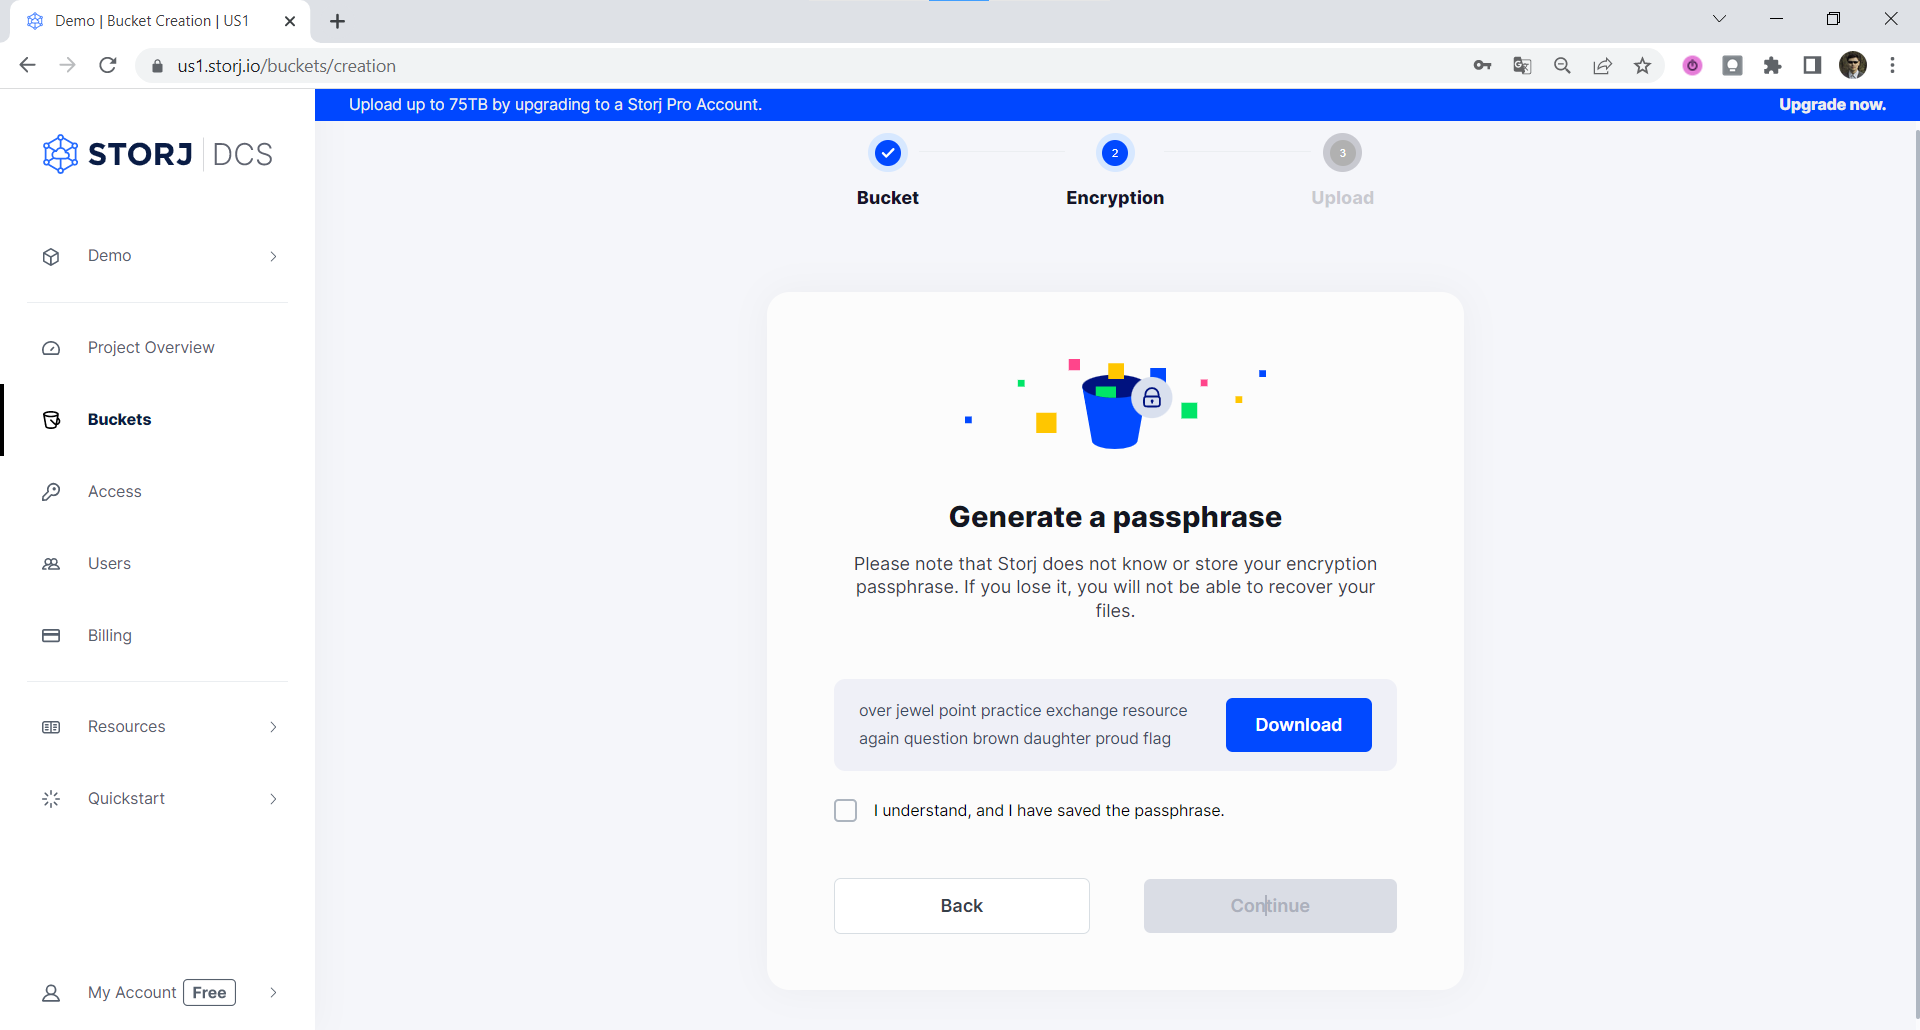
To continue, you need to mark the checkbox [v] I understand, and I have saved the passphrase. This will enable the Continue button.
When you click the Continue button, you will be placed into the Objects view if you already have buckets, otherwise a new bucket demo-bucket will be created and you will be placed into that bucket view.
Upload files and folders
**The web browser is best for uploads up to 1GB. **
To upload larger files, please utilize the Uplink CLI Tutorial.
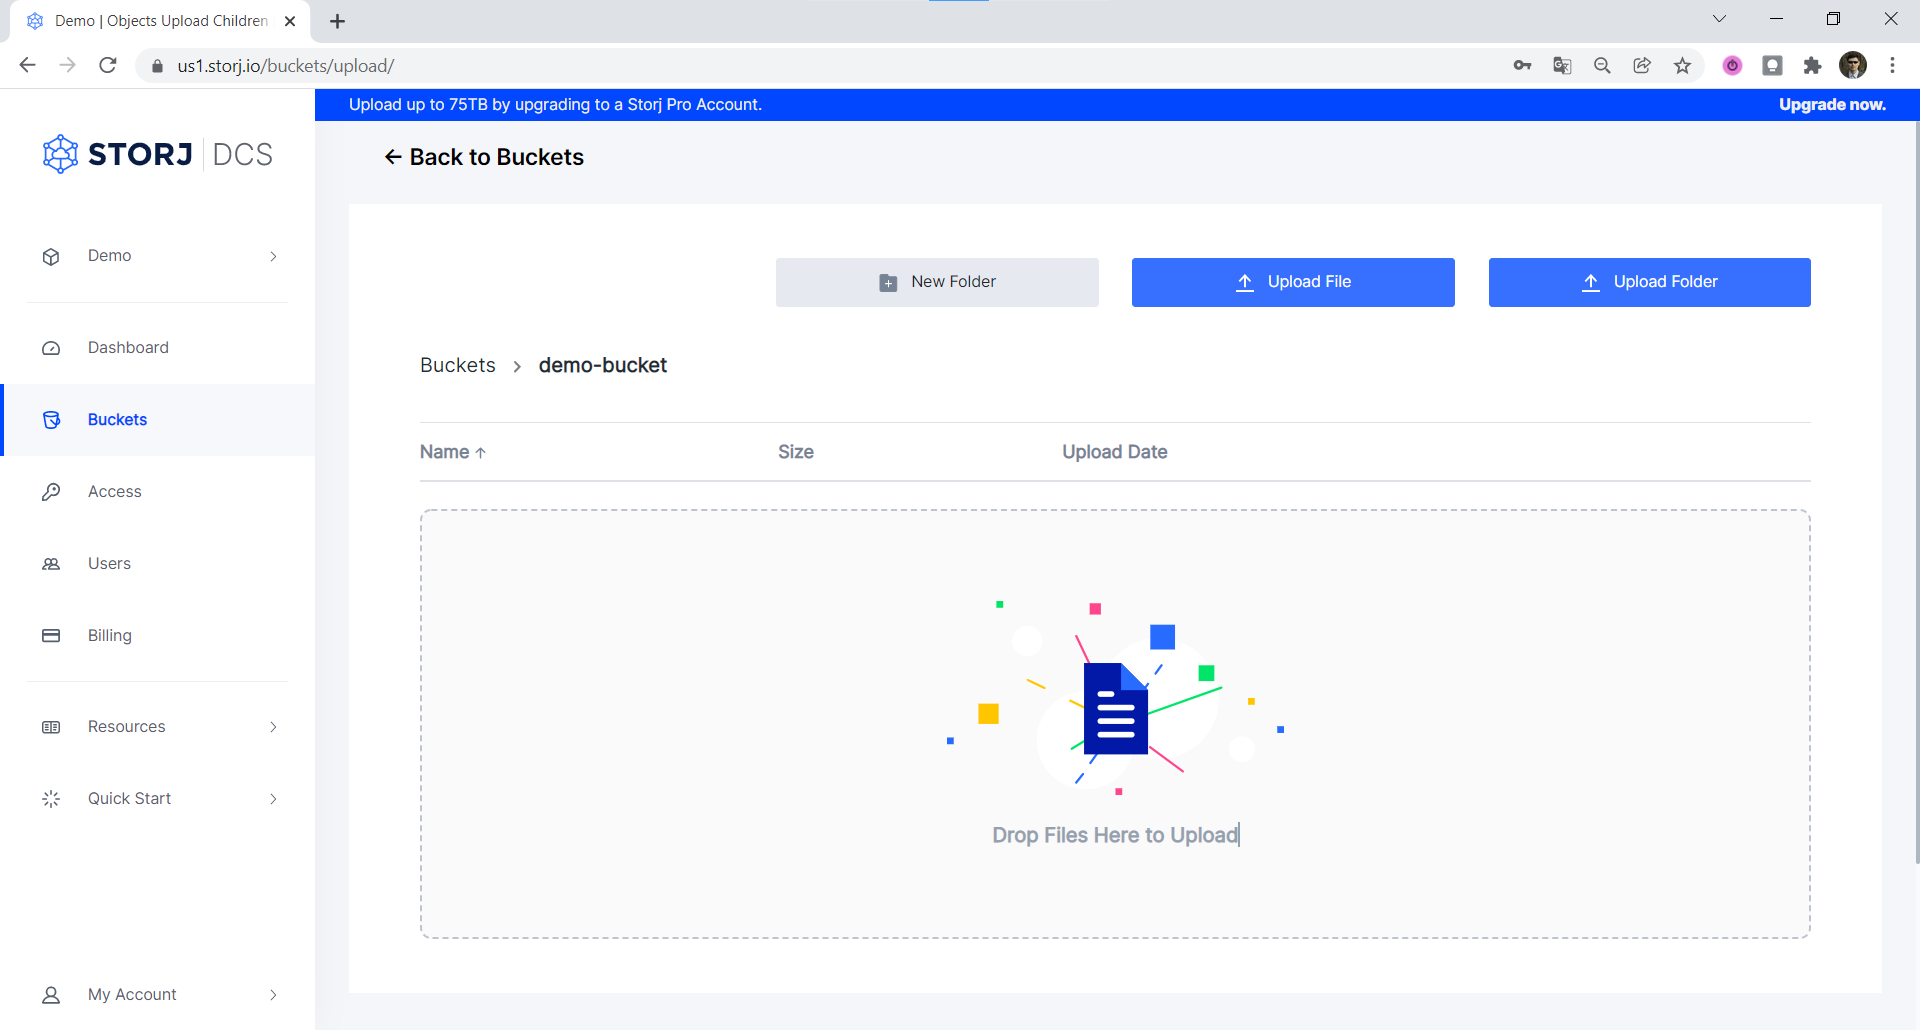
If you have not yet created a bucket, the bucket demo-bucket will be created automatically to allow you to upload objects right away.

To upload your first object, drag it into the browser or select Upload File and browse to the file you wish to upload.
You can upload not only files but also folders, just drag them into the browser or select Upload Folder and browse to the folder you wish to upload.
If you want to create a folder, you can do that with the New Folder button.
When you drag and drop your file into the Satellite Admin Console Object Browser, the Storj S3-compatible Gateway will encrypt the data using Design Decision - Server-side Encryption, break large files into 64MB Segments (or for smaller files a single segment), then erasure code the segments, breaking each segment into 80 pieces, then distributing those pieces over our network of thousands of independently operated storage nodes.
Deleting files
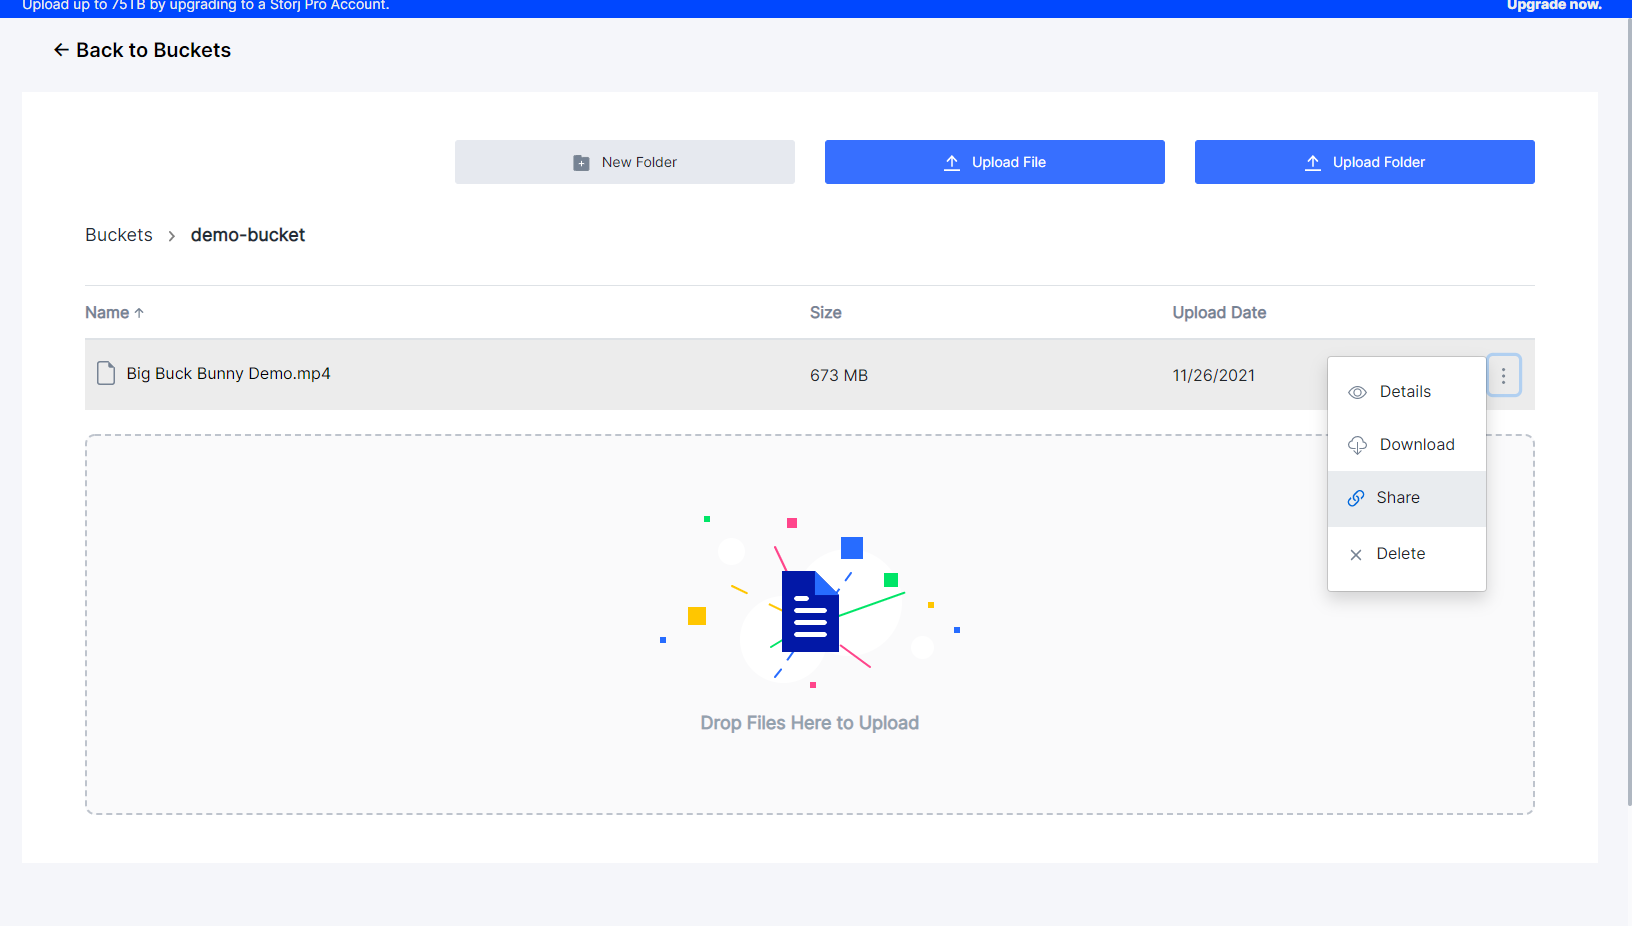
If you select the three vertical dots on the right side of a file, a popup menu will appear:
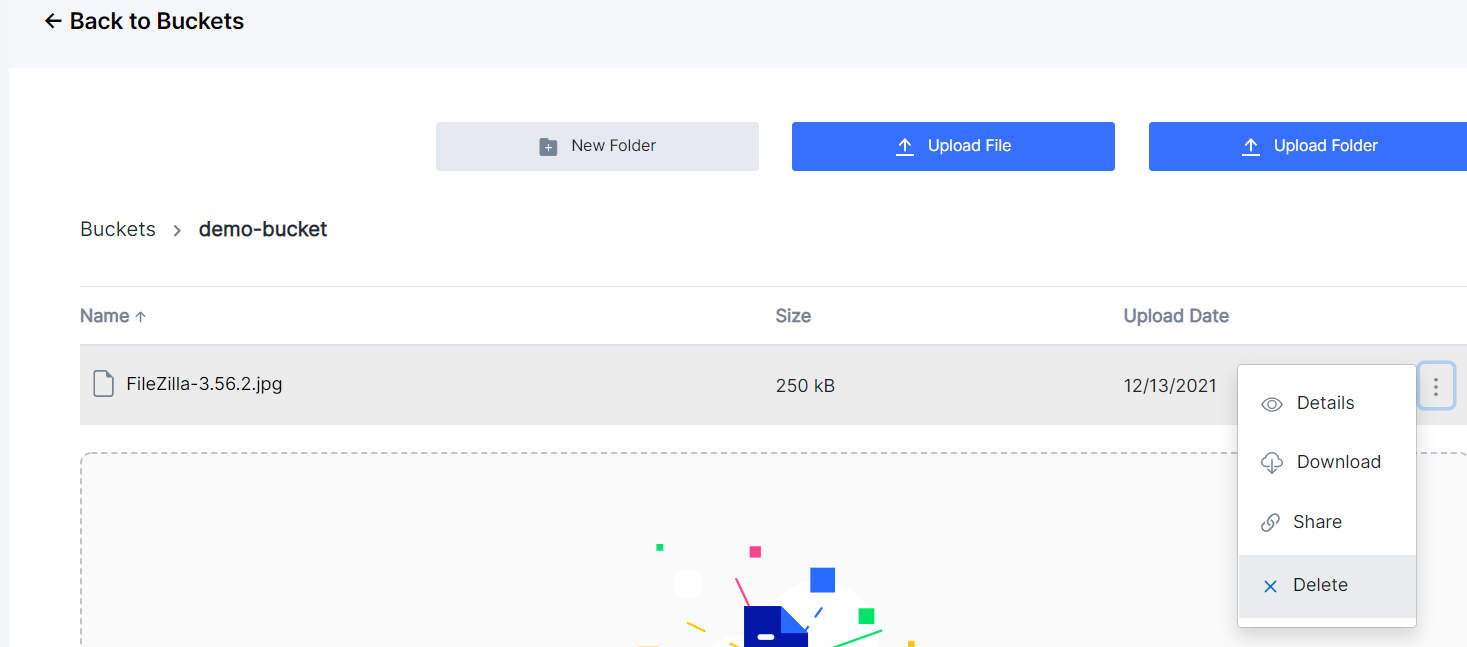
Select the Delete command.
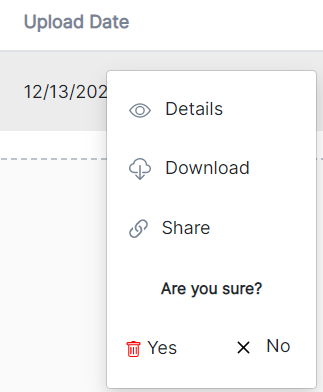
Confirm deletion with Yes.
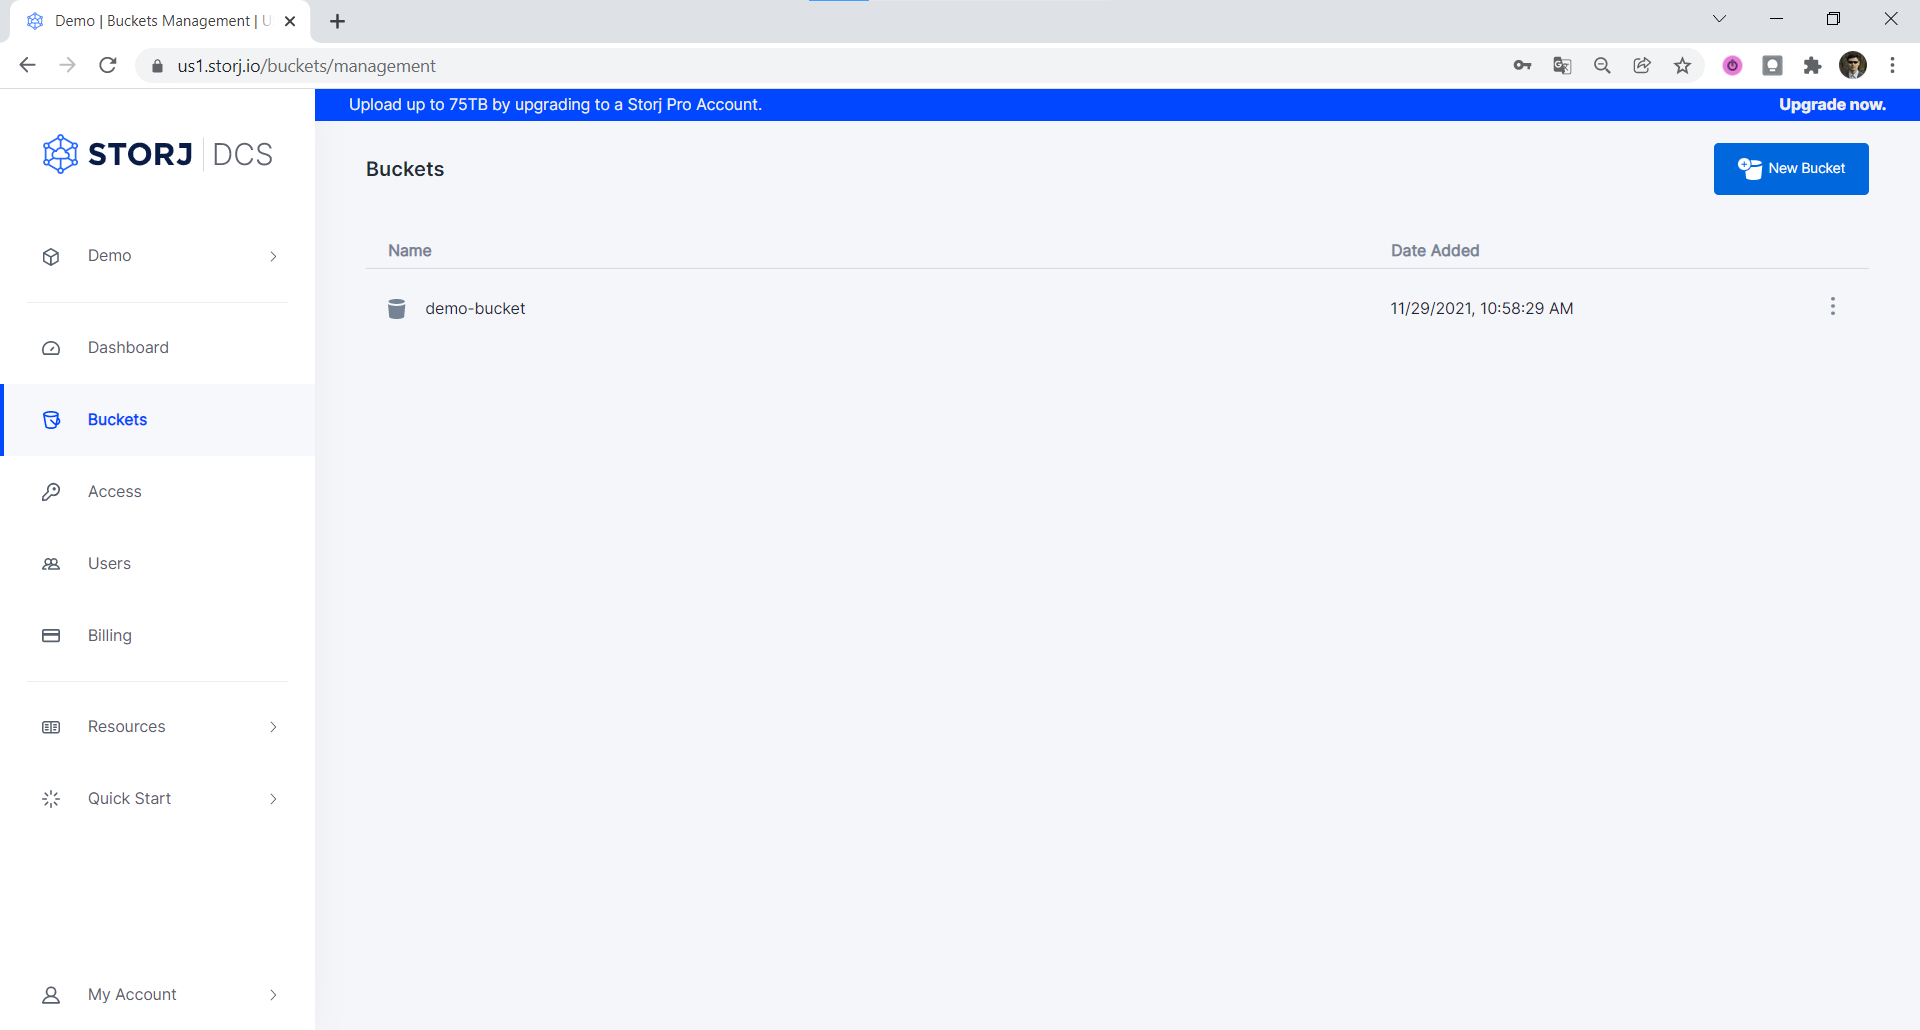
Creating buckets
Buckets are your containers that store objects.
You can create your buckets in the Objects view or if you click on the <-Back to Buckets button, in the bucket view.
The bucket name can only contain lowercase letters, numbers, and hyphens.
To create a new bucket, click the New bucket button in the Buckets view. A new module window will pop up called Create Bucket. Please provide a name using only lower case alphanumeric characters and dashes (this is a limitation for compatibility with existing object storages).
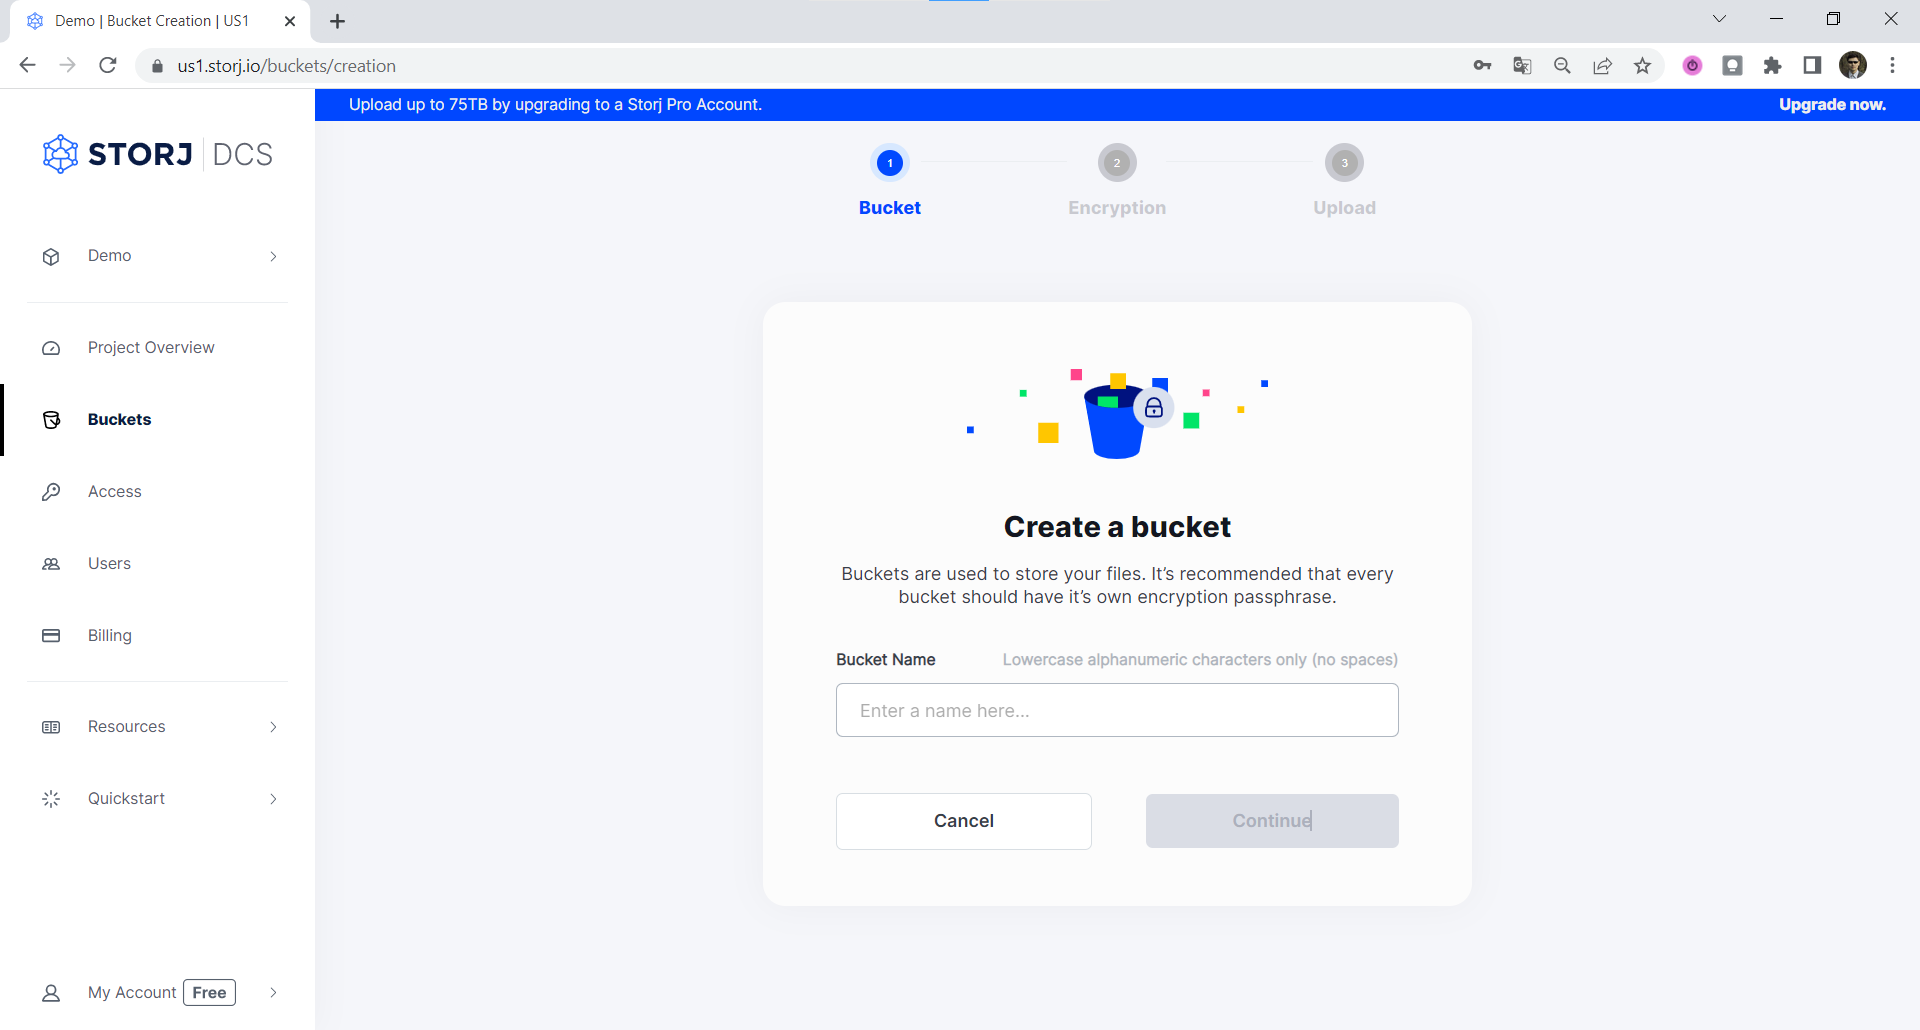
After creating your new bucket, you will be placed into the bucket where you can Upload an Object
Deleting buckets
Clicking the three vertical dots on the right side of the bucket, a popup menu will appear:

Click the Delete command
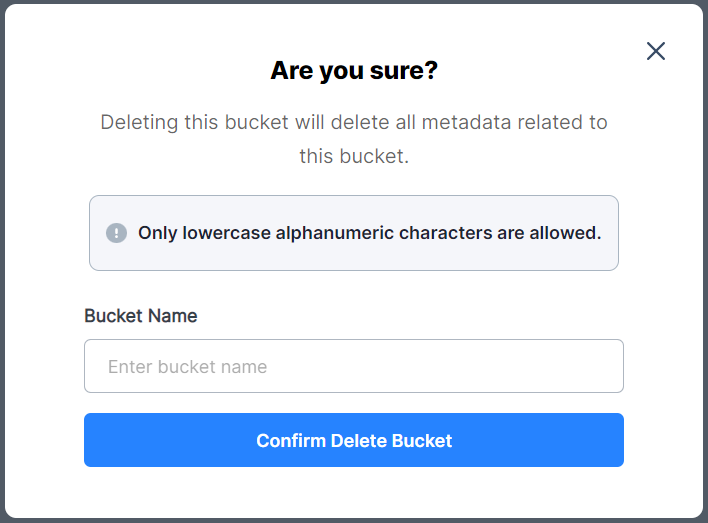
Type the Bucket Name and Confirm Delete Bucket.
Be careful when deleting buckets - If you still have objects in the bucket being deleted, they will be deleted too!
Share a file
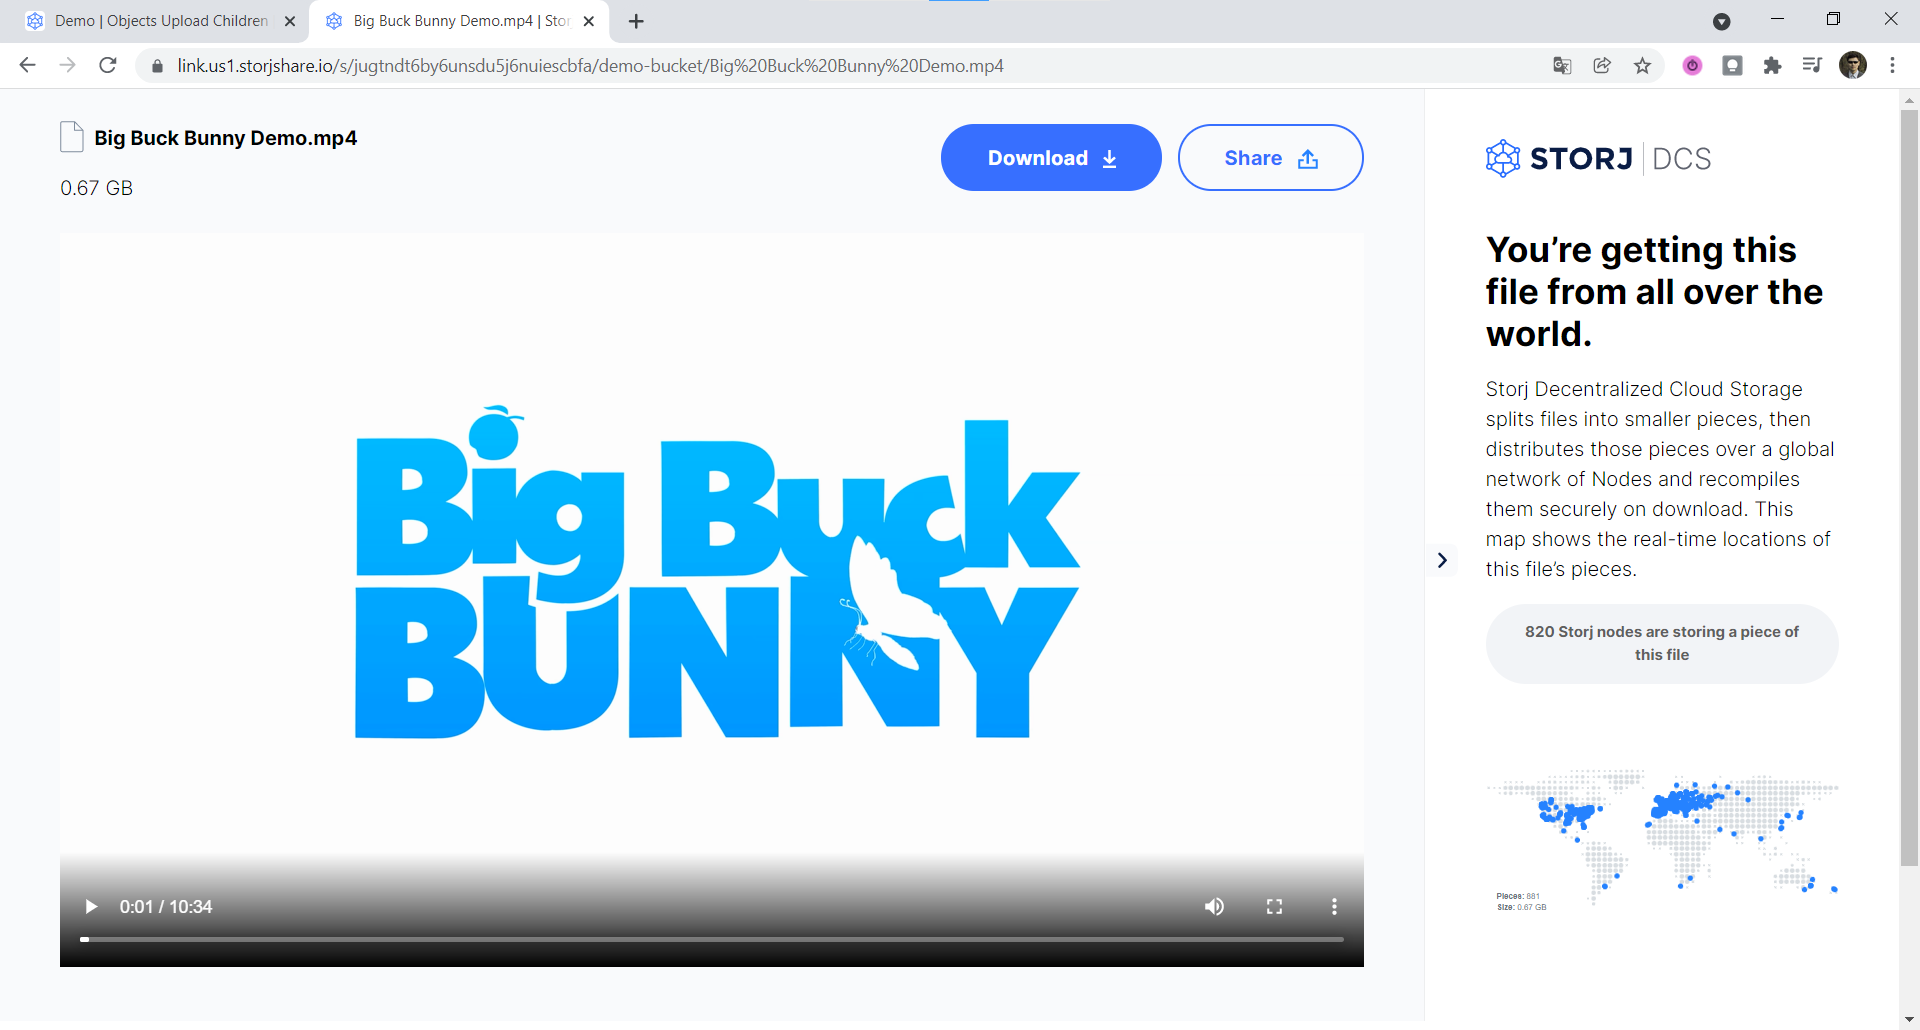
After an upload completes, you will have the option of creating a share link. If you wish, click the file name - it will open a preview with a map. Here you can click the Share button.

Or you can click on the three vertical dots to the right of the file you want to share, and select Share to share your object.
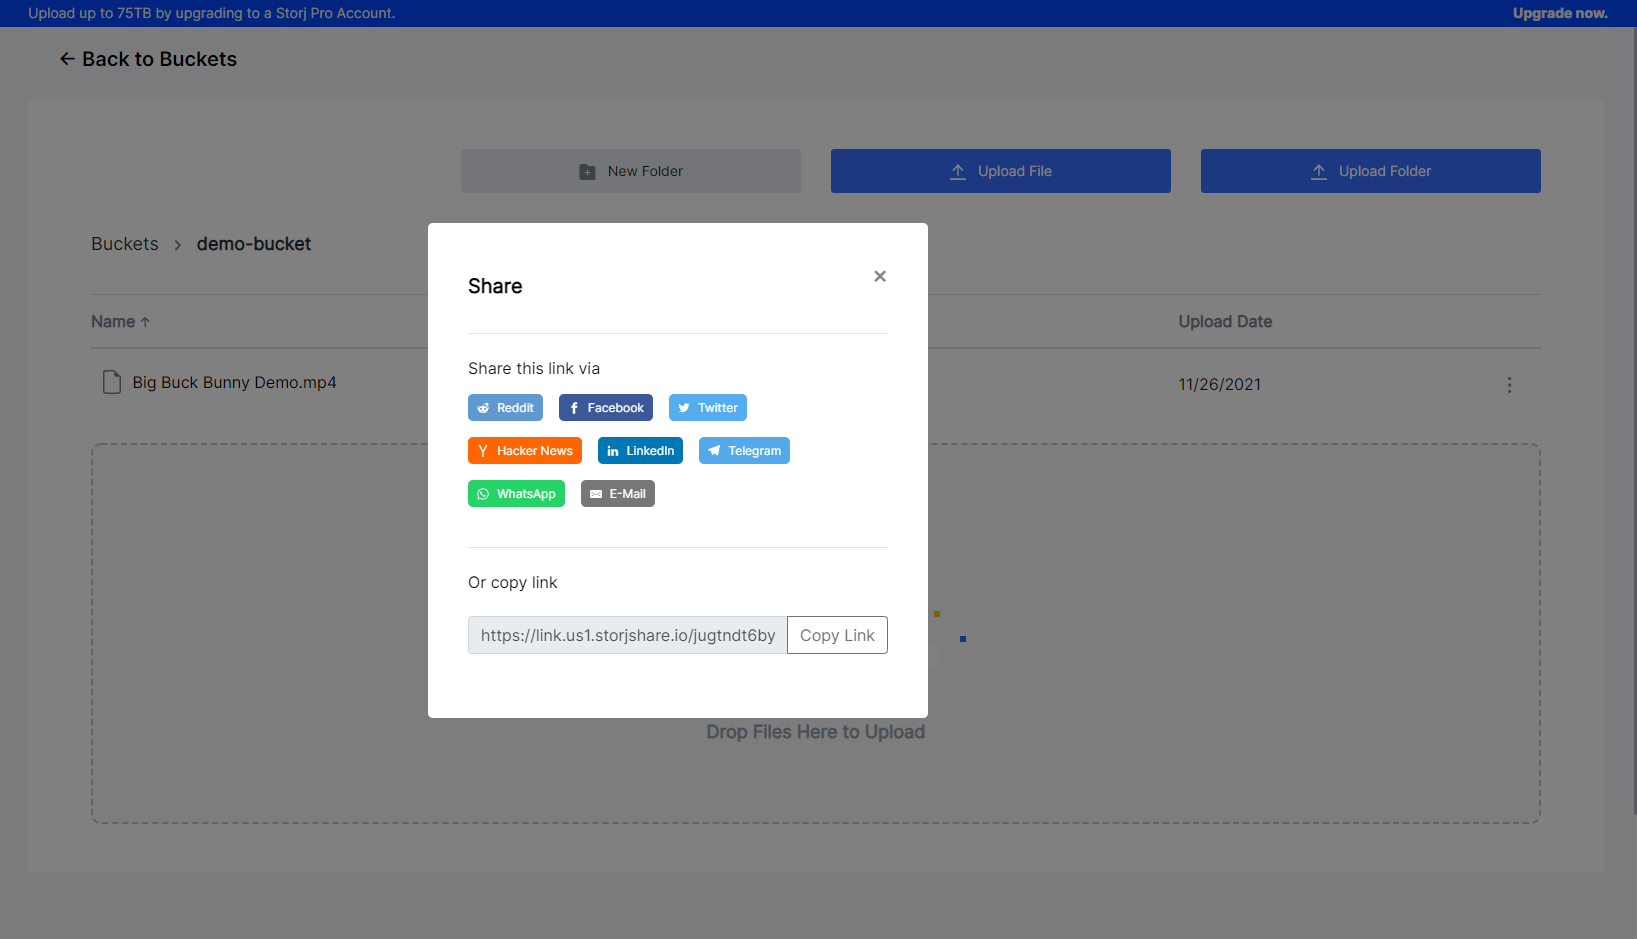
The Share pop-up window allows you to share the link via social media or copy it with Copy Link.
The share link includes a rendering of where the pieces of your file are located on the globally distributed network of storage nodes, as well as a preview of that file.
Share a bucket
Click the three vertical dots to the right of the bucket, a popup menu will appear
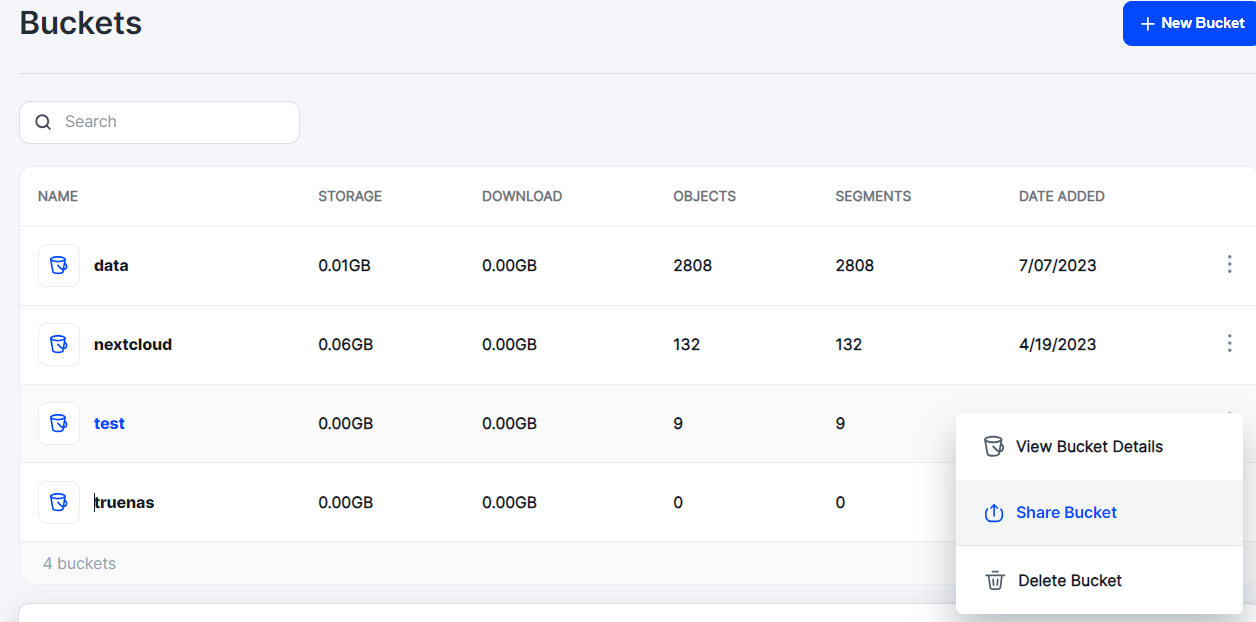
Click the Share Bucket command
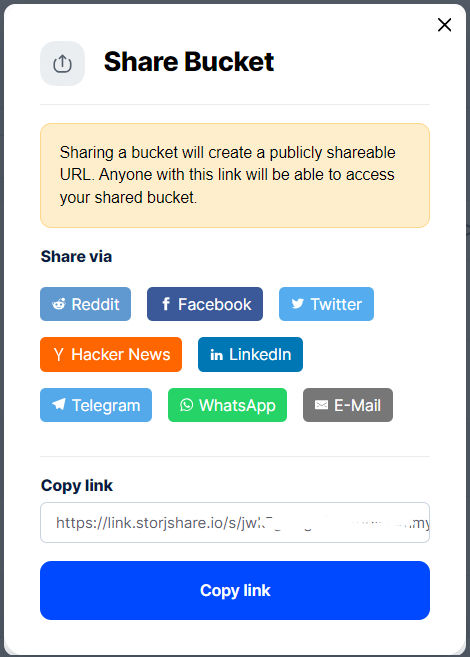
Click the needed button to share the link
This concludes the Object Browser Quickstart.