Custom Domains
Linksharing now supports secure custom domains via HTTPS for Pro Accounts!
With this update, custom domains can now be secured with TLS, providing an added layer of security and confidence for both you and your users.
Some users may be impacted by changes that enable secure custom domains. If you are proxying your linksharing content via a CDN such as Cloudflare and are seeing unexpected errors, please read our troubleshooting steps below in our FAQ.
Introduction
This document will provide you with all the information you need to set up a custom domain for your Linksharing content, including the benefits of the feature, step-by-step instructions, and frequently asked questions.
We have a webinar walking you through it, but you can also refer to the steps below:
What are custom domains?
The custom domains feature allows users to use their own domain name to access the content they have stored using Storj. Instead of using the default URL provided by linksharing, users can access their content using a custom domain that they have set up.
Key Benefits
Memorable: A custom domain is easier to remember than a generic linksharing domain. This makes it more likely that users will return to the content in the future.
Consistent: Using a custom domain for all of a user's shared content helps to establish a consistent brand image and makes it easier for users to recognize the source of the content.
Secure: The use of a custom domain over HTTPS (as opposed to HTTP) can significantly improve security. This allows users to ensure that their links are coming from a trusted source, and protects user data and prevents man-in-the-middle attacks. Additionally, this feature represents a major improvement over the existing Linksharing service, which only allowed for custom domains over HTTP without additional configuration and addition of third party products.
Step-by-Step Instructions
Prerequisites
A Pro Account is required if you want the custom domain to be served via HTTPS
A Storj account: https://www.storj.io/signup.
The Uplink CLI tool installed on your local machine: Uplink CLI Tutorial
A custom domain registered with a domain name registrar.
Access to the DNS records for the custom domain.
Instructions
For this step you will execute uplink share for the bucket or object prefix (not individual objects) that you want to share (this will be the root for your custom domain).
The following placeholders should be replaced in the sample code provided below:
- <hostname>: This is your custom subdomain (sub.domain.com)
- <bucket>: The bucket you want to share
- <prefix> (optional): The path to the specific folder you want to share (this is known as a prefix)
Anything shared with --dns will be readonly and available publicly (no secret key needed).
For securing your domain with TLS you can add the --tls flag, which returns an additional TXT record to secure your domain (Pro Accounts only).
The command above prints a zone file with the information needed to create 3 DNS records (4 if --tls was used). Your CNAME should match the linkshare service domain (link.storjshare.io by default).
Setting up a custom domain
Purchase a domain name from a domain name registrar.
Configure your DNS records to include the following
Create a CNAME record on your hostname using the CNAME from your generated zone file as the target name.
Create two TXT records, prepending
txt-to your hostname. The value of each of these should also be in the generated file above:storj-root:<bucket>/<prefix>storj-access:<access key id>
Your final set of DNS entries should look like the following:
Type Name Content CNAME www.example.com link.storjshare.io. TXT txt-www.example.com storj-root:<bucket>/<prefix> TXT txt-www.example.com storj-access:<access key id> To enable HTTPS for your custom domain (Pro Accounts Only) create one last TXT record:
Type Name Content TXT txt-www.example.com storj-tls:true You should now be able to access your content using your custom domain! DNS propagation usually takes less than a few hours, but can take up to 48 hours in some cases.
Pro account example
Here is an example the steps required to host a website on a custom domain (e.g. my-website.storj.dev) with a Pro Account. Replace my-website.storj.dev in the following example with your own domain.
Create a bucket
Upload a website
Create a DNS share
The following command will publically share all objects in the bucket.
If you'd rather restrict access to a prefix in the bucket (e.g.
public), adjust the path accordingly before creating the share (e.g.sj://my-website/public). Also adjust thestorj-rootDNS txt record in the next step (e.g.storj-root:my-website/public).The output will give the DNS records that need to be setup.
Once DNS records from the previous command are set, double check they're set correctly with
digAdjusting the
storj-rootalone won't change public access. Access is tied to the originaluplink sharecomand.If you've already created a share at the root bucket, you must revoke that share to disallow access and recreate the share with the new restriction.
Navigate to your custom domain (e.g https://my-website.storj.dev/)
Considerations if setting up DNS with a CDN like Cloudflare
When HTTPS is enabled for custom domains (Pro Accounts Only)
Cloudflare will default to proxying DNS records.
Proxying must be disabled for the CNAME record, if you've added the storj-tls:true TXT record. If enabled, Cloudflare will terminate TLS and hinder the ability of the linksharing service to procure and renew TLS certificates for your custom domain.
Disabling the proxy will mean the requests are sent directly to the linksharing service which will provide an end-to-end encryption from the user to the service.
Using Cloudflare as a proxy
If you still want to use Cloudflare as the proxy for your custom domain and use HTTPS, these steps should be followed:
- Ensure the
storj-tls:trueDNS TXT record is removed. - Change the TLS encryption mode to "Flexible".
- Enable Always Use HTTPS.
This is helpful if you require HTTPS, but don't have a Pro Account yet. Cloudflare will be managing the TLS certificate and provide HTTPS for your custom domain.
Frequently Asked Questions
How do I set up a custom domain for my linksharing?
To set up a custom domain, you need to create several DNS entries in your domain's DNS configuration, such as a CNAME record that points to the linksharing service domain, a TXT record that contains the root of your file share (either a bucket or prefix), and a TXT record that contains your access key. Please refer to the steps above for more details.
What are the requirements for using a custom domain with linksharing?
To use a custom domain with linksharing, you must have a valid domain name, access to its DNS configuration, and the ability to create and manage DNS records.
Why is my browser telling me that my connection is not secure?
While Linksharing links are secure, when you use a custom domain the browser is expecting a TLS certificate for your domain to be present on the Storj servers hosting the link. We do not have this certificate by default, so you will need to upgrade to a Usage Limits and follow the relevant steps above to enable TLS (HTTPS) in the browser.
Why am I seeing an "Invalid SSL certificate" error from Cloudflare?
Problem: Customers using Cloudflare (or likely anything as a reverse proxy) who have certain TLS settings may see an error. In an effort to improve security and bring users SSL certs without the need for a CDN proxy, we no longer support self-signed certificates for custom domains.
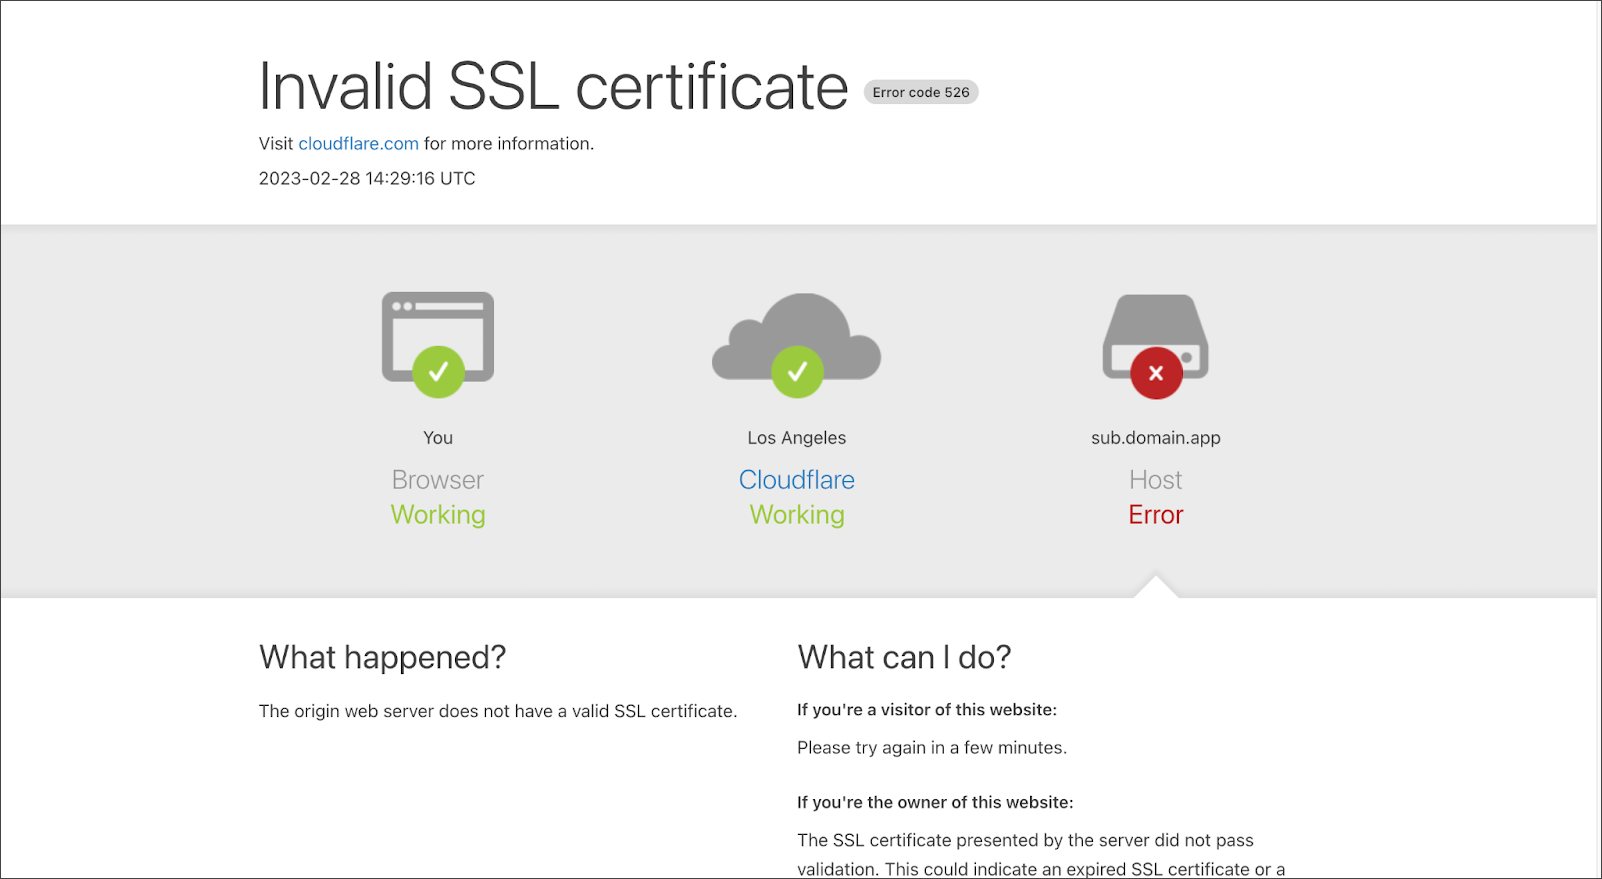
Solution: Update your Cloudflare SSL/TLS encryption mode to "Flexible"

How do I verify my custom domain?
Verifying your custom domain with linksharing involves adding a TXT record to your domain's DNS configuration that contains a unique string or value provided by the service. The service then checks for the presence of this value in your domain's DNS records to confirm that you have control over the domain.
How do I troubleshoot issues with my custom domain setup?
If you are having trouble setting up your custom domain, common solutions include:
Ensuring that your domain name registration is valid and not expired
Checking your DNS configuration for typos or misconfigurations
Waiting for DNS changes to propagate
Contacting your domain provider
Asking or searching in the Storj community forum
Can I use a custom domain for multiple file sharing buckets?
Yes, you can use a custom domain for multiple file sharing buckets or prefixes by creating separate CNAME, TXT, and access key records for each bucket and associating them with a unique subdomain or path.
How do I update my custom domain after it has been set up?
Updating your custom domain typically involves making changes to your domain's DNS configuration, such as updating the values of existing records or adding new records. It is important to ensure that any changes are properly propagated and tested before relying on the updated configuration.
What happens to my existing links when I switch to a custom domain?
Existing and new links that use the default domain name provided by linksharing will continue to work in addition to your custom domain.
What's the difference between HTTPS and TLS?
HTTPS (Hypertext Transfer Protocol Secure) is a protocol for secure communication over the internet, while TLS (Transport Layer Security) is a security protocol that provides privacy and data integrity between two communicating computer applications. TLS is the successor to SSL and is the standard protocol used to secure HTTPS.
Glossary
Linksharing: A service provided by Storj for creating and managing shared links for files stored on the Storj network
Uplink CLI: A command line interface tool for the Storj API that allows you to interact with the API from the terminal.
Access Key ID: A unique identifier used to grant access to a file sharing service
Bucket: A container used to store files on a file sharing service
Prefix: A string that is added to a bucket to create a unique file path identifier
Custom Domain (or Hostname): A domain name that you own and is used to access your file sharing content
Domain Name Registrar: A company that sells domain names
DNS Record: An entry in a domain name system (DNS) database that specifies the location of a server and other details about a particular domain name or hostname.
CNAME Record: A type of DNS record that maps an alias to a true hostname
TXT Record: A type of DNS record used to store information about a domain
Transport Layer Security (TLS): Security protocol that provides privacy and data integrity between two communicating computer applications. TLS is the successor to SSL and is the standard protocol used to secure HTTPS.
HTTPS (Hypertext Transfer Protocol Secure): Protocol for secure communication over the internet using TLS protocol.